The Speaker Service Centre App (SSC App) is a self-check-in station. It is designed to work with one to two screens. The first screen is where the main user interactions will be, with the second screen operating as either signage indicating the station number or a preview of how the Kiosk App will look and behave in a presentation room.
SSC App Check-in Process
First, an SSC App device will pull the next available speaker waiting in the SSC queue to itself, updating the queue screen, and switching from an idle screen to a confirmation screen for that speaker.
To proceed, the speaker must confirm their identity by clicking the “That’s me!” button under their name (and profile picture, if one is provided).

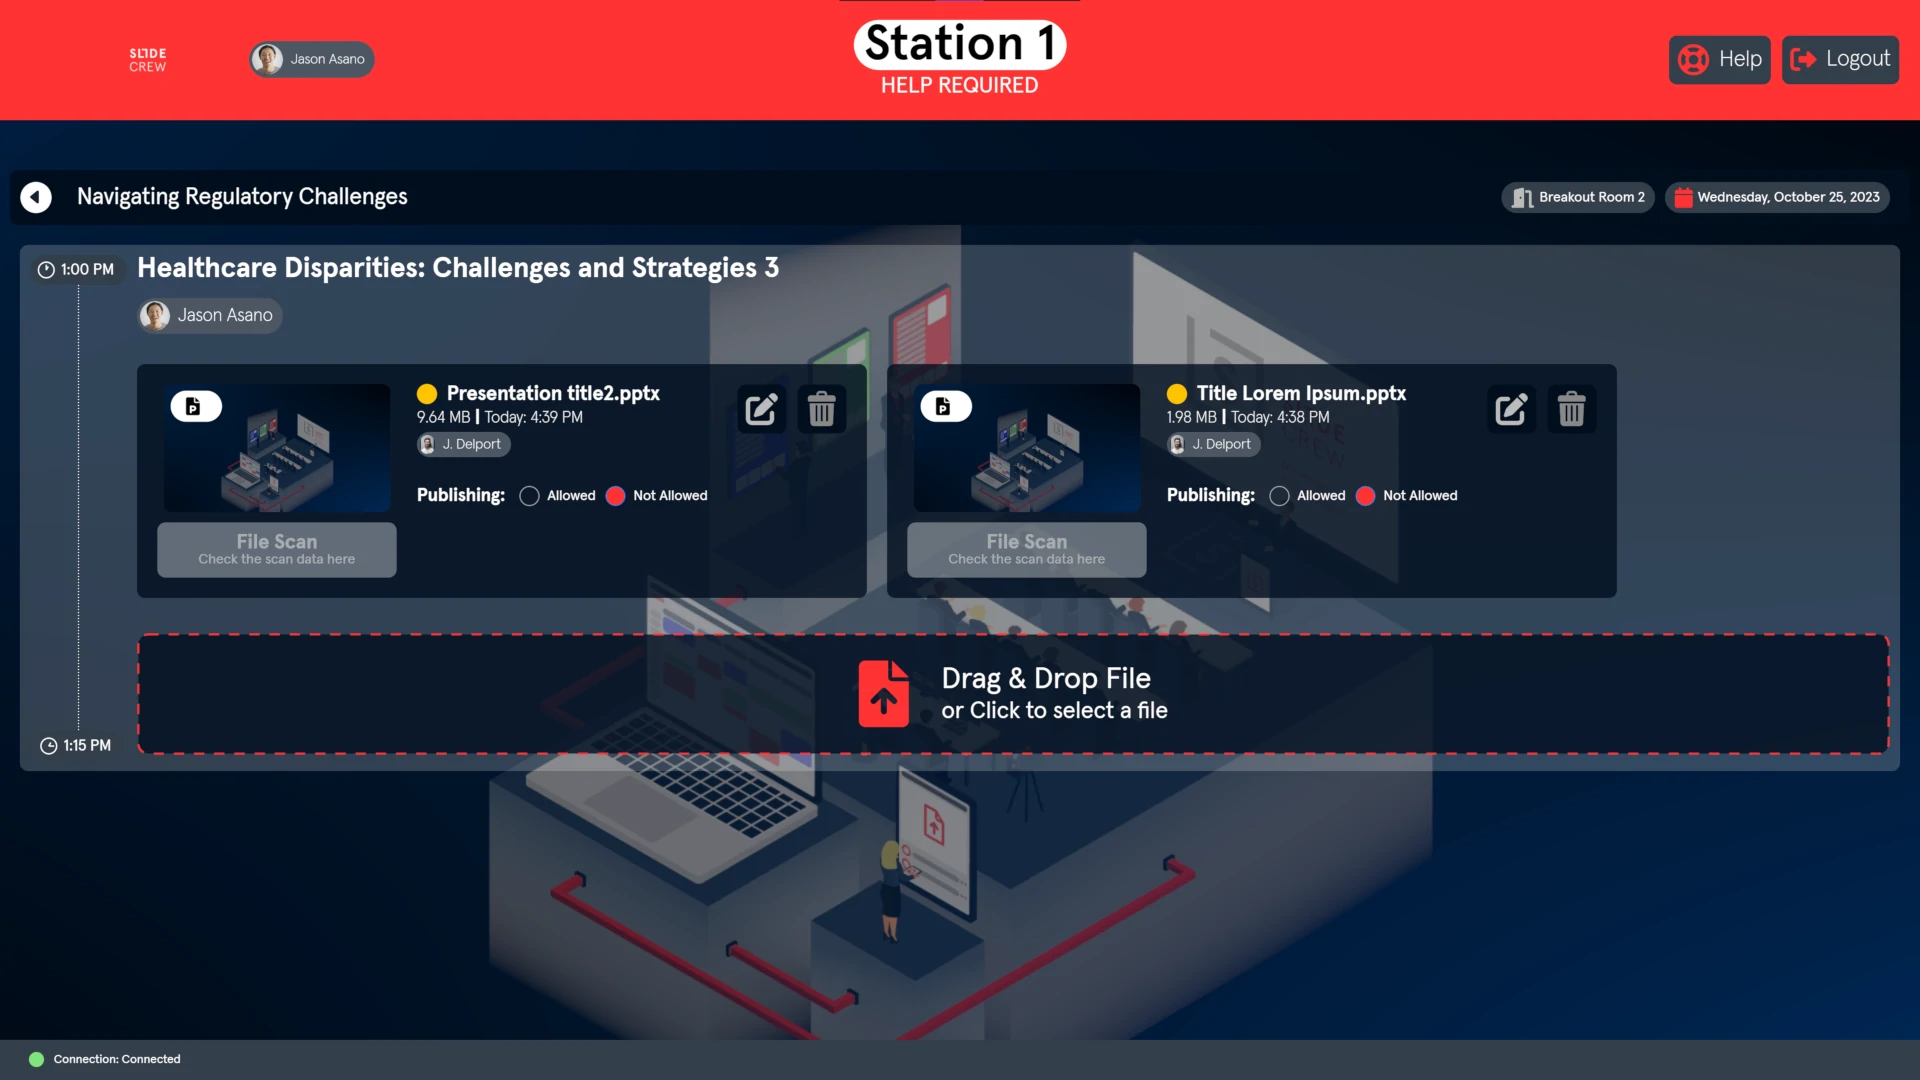
Once logged in, the main screen will list the sessions in which they have presentations.
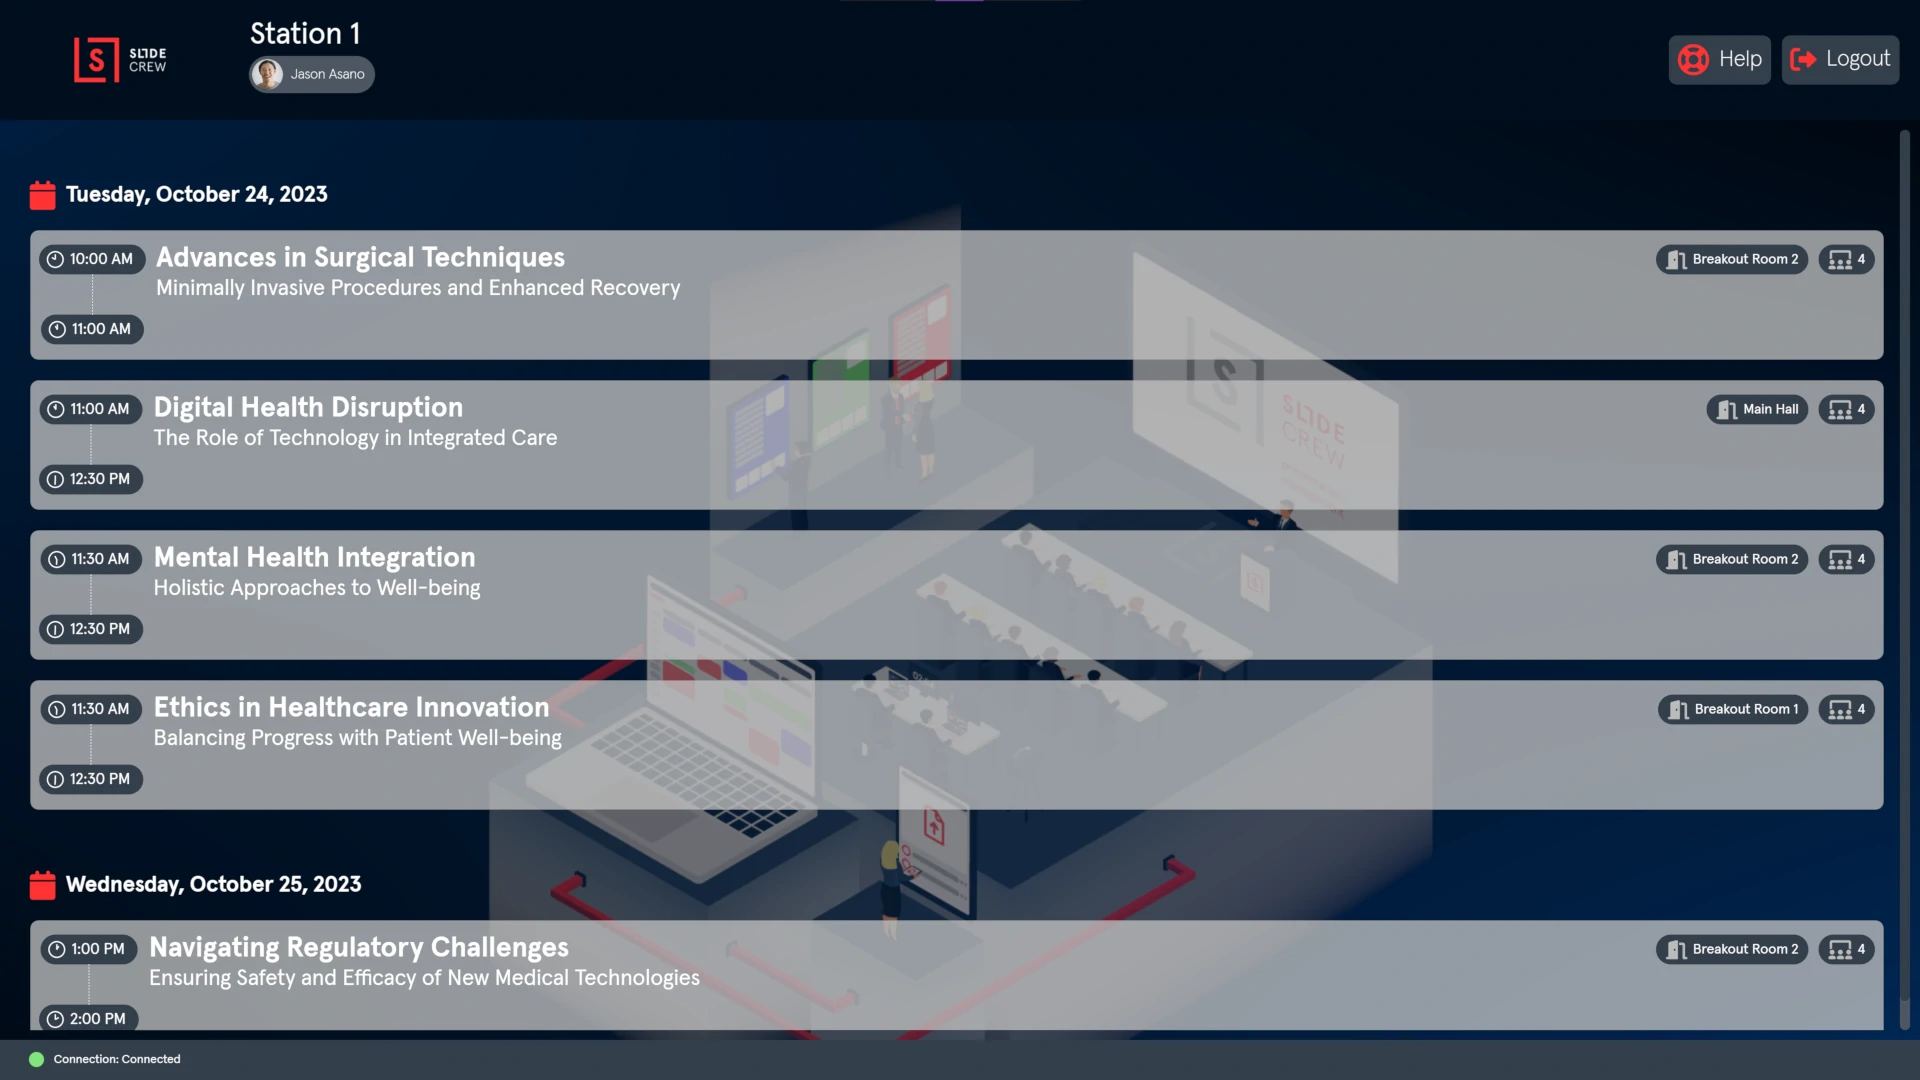
The secondary screen will also show a list of sessions and presentations but will be in the style of the Kiosk app. Clicking on a session will show the speaker’s presentation(s) for that session, and the files already uploaded to each presentation.
As the speaker confirms their identity, their files will automatically start downloading to the SSC device. download progress will be indicated in each file information box.
App Specific Settings
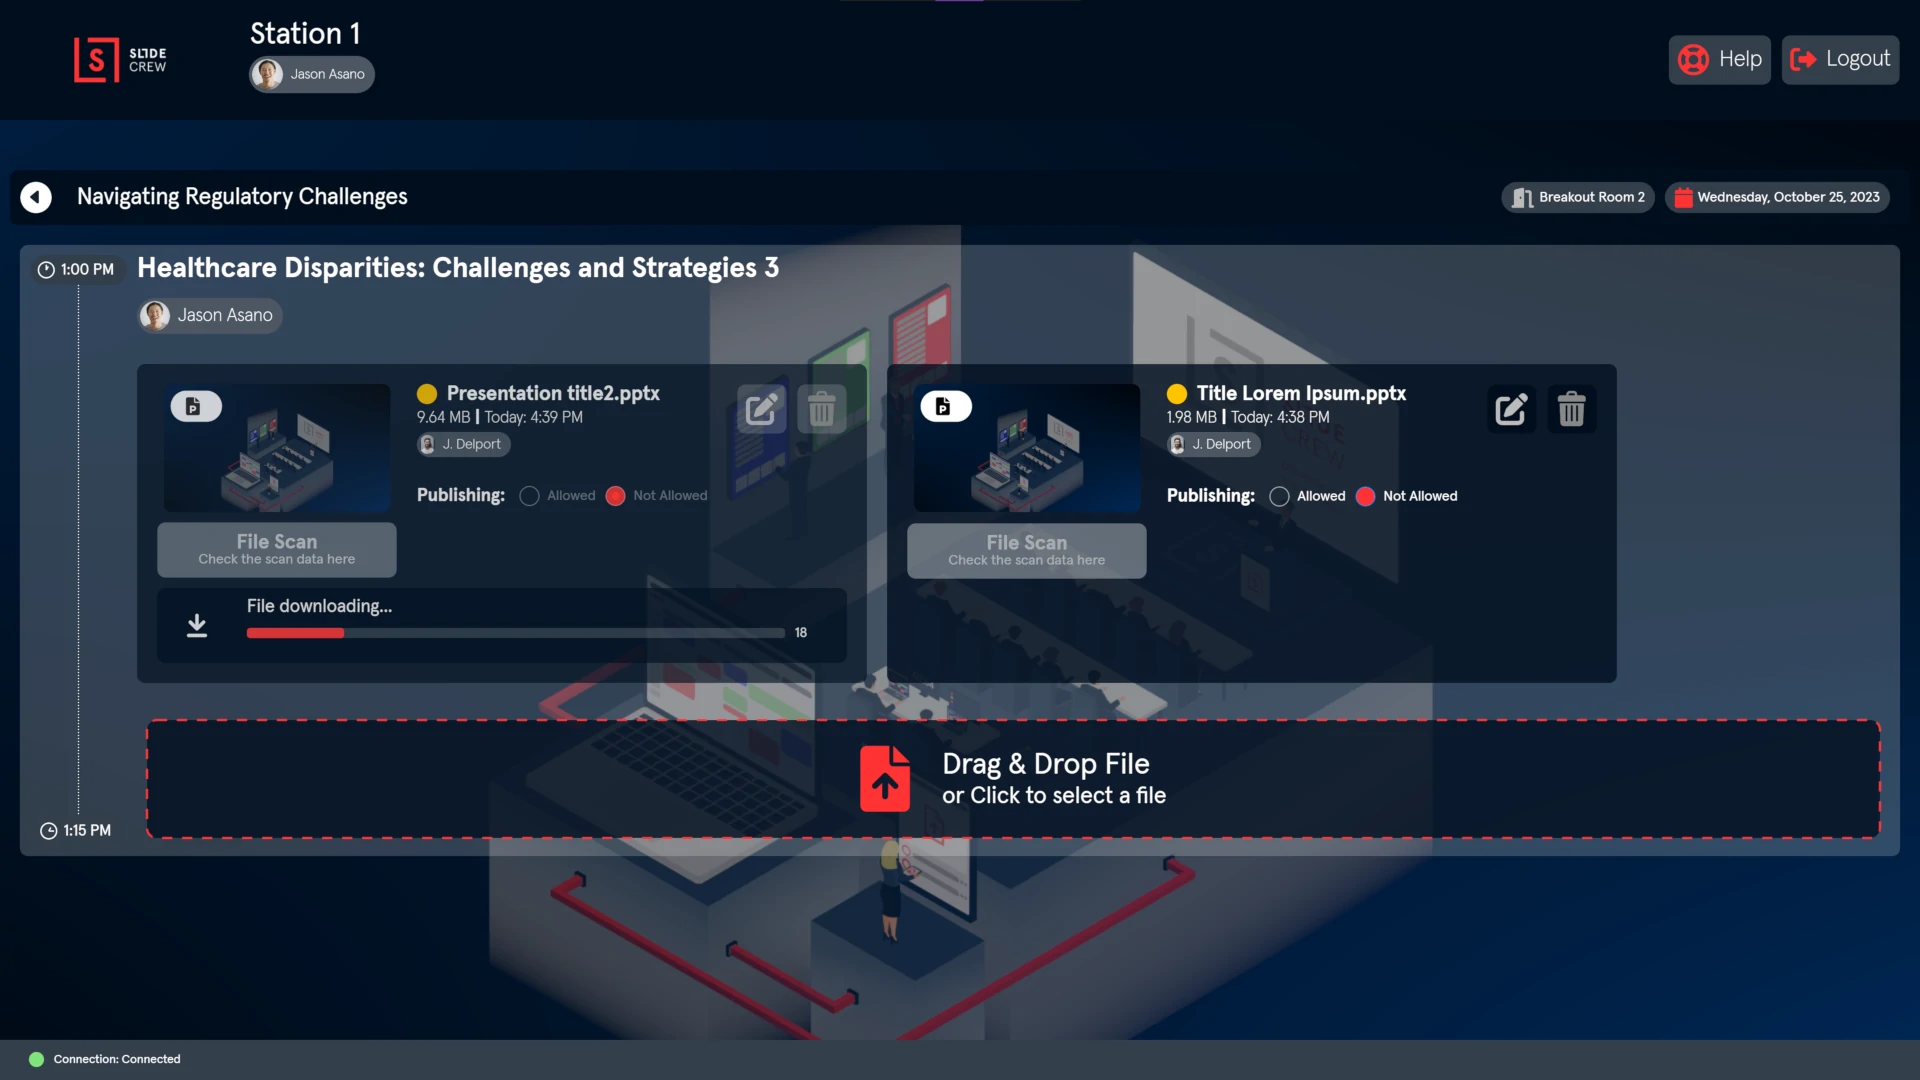
The SSC app has some settings not found in others. To make accessing the settings more discrete, the menu button is hidden as the connection indicator (the green circle at the bottom left of the screen) instead of the usual burger icon. The additional settings are:
- Assign explicitly – if active, this station will not pull users from the SSC queue. Instead, they must be manually assigned to the station.
- Allow uploading – enables or disables uploading new files through the SSC App at this station.
- Allow editing – enables or disables File editing through the SSC App at this station.
Quick File Check
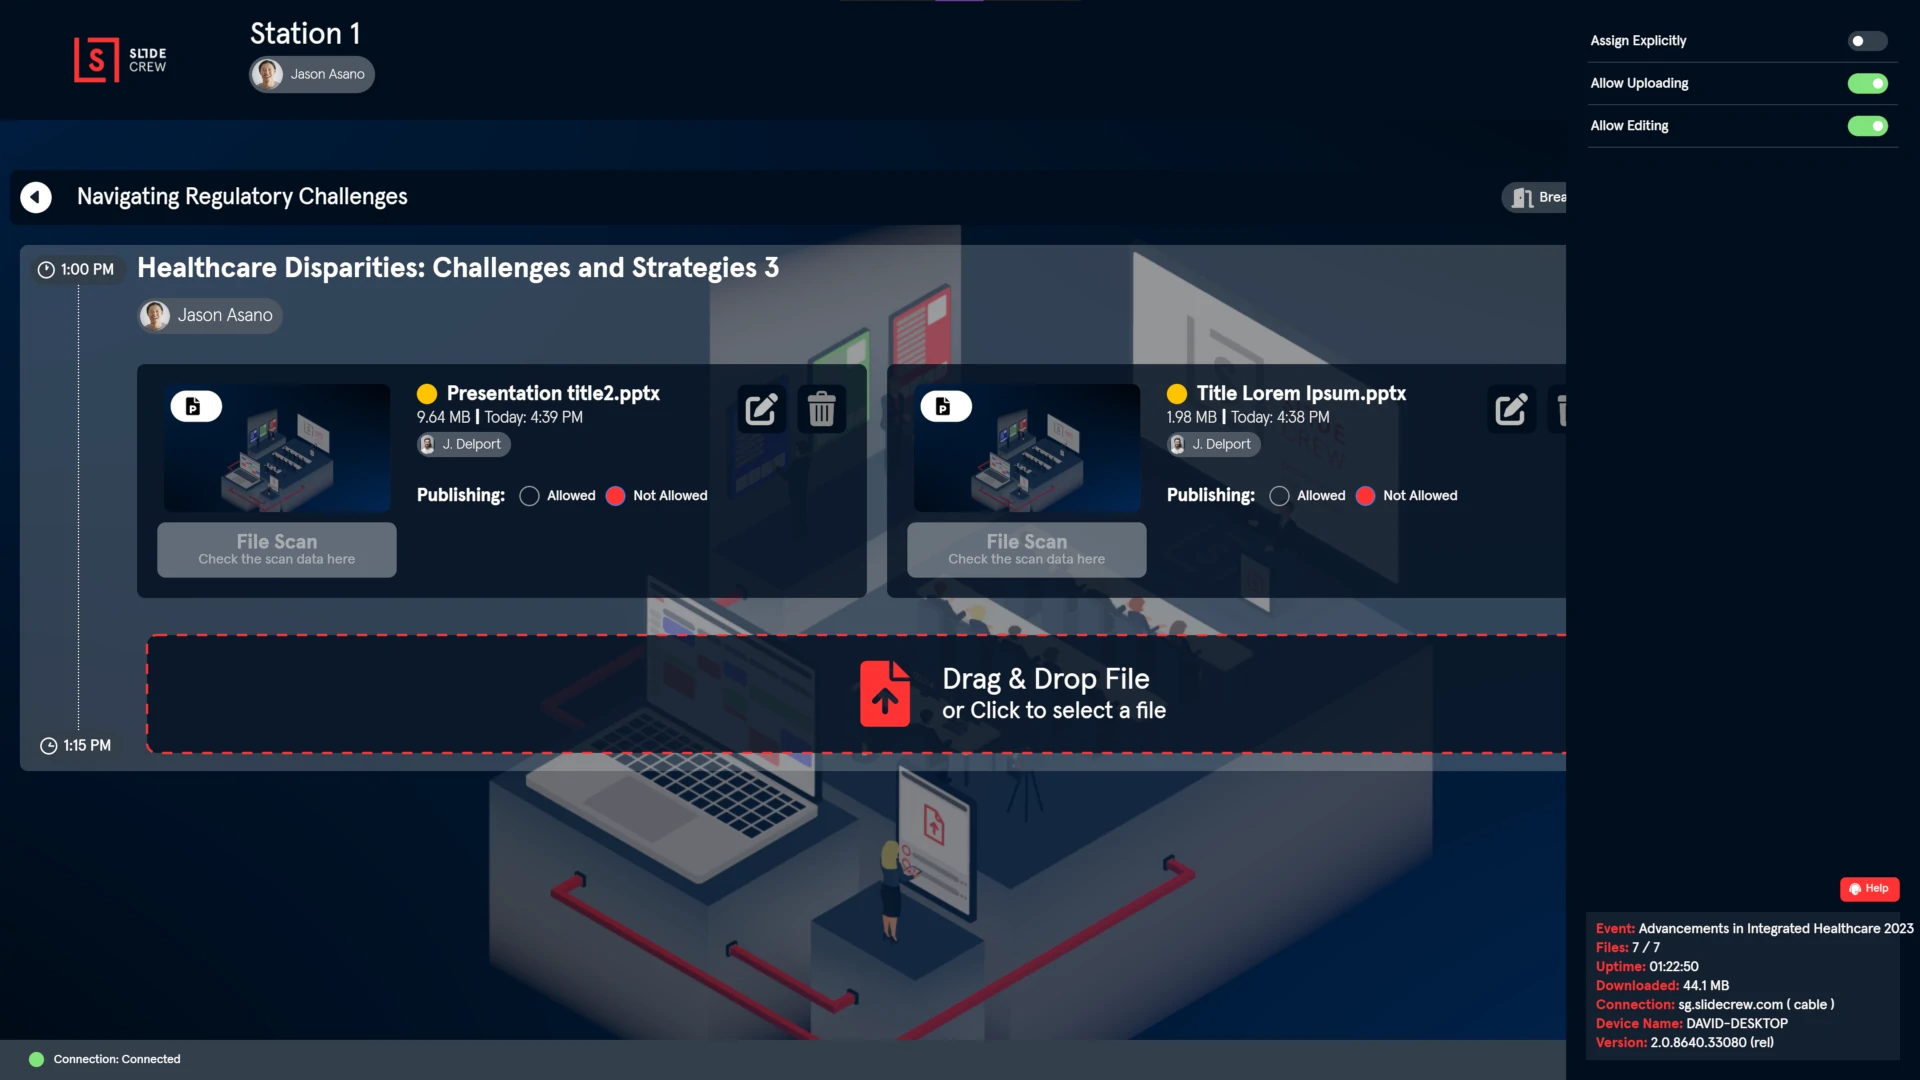
To skim through the file, click the “File scan” button. This will open a pop-up with a slide-by-slide or page-by-page preview of the file, with any potential issues highlighted on the right side of the window.
The colour of the “File scan” button will also indicate how severe the analysis tool thinks the potential issues for that file are:
- Grey – no issues
- Yellow – minor issues
- Red – major issues
Editing a File
If file editing is enabled, click on the pen and paper icon at the top right of the file block. This will open the actual file, instead of a preview. Make sure any changes are saved before closing the file to ensure it is updated.
Uploading a File
If file uploading is enabled, a large drag-and-drop area will appear under the files already uploaded for each presentation. Speakers can either drag the file(s) they wish to upload over this area or click anywhere in the area to open the file explorer, from which they can select their files.
Deleting a file
The block for each file will have a button with a trash can icon at the top right. Click this button to delete the file.
Requesting Assistance
If a speaker needs help, they can request it by clicking the “Help” button at the top right of the main screen. This will highlight the App header in red and add a “Help required” message to both screens. Clicking the help button again will turn off the request.
Changing User Details
After logging in, the current user’s name and profile image will appear at the top left of the main screen. Clicking this will open a pop-up where the user can update their personal information. After changes have been made, the user should click the “save” button before closing the pop-up to keep them.
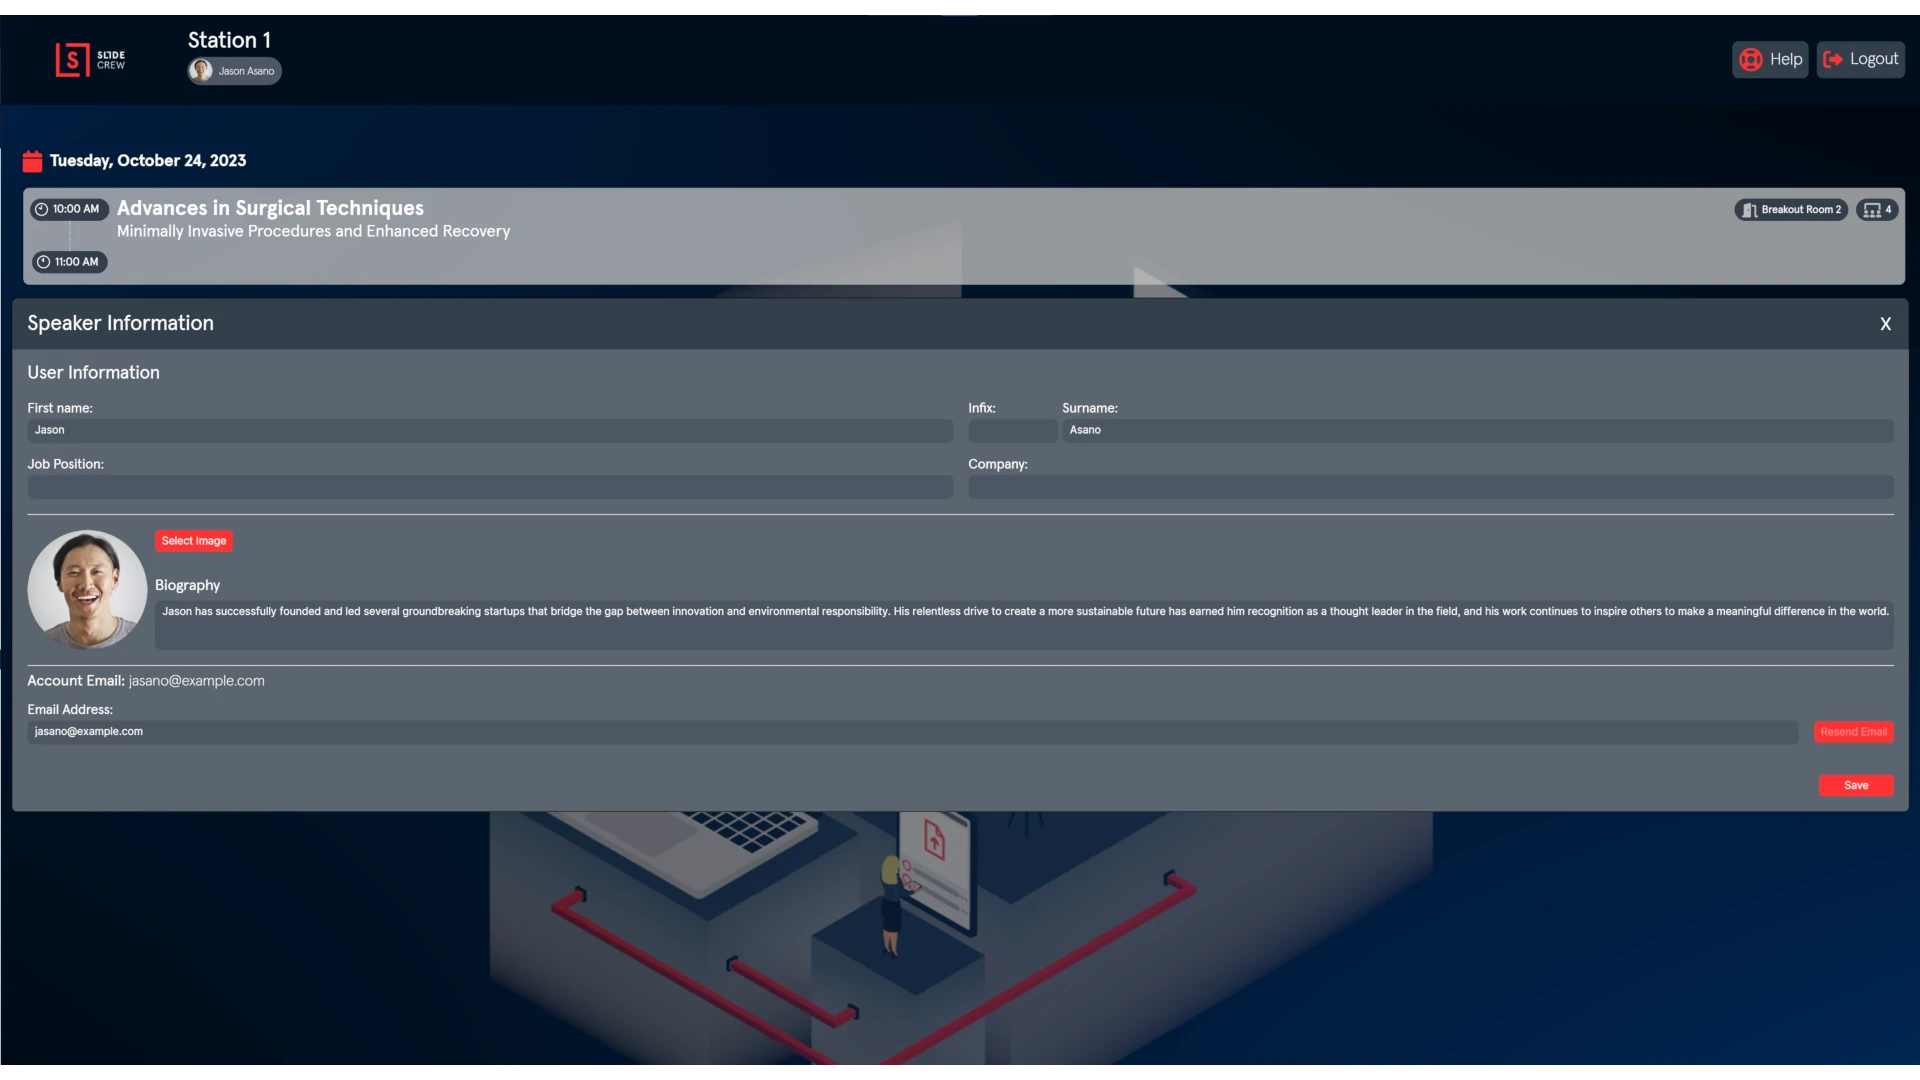
There is also an option in this pop-up to send another speaker upload email to themselves. This is for situations where using the upload link in the email would be easier than transferring their file to the SSC device.
Logout
Once the user is satisfied that all files have been checked, edited or uploaded, they can use the “logout” button at the top right of the main screen to end their session at the SSC station. This will return it to an idle state, and after a few seconds, it will pull the next user waiting in the SSC queue, if the option is enabled, and a user is available.
Inactivity Timeout
If the speaker does not have a file open and have not interacted with the app for 5 minutes after logging in, a pop-up will appear with the message:
“Are you still working? You will be automatically logged out in 60 seconds”
The 60 seconds will count down, and if the “confirm” button is not clicked in that time, the user will be logged out, and the station will return to an idle state. This is to prevent check-in stations from being kept busy when a speaker has already left.