

Create an event in Slidecrew by choosing its package, dates and rooms, then entering the event and billing details.
Short answer: Open Add New Event from the Event Switcher, choose the package and event details, then enter the event and billing information. Selecting Create now creates a quote. The event portal is created after the quote has been signed, including when the quote was created from Slidecrew’s website pricing page.
Open the Event Creator
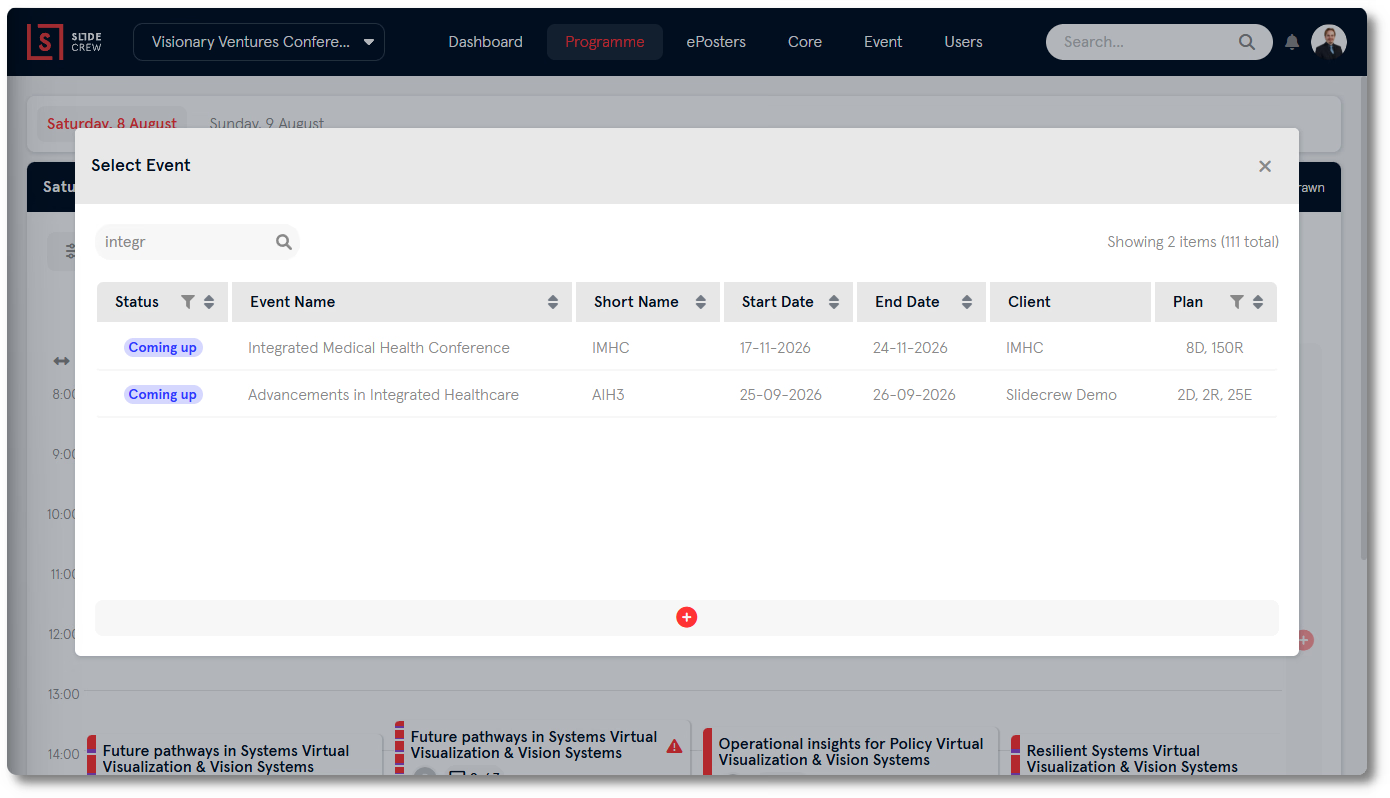
You can create a new event from the Event Switcher in an event portal. Click the switcher at the top left.

Then choose Add New Event at the bottom of the list.
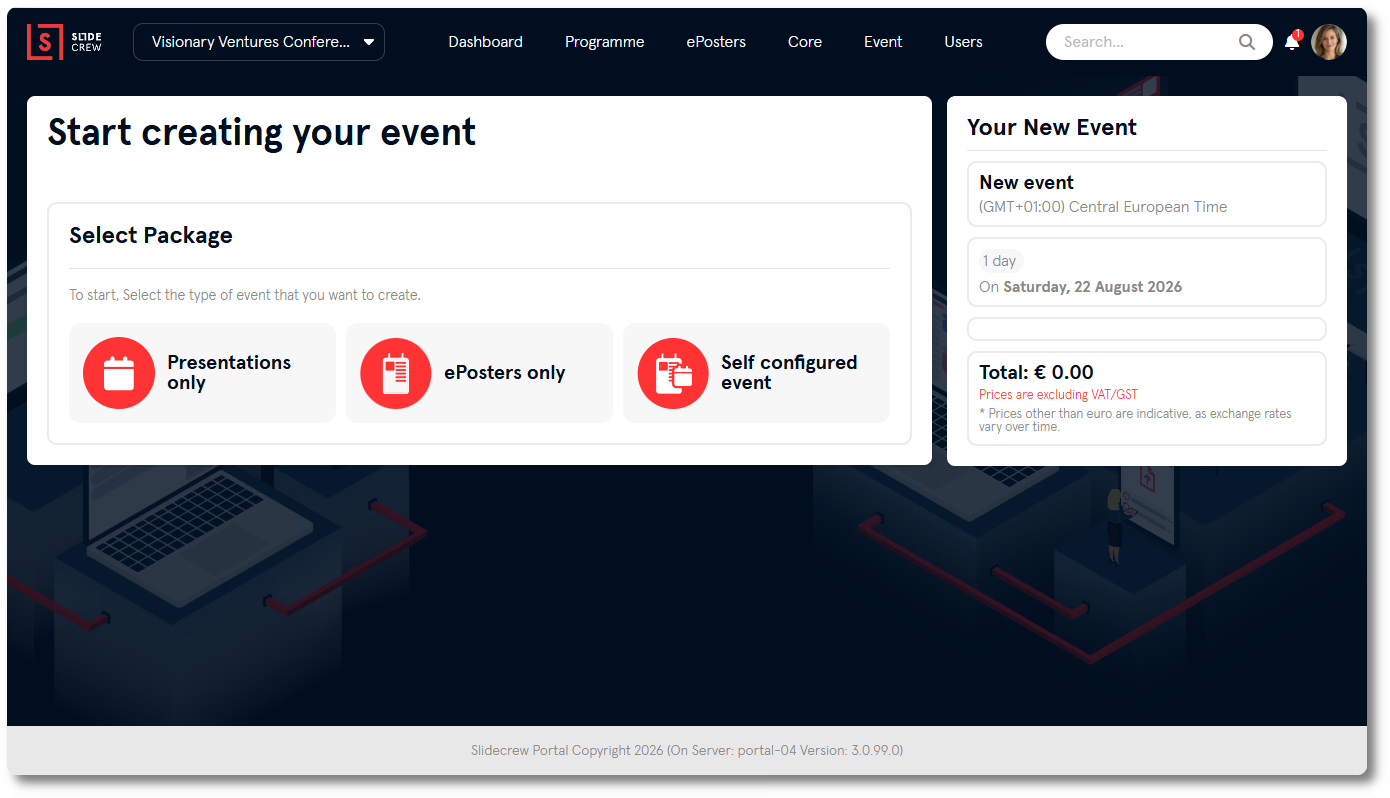
Choose the event package and dates
Choose Presentations only for presentations, ePosters only for ePosters, or Self configured event for both.
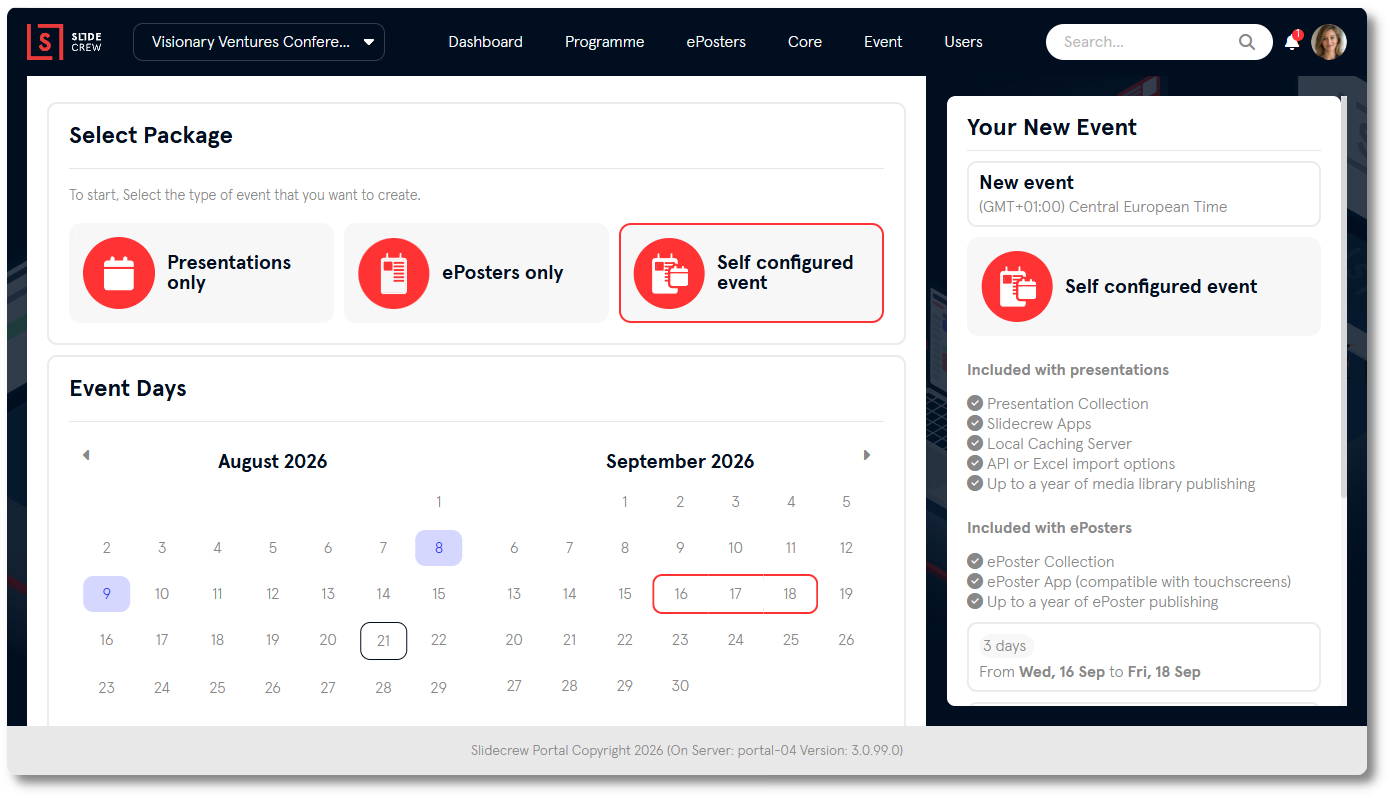
After choosing a package, select the first and last dates for your event. The selected date range and number of days appear in the Your New Event panel.
Set the conference rooms and ePosters
Enter the number of conference rooms needed per day. The same number applies to each selected day.
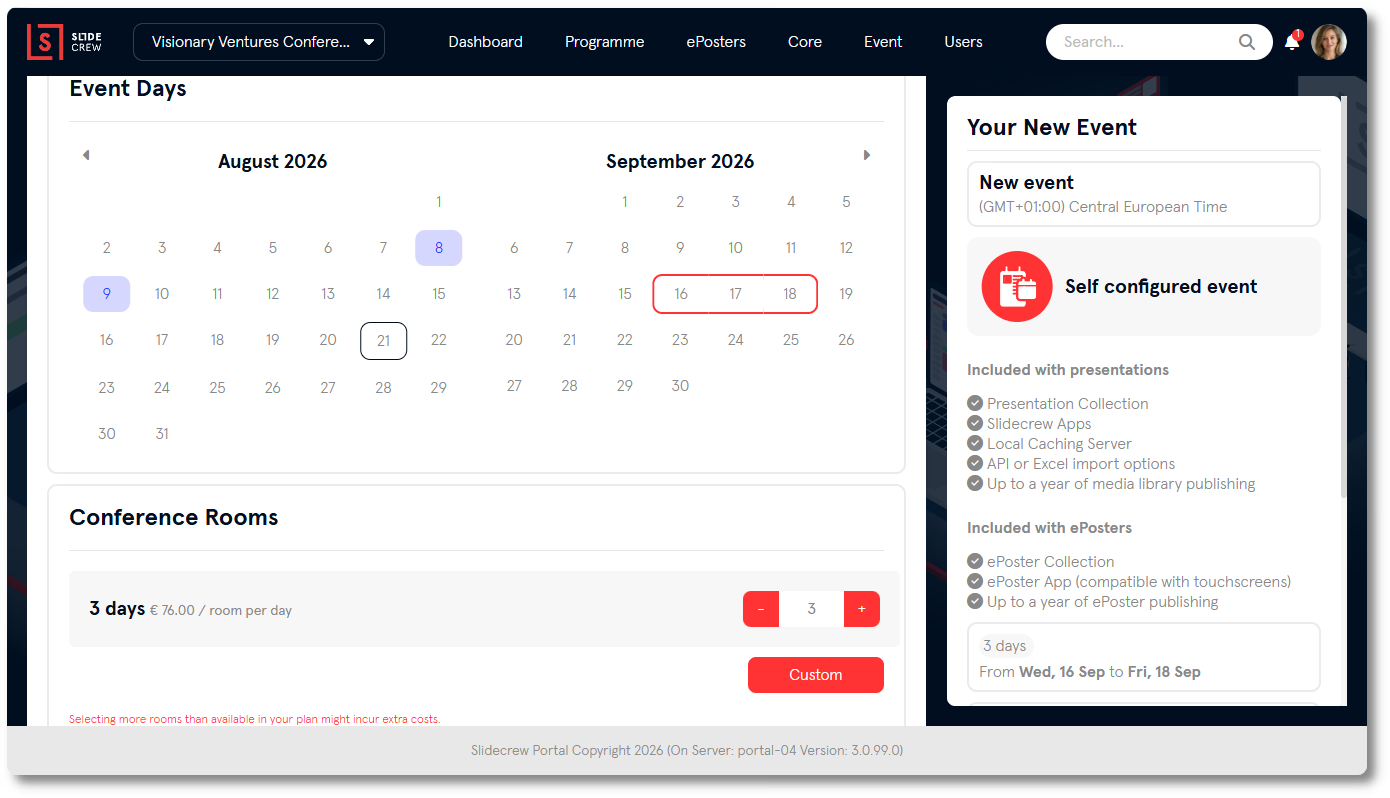
If room counts differ between days, choose Custom to enter a separate number for each day.
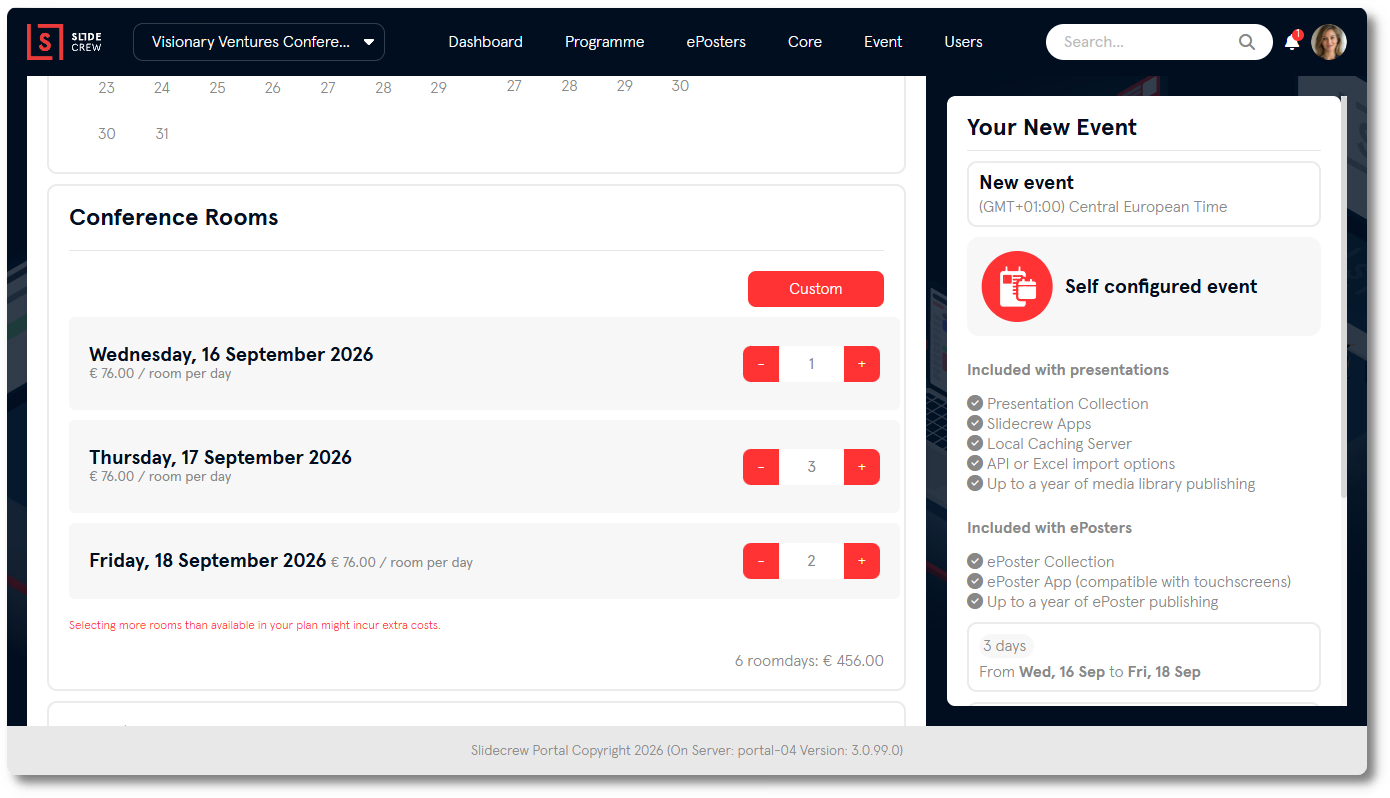
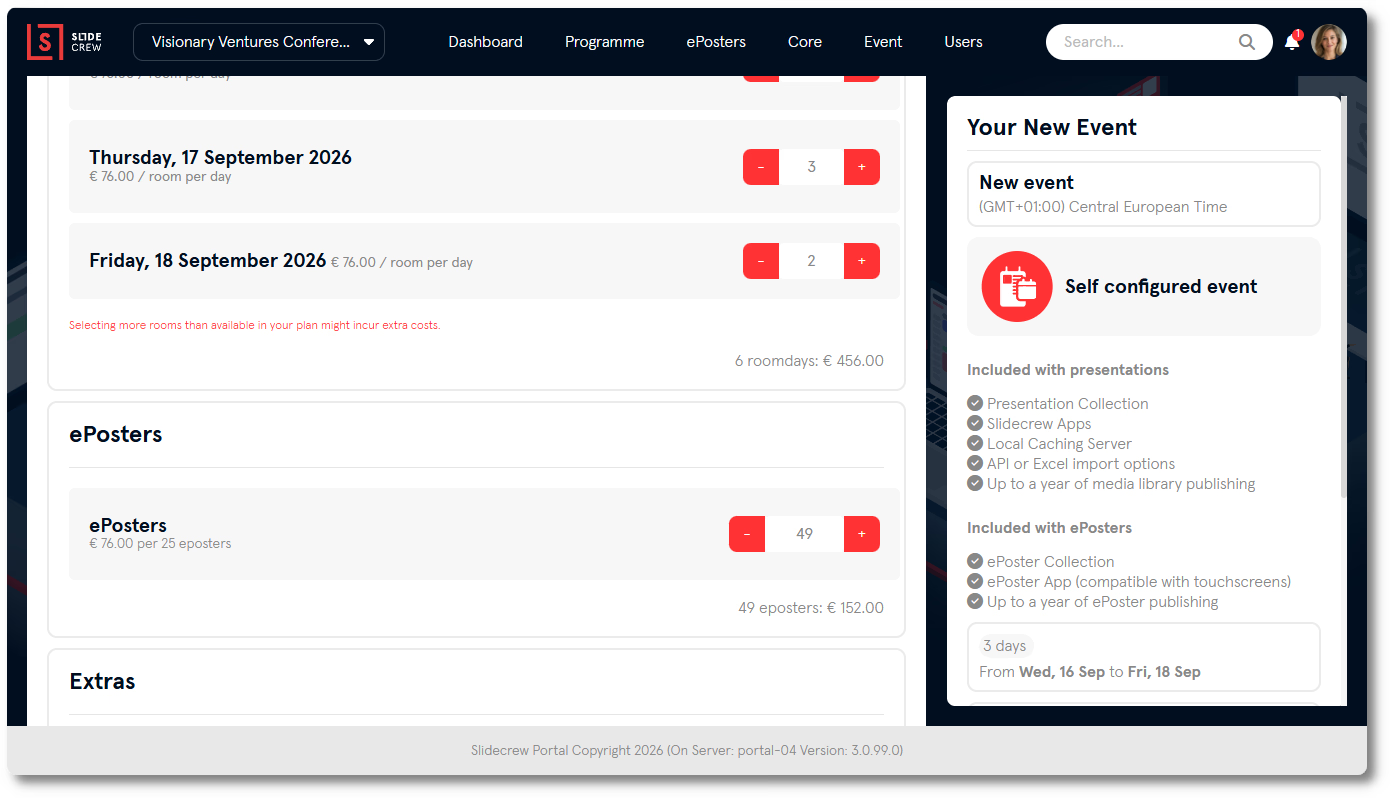
If your package includes ePosters, enter the number you need. ePosters are sold in bundles of 25, and the quantity is rounded up for billing. For example, 24 ePosters are billed as 25, while 26 are billed as 50.
Select any extras
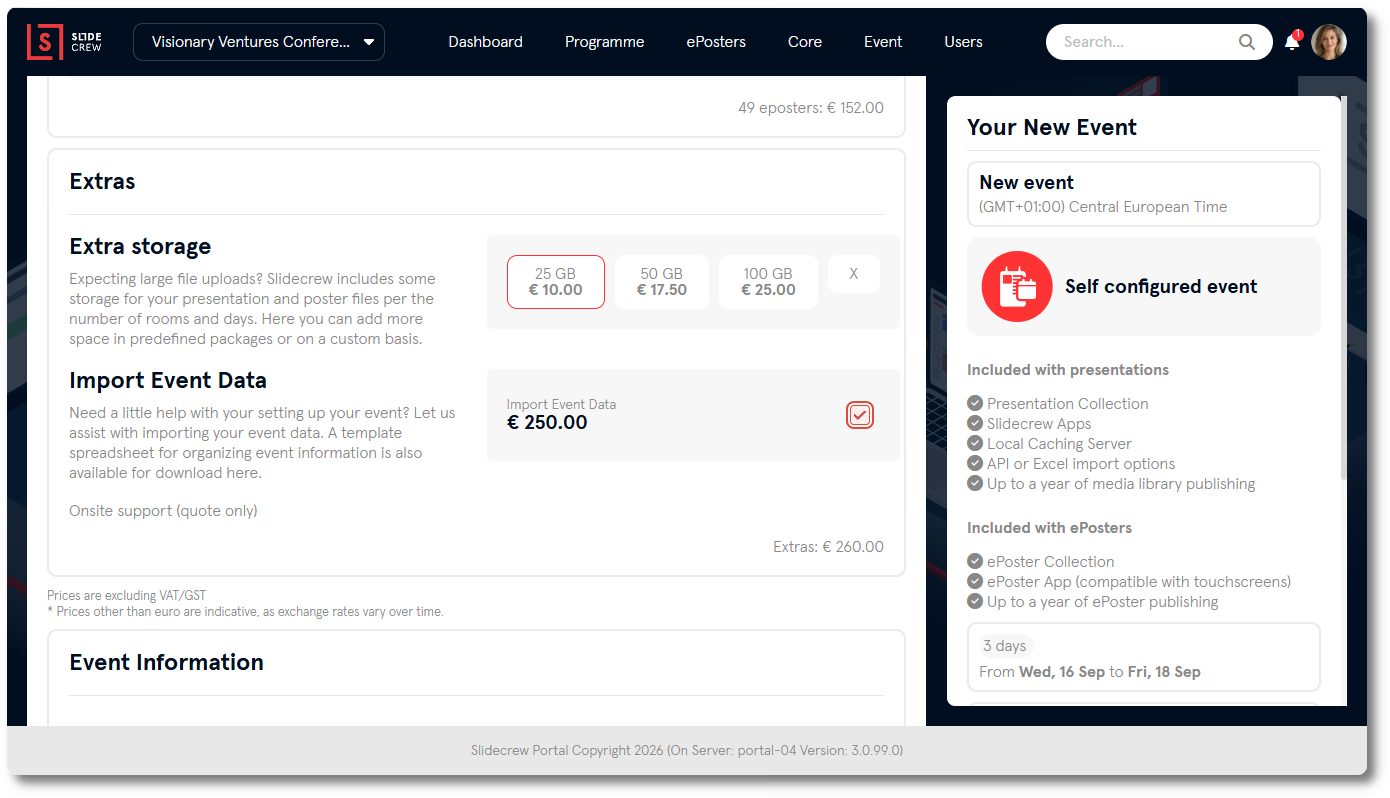
Each event includes 2 GB of file storage per room per day. Select additional storage if you need more. Choose Import Event Data if you want the Slidecrew team to import event data from a spreadsheet or through an API.
Enter the event information
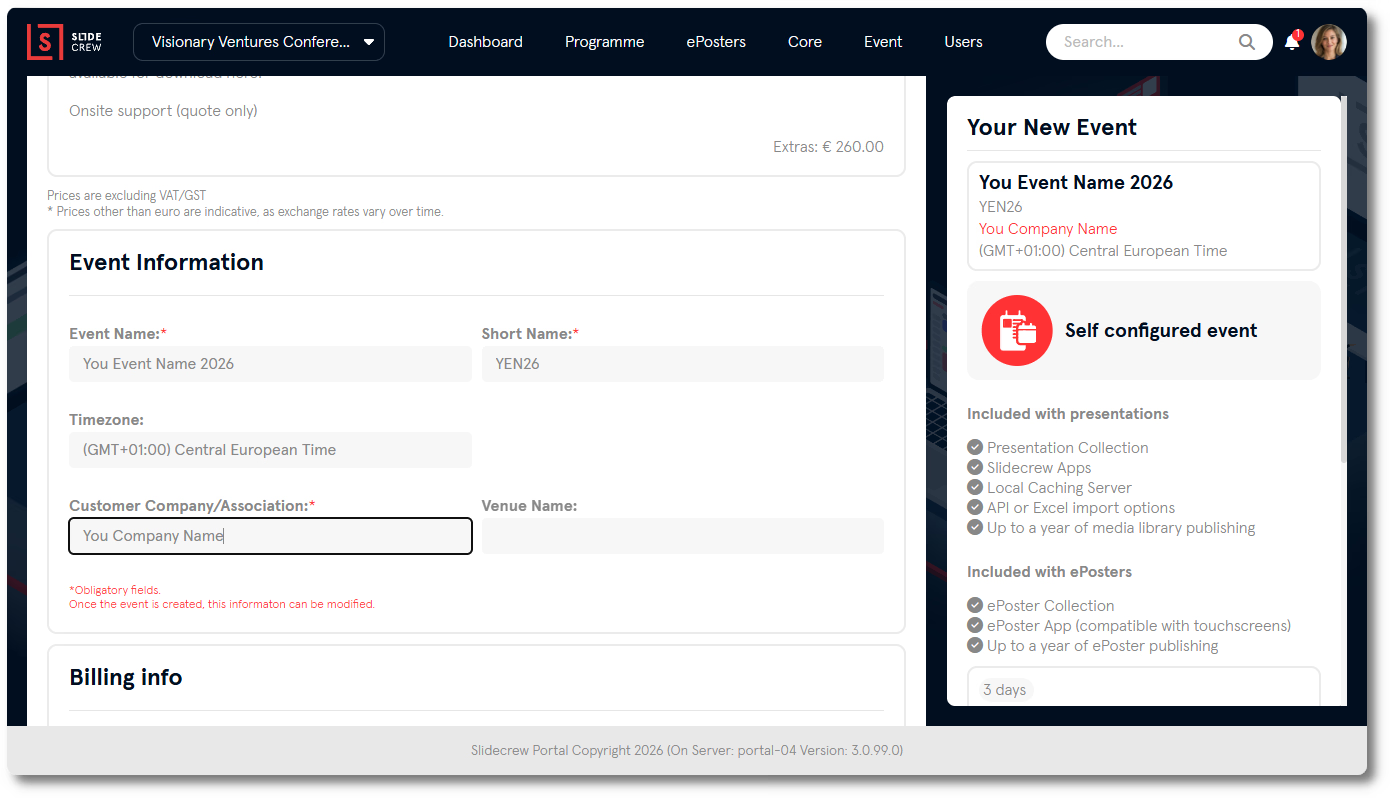
Complete the event information. A red asterisk marks required fields. Check that the displayed timezone is correct.
| Field | What to enter |
|---|---|
| Event Name | The full event name. Required. |
| Short Name | The abbreviated event name used in Slidecrew. Required. |
| Timezone | The timezone used for the event. Confirm that the displayed timezone is correct. |
| Customer Company/Association | The company or association responsible for the event. Required. |
| Venue Name | The event venue. Optional. |
Check the billing information
If you have created an event before, billing information appears automatically. Check it before creating the quote. Complete the required fields and add optional details where they apply.
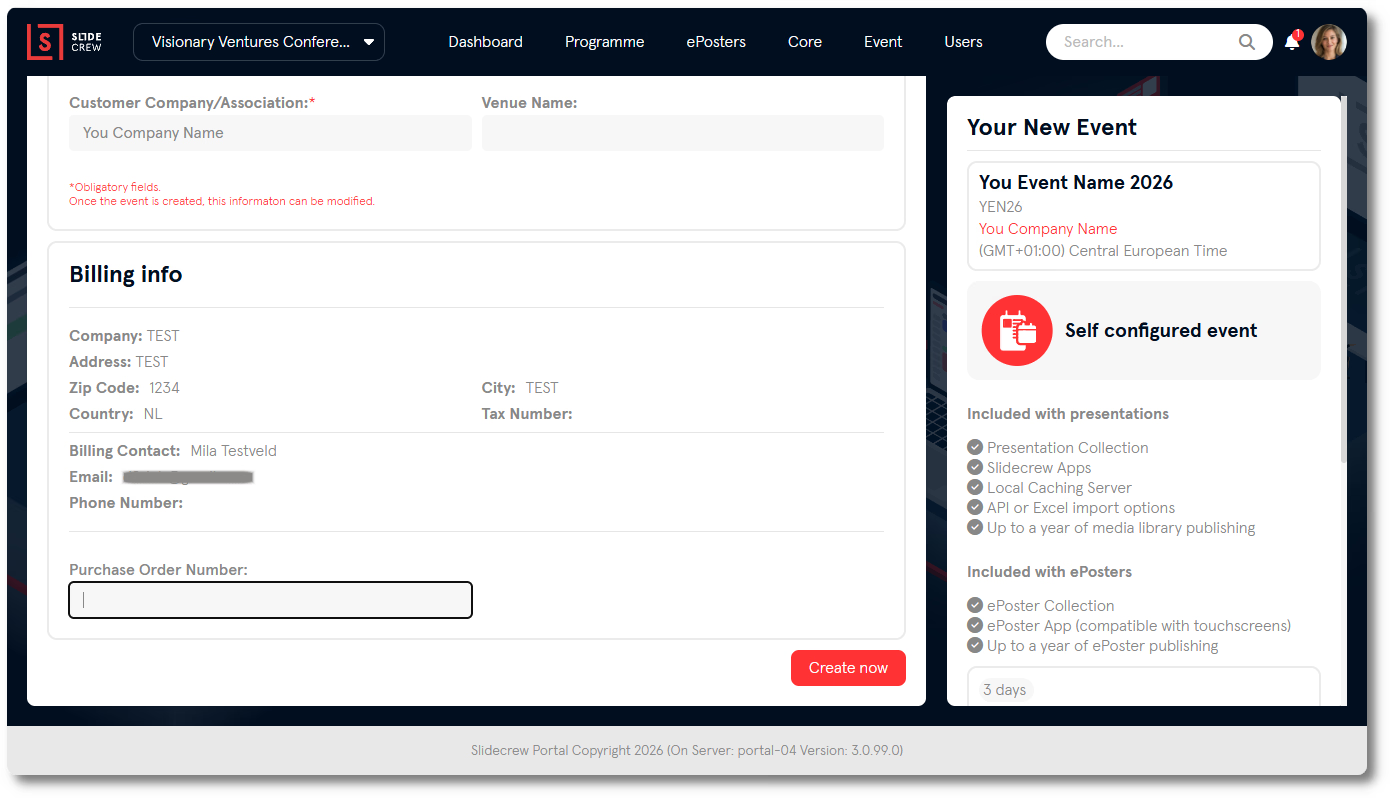
| Field | Requirement |
|---|---|
| Company | Required |
| Address | Required |
| Zip Code | Required |
| Country | Required |
| City | Required |
| Tax Number | Optional |
| Billing Contact | Required |
| Required | |
| Phone Number | Optional |
| Purchase Order Number | Optional. Enter the purchase order number for this event, if applicable. |
Create the quote
Review the Your New Event panel, including your selections, what is included and the running total.
Click Create now to create the quote. The event portal is created after the quote has been signed. A quote created from the website pricing page also creates the portal after signing.
Related guides
- How do I create a Slidecrew account and log in? → Create your account and log in
- How do I import my programme into Slidecrew from a spreadsheet? → Import your programme from a spreadsheet
- Organiser Manual → Read the full Organiser Manual