

Set up a Speaker Ready Room check-in station, choose how speakers log in and configure the station screens.
Short answer: One device runs one station. Its number comes from the device name, or defaults to Station -1 if the name has no number. Configure global settings for all stations, then enable Global SSC Override on a station before changing its per-station overrides. Speakers can log in with a badge, a code or staff assignment.
Set up a check-in station
Pair the device and give it a name with the station number you want to use.
- Pair the device to your event and set its Device Name in the portal. See How do I install the Slidecrew App Launcher and pair a device? for pairing steps.
- Open the App Launcher on the device.
- Select Speaker Service Center.
- Click Speaker Service Centre.
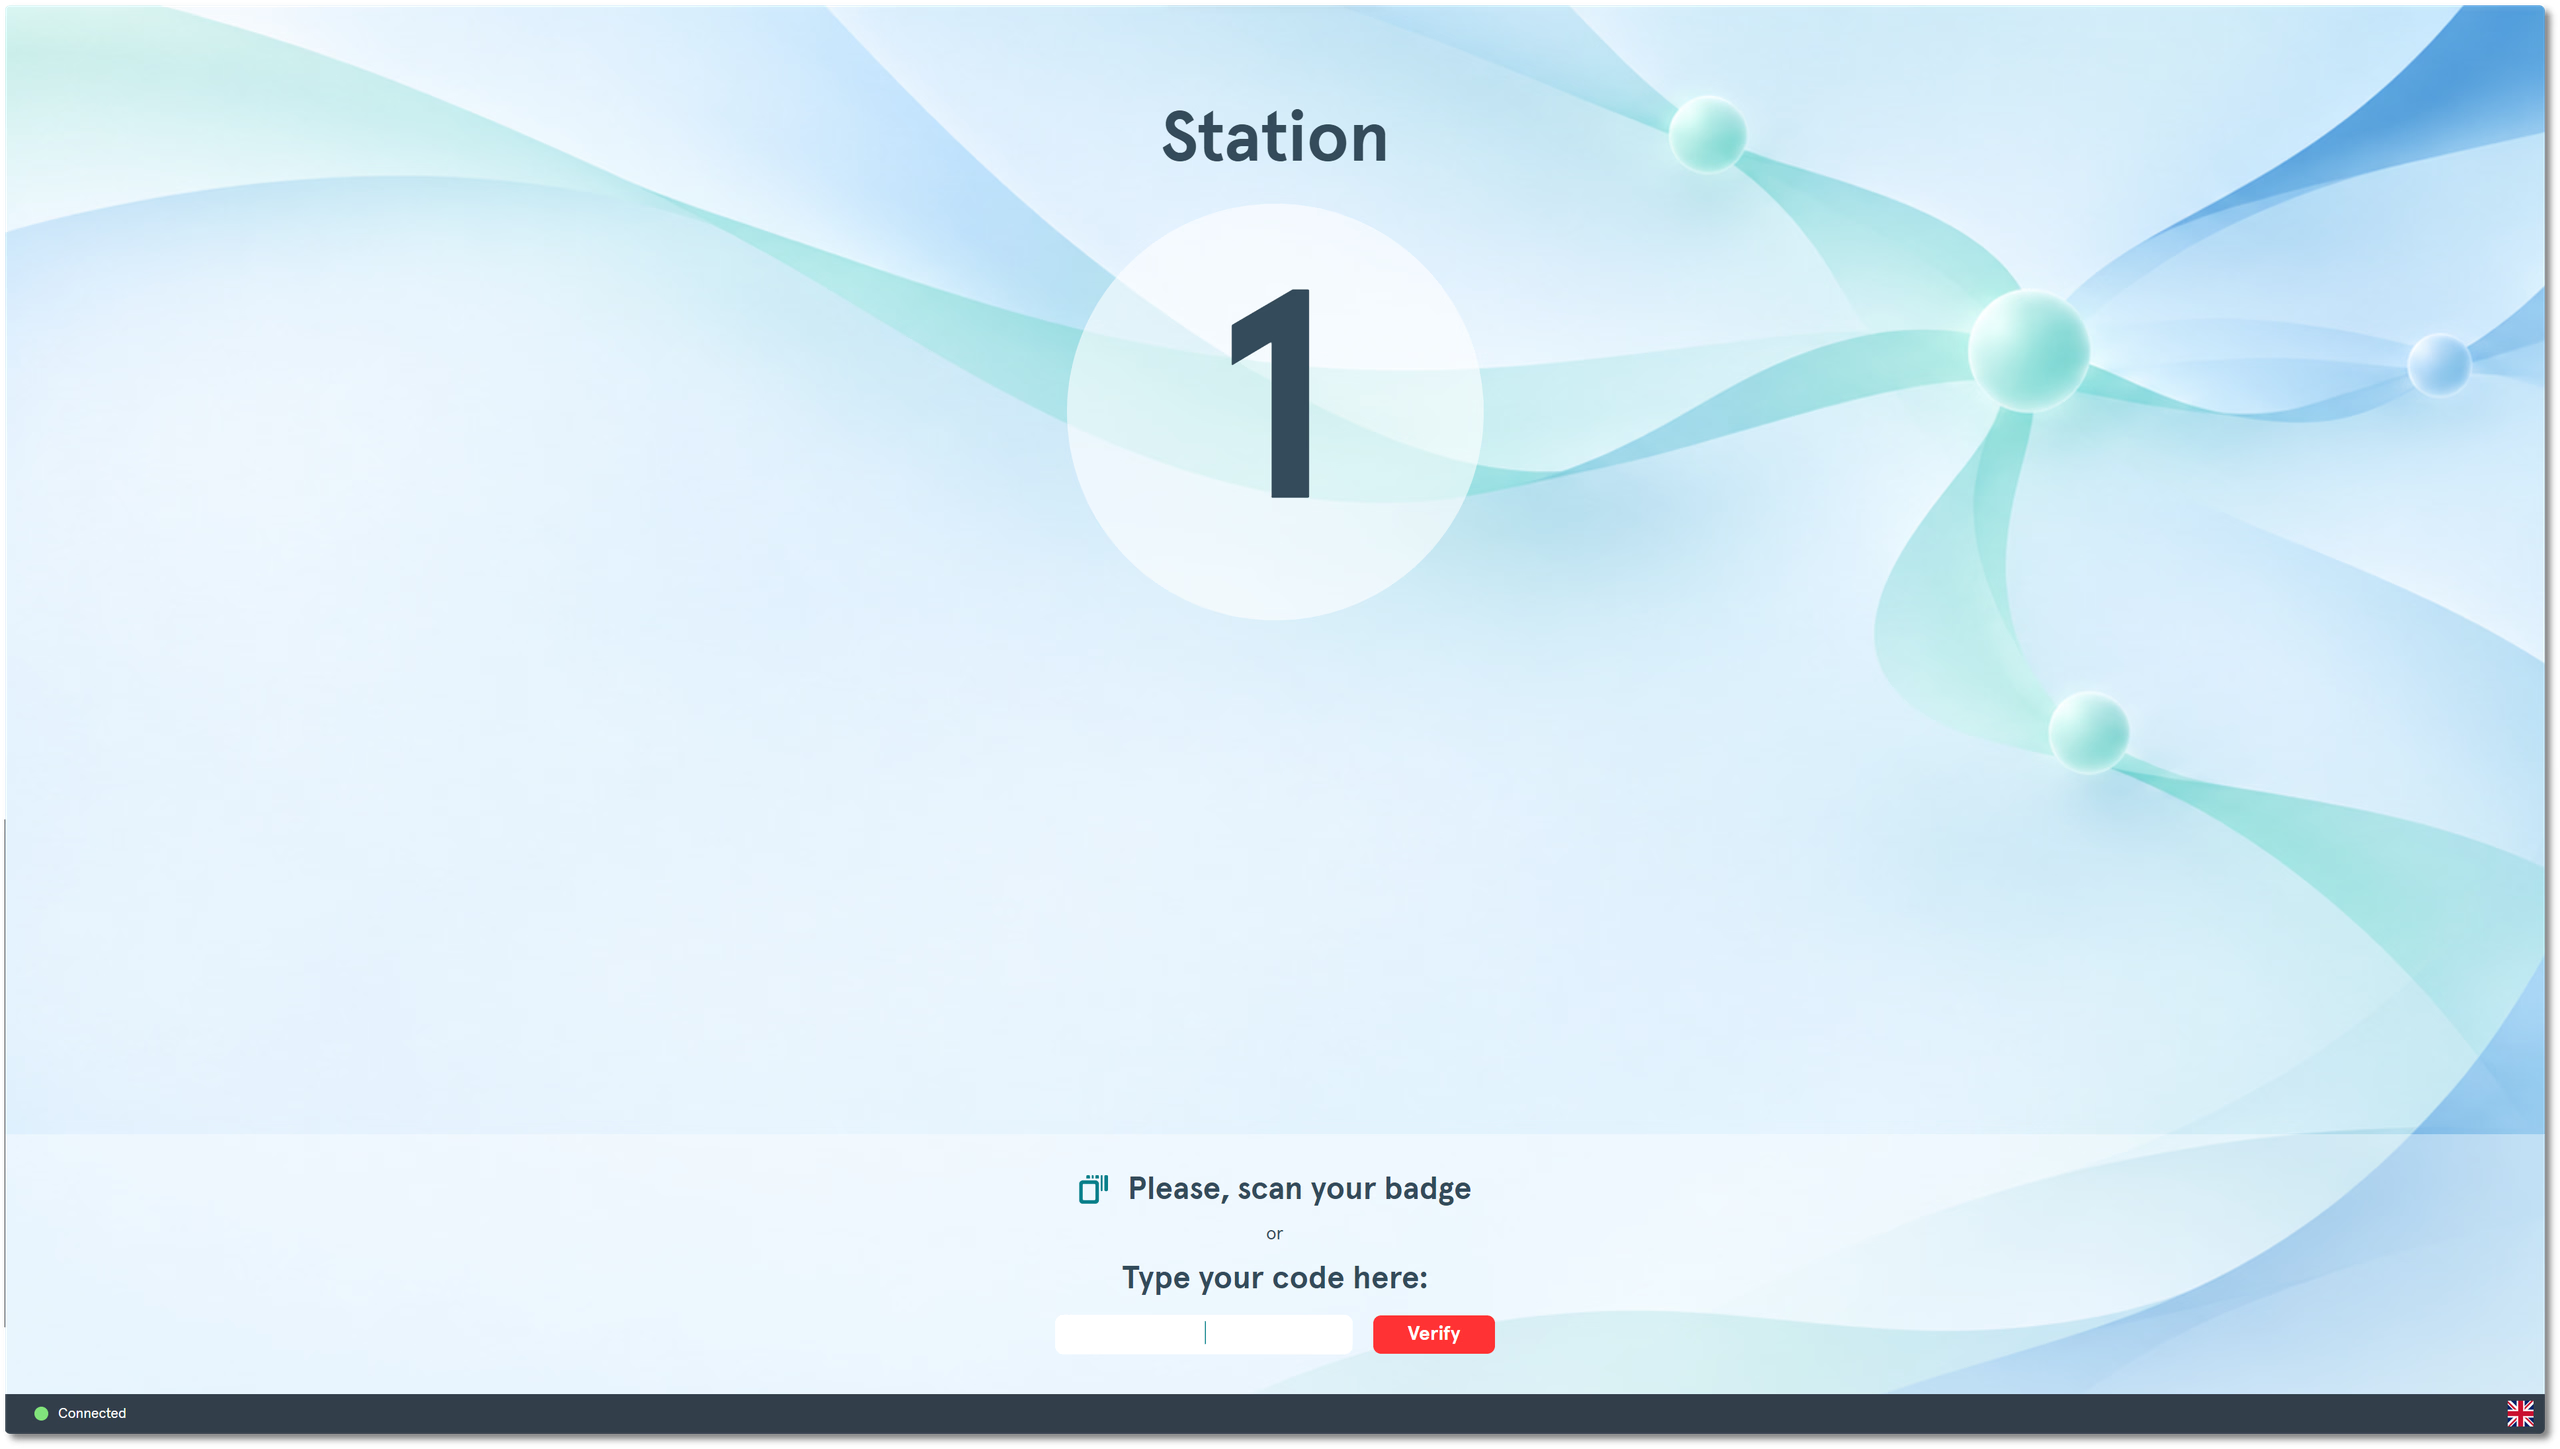
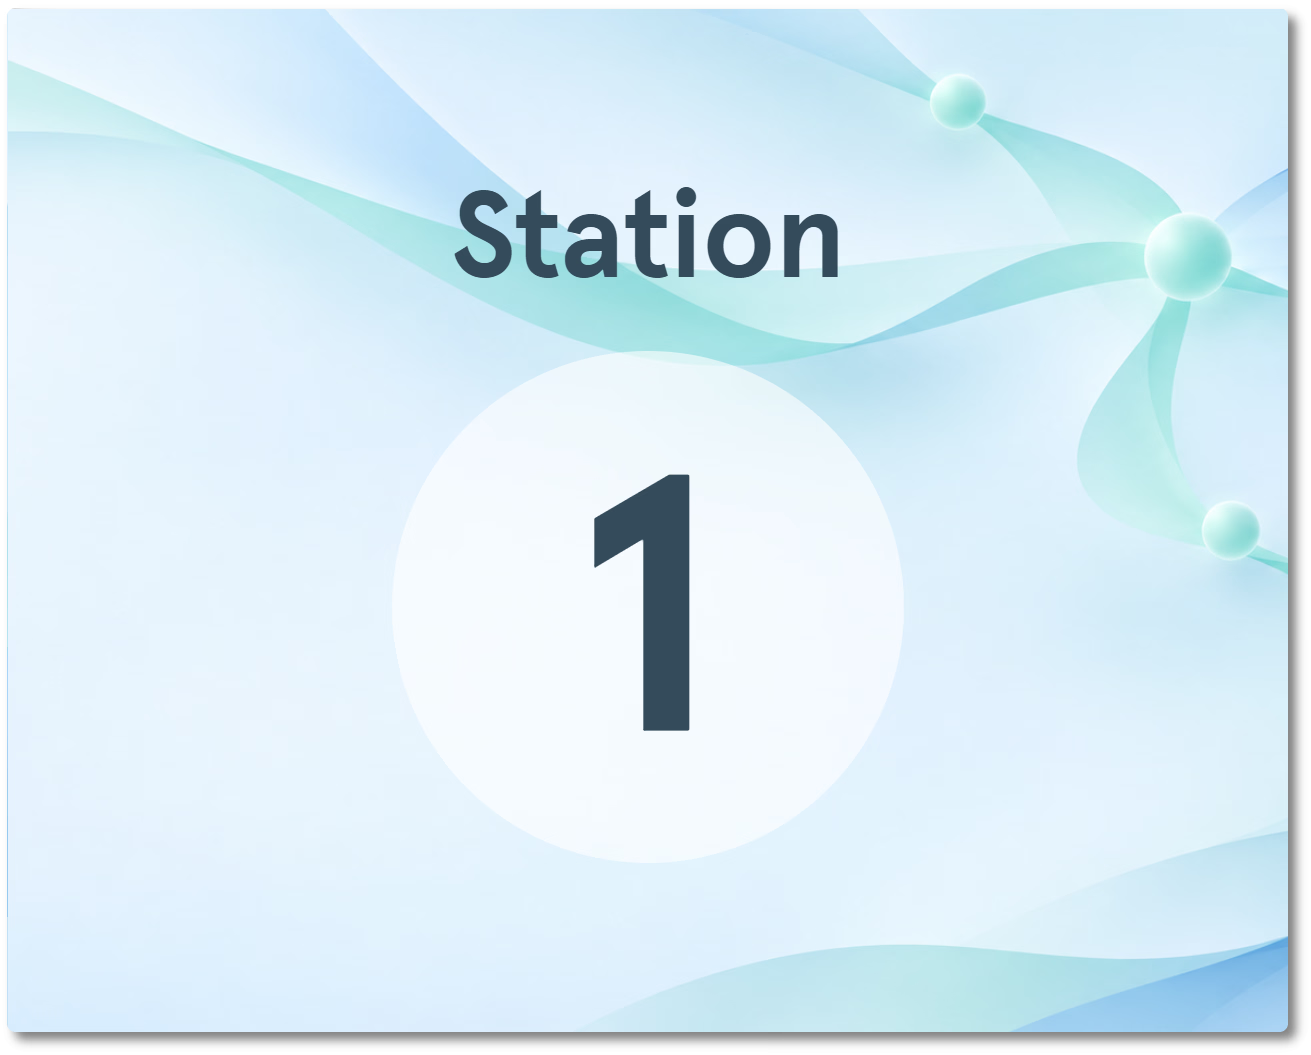
One device runs one station. If its Device Name contains a number, that number is used as the station number. If the name has no number, the station defaults to Station -1. The idle screen shows the station number and available speaker login options.
Set global Speaker Ready Room settings
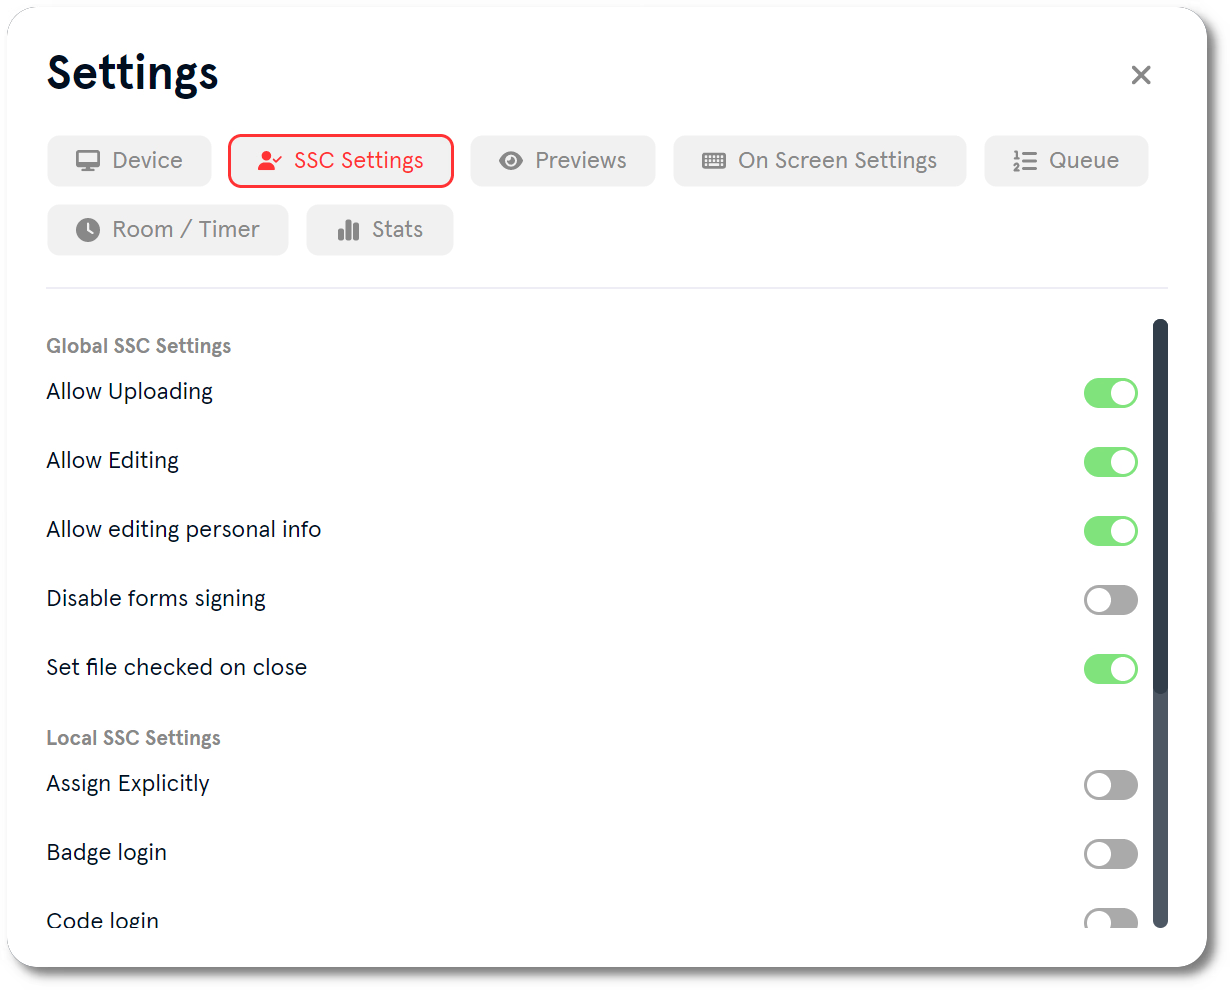
Global SSC Settings apply to every station in the event. Open Settings on a station device, select SSC Settings, then configure the settings you need.
| Setting | Notes |
|---|---|
| Allow Uploading | Allows speakers to upload files at the station |
| Allow Editing | Allows speakers to delete and replace files at the station |
| Allow editing personal info | Allows speakers to update their own name, job position, company, biography, and email from a pop-up opened by clicking their name in the Speaker Service Centre App |
| Disable forms signing | When enabled, forms pop-ups are not shown to speakers at the stations |
| Set file checked on close | Marks all of a speaker’s files as checked when they log out of their station |
Enable Global SSC Override on an individual station before changing its per-station overrides.
Configure settings for one station
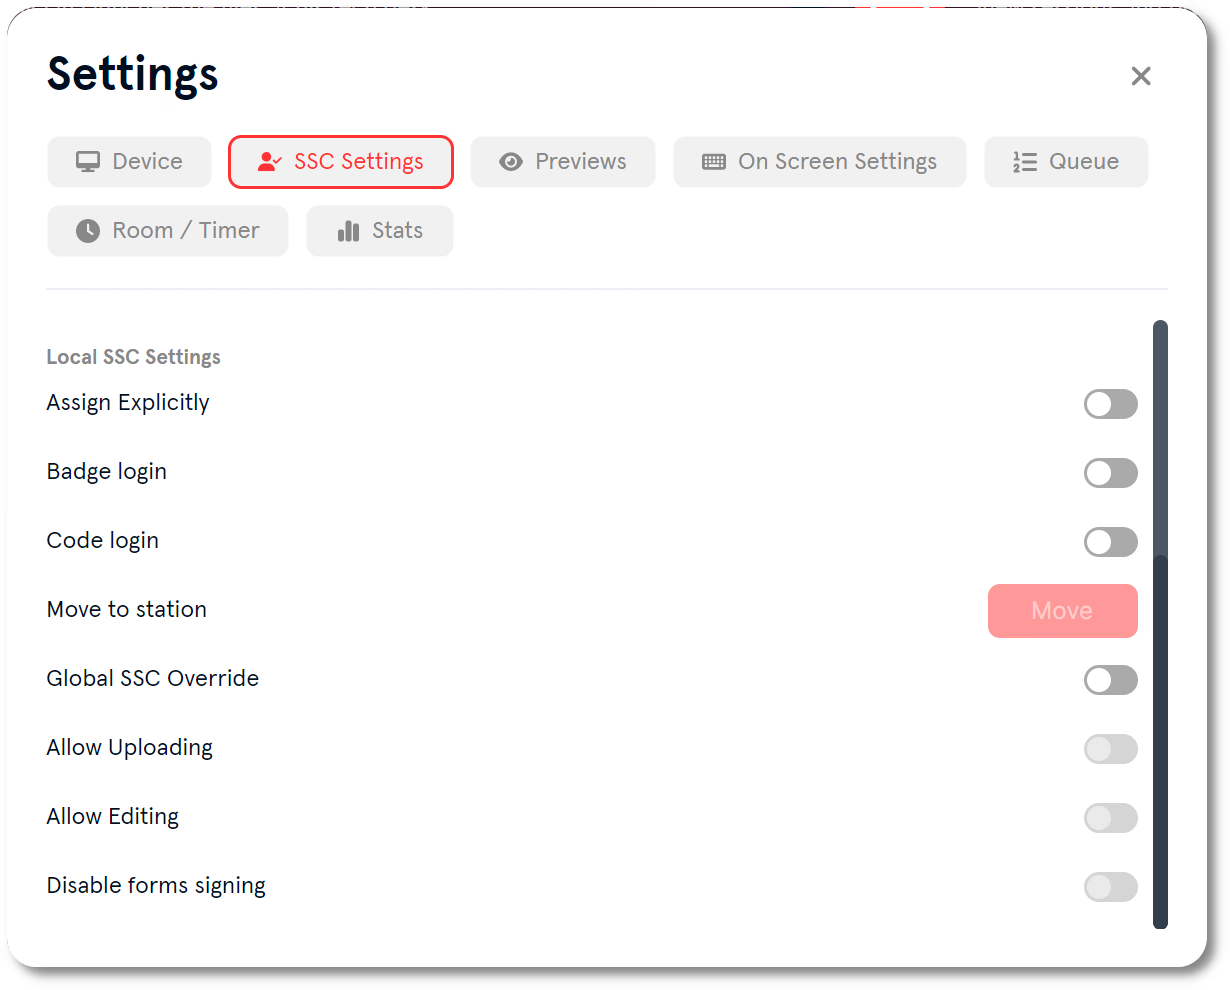
Open the station’s Settings pop-up by clicking the green connection indicator at the bottom left of its screen, then select SSC Settings. Station-specific settings appear below the global settings.
| Setting | Notes |
|---|---|
| Assign Explicitly | Requires staff to assign speakers to stations manually. Speakers cannot self-assign by QR scan. |
| Badge login | When enabled, speakers can log in by scanning their QR code or barcode |
| Code login | When enabled, speakers can log in by entering their barcode value manually |
| Move to station | Reassigns the speaker currently working at this station to another |
| Global SSC Override | Must be enabled before any per-station setting below takes effect |
| Allow Uploading | Per-station override for the global upload setting |
| Allow Editing | Per-station override for the global editing setting |
| Disable forms signing | When enabled, forms pop-ups are not shown to speakers at this station |
Choose how speakers log in
You can enable more than one login method at the same time in the station settings.
- Badge login: The speaker scans their QR code or barcode with a compatible barcode scanner connected to the station device.
- Code login: The speaker enters their barcode value on the idle screen and clicks Verify.
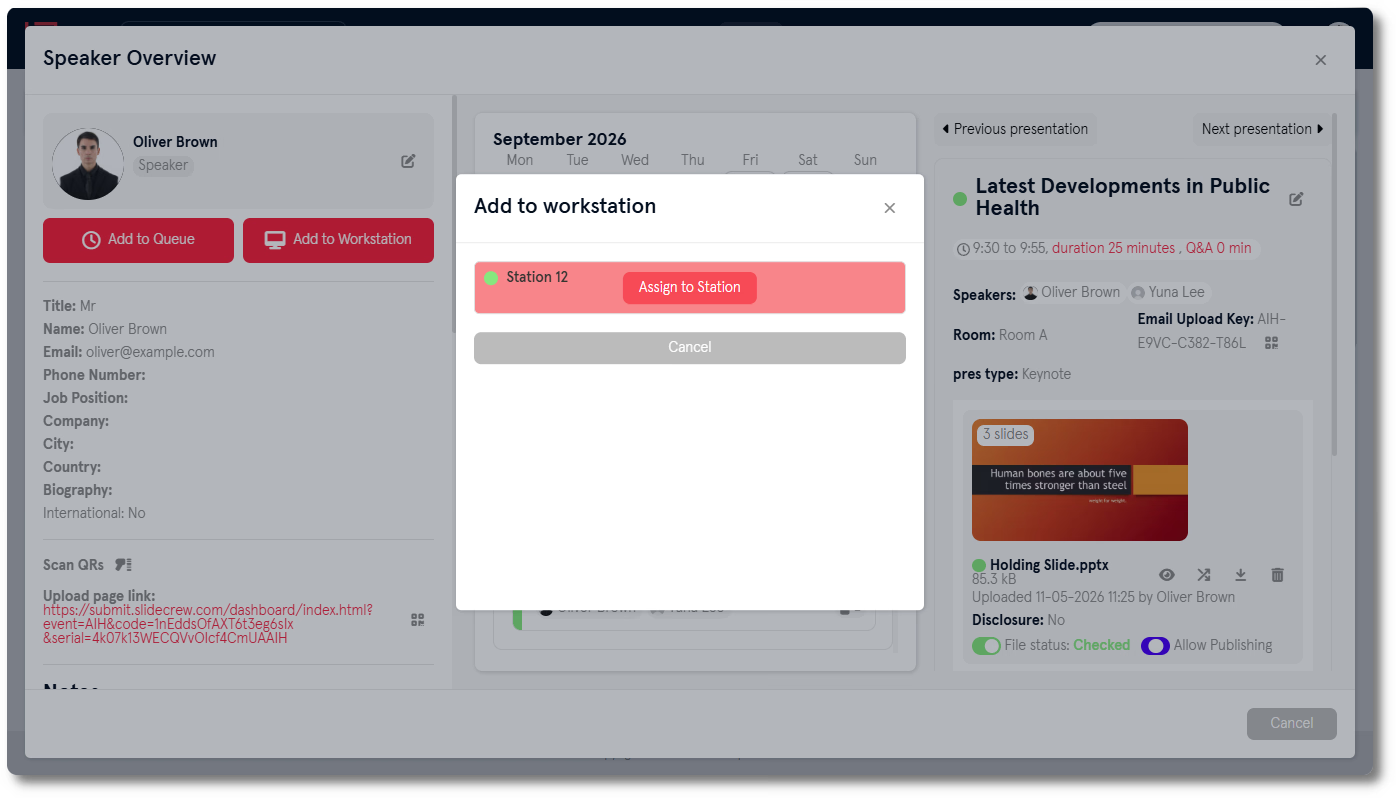
- Staff assignment: A staff member assigns the speaker from the portal’s Queue tab, Speaker Overview Page or attendee sidebar.
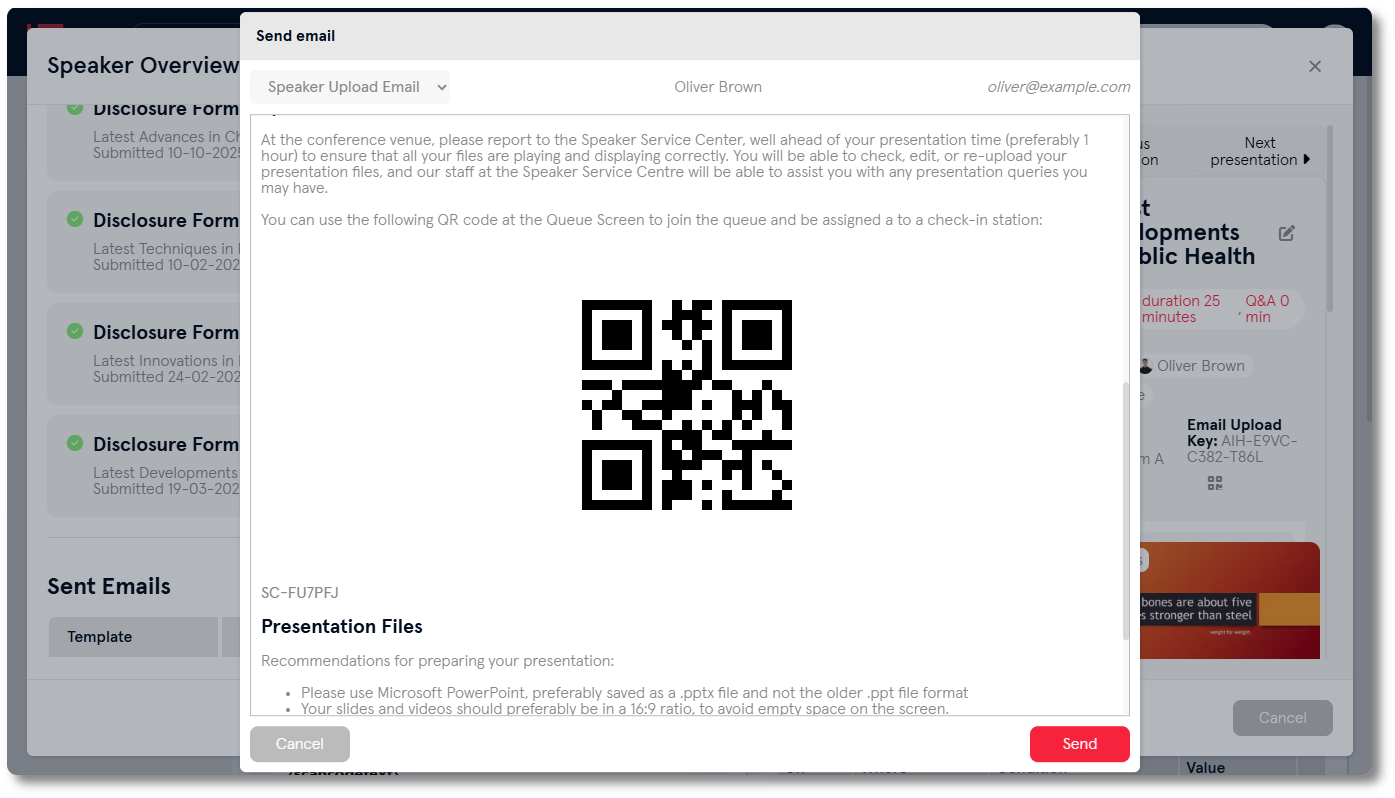
Each speaker has a default numeric code generated by Slidecrew. Additional codes can use a different barcode format, and all codes work for station login.
| Item | Detail |
|---|---|
| Default code | A short numeric code generated automatically by Slidecrew. One per speaker. |
| Additional codes | Any value you enter manually. Useful if a speaker badge uses a different barcode format. |
| Valid uses | All codes work for queue sign-in at the Queue screen and for station login at the Speaker Service Centre App. |
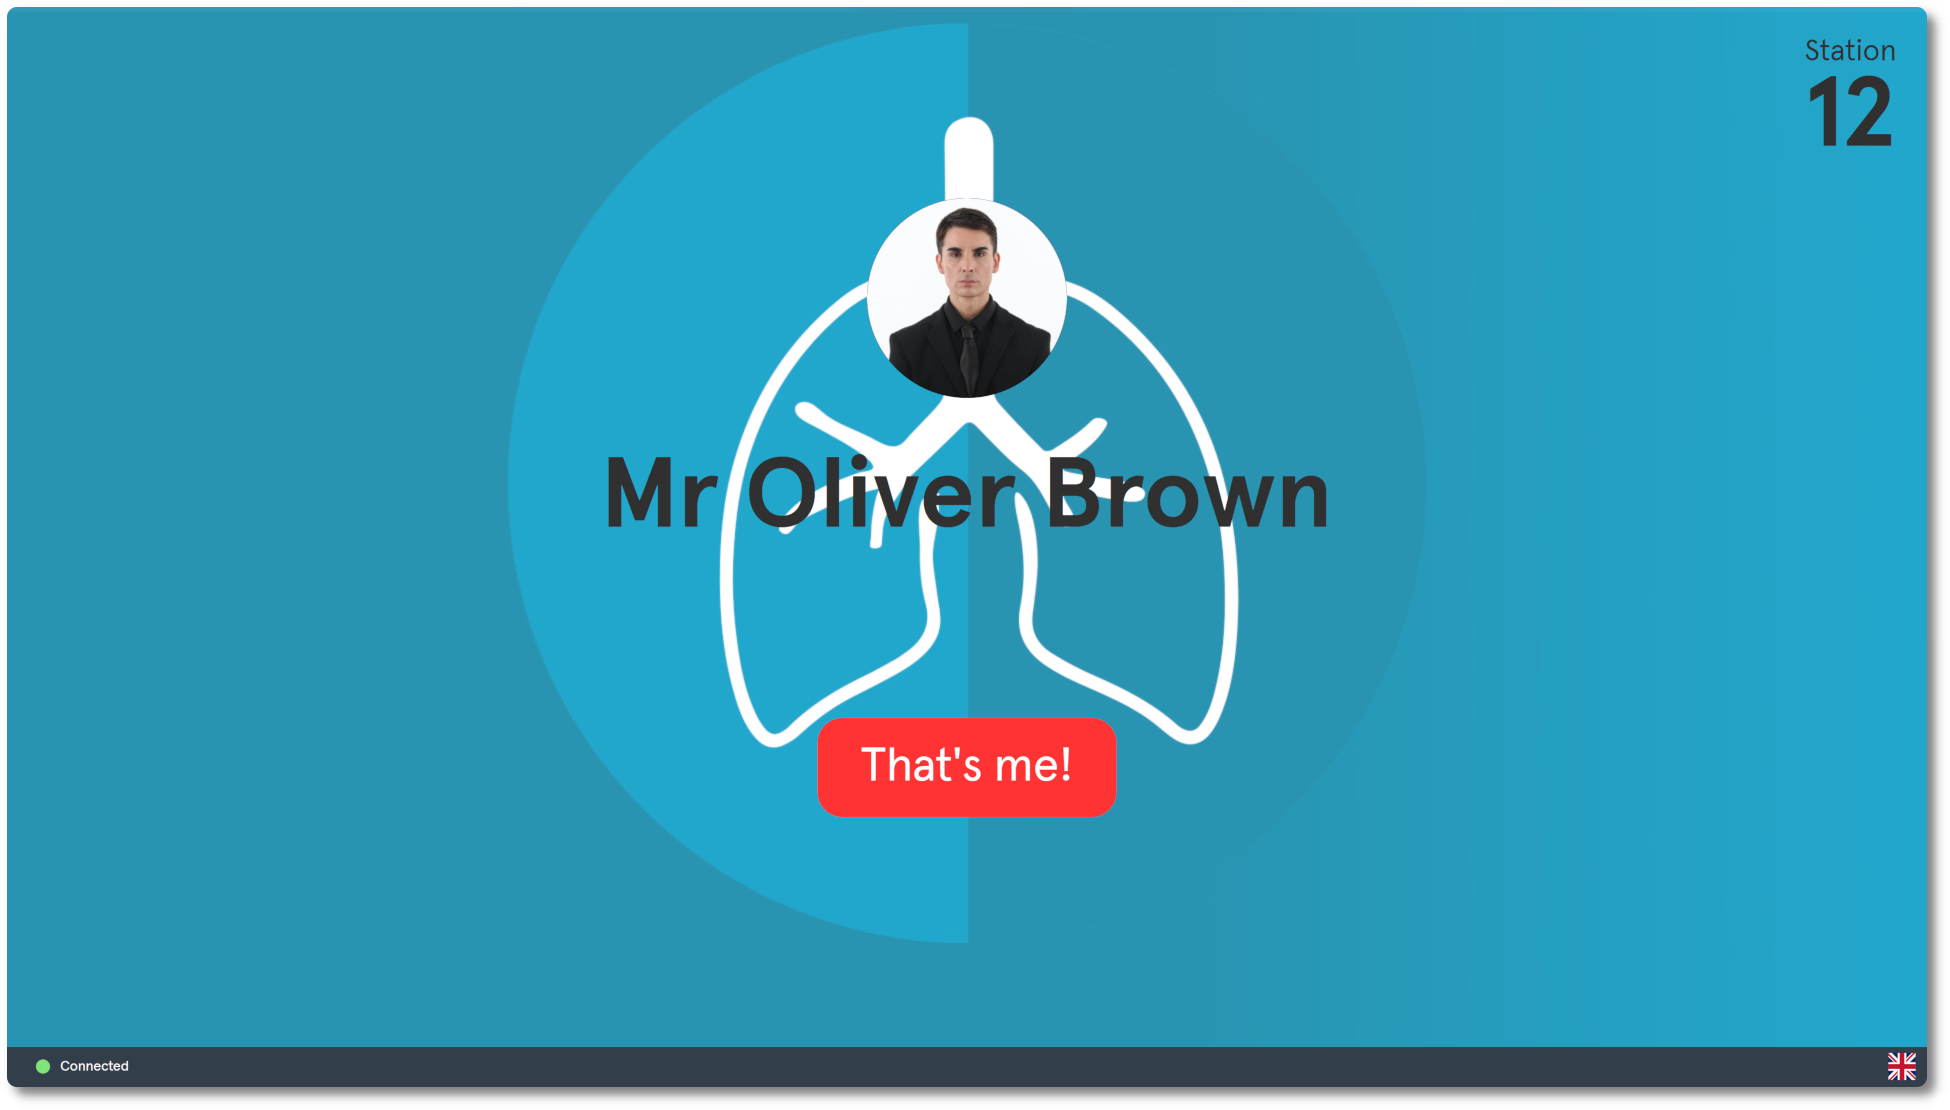
After login, the station shows the speaker’s profile picture and full name. The speaker selects That’s me! to confirm.
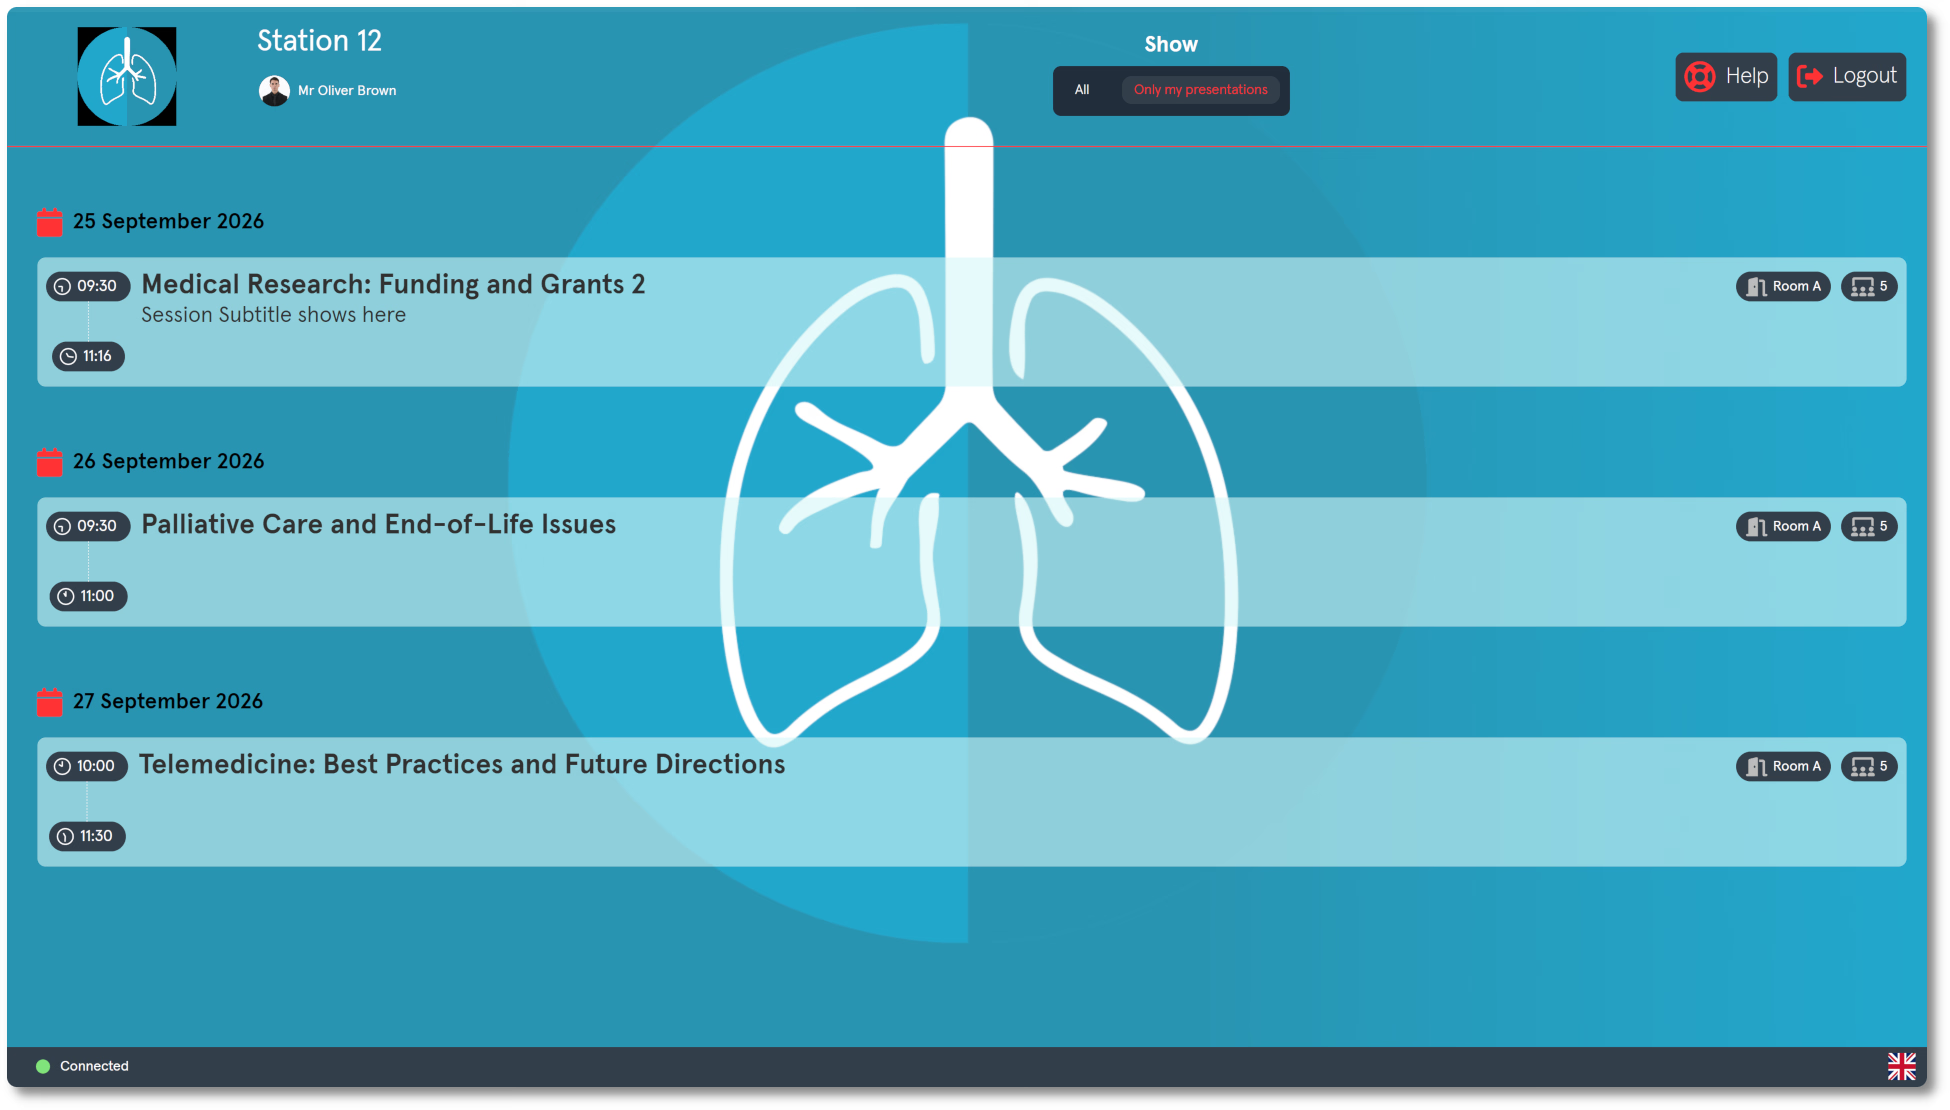
The session list then appears. By default, it shows sessions where the speaker is a moderator or has a presentation. The speaker can select Only my presentations under the Show toggle to hide sessions where they are only moderating.
Add, delete or print a speaker barcode
Each speaker gets a default barcode when their account is created. The code can be scanned as a QR code or entered manually. You can add extra codes to match another badge format.
- In the portal, go to Users → Attendees and click the speaker’s row to open the sidebar.
- Click Scan QR codes. The barcode section expands below the button.
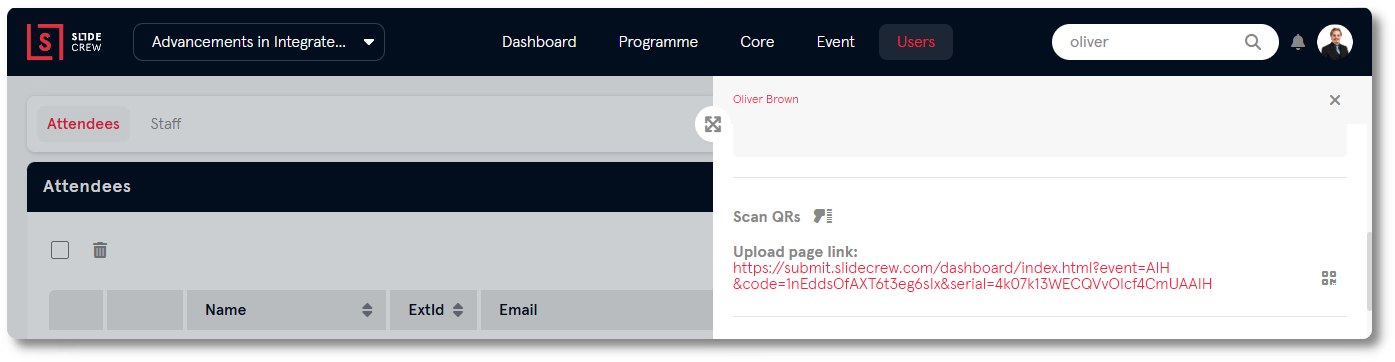
- Type the code into Insert code here, then click Save.
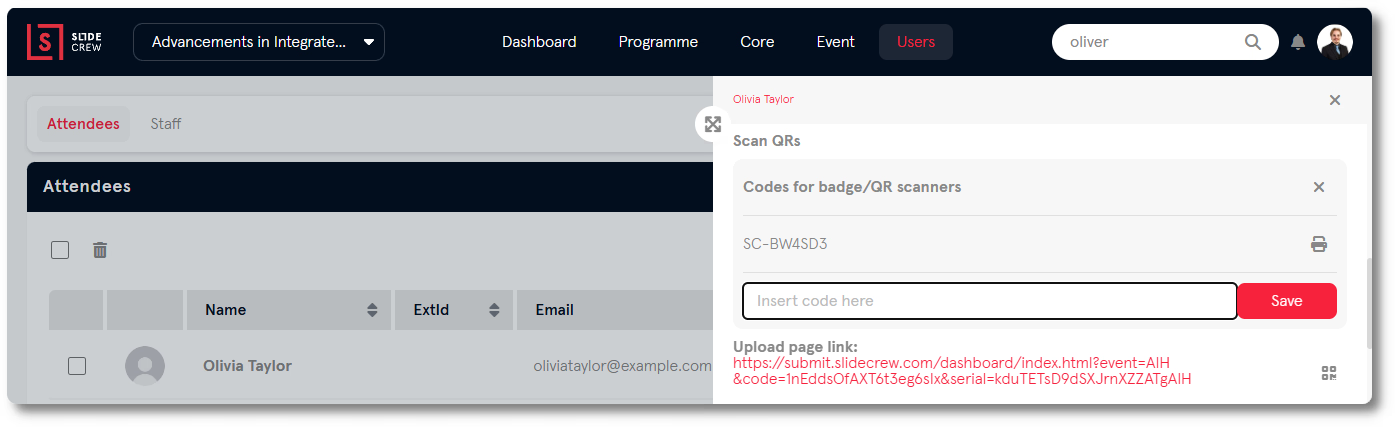
To delete a code, click the trash icon beside it. To print a QR code for a speaker badge, click the printer icon beside the code. A printable version opens in a new tab.
You can also add a barcode by importing it in a later spreadsheet with a complete row for that person. See How do I import my programme into Slidecrew from a spreadsheet?.
Connect a second screen and request help
You can connect a second display to the Speaker Service Centre Preview app. While the station is idle, the second screen shows the station number and device Style. When a speaker is logged in and moving through the station interface, the second screen mirrors that navigation in a layout similar to the Kiosk App.
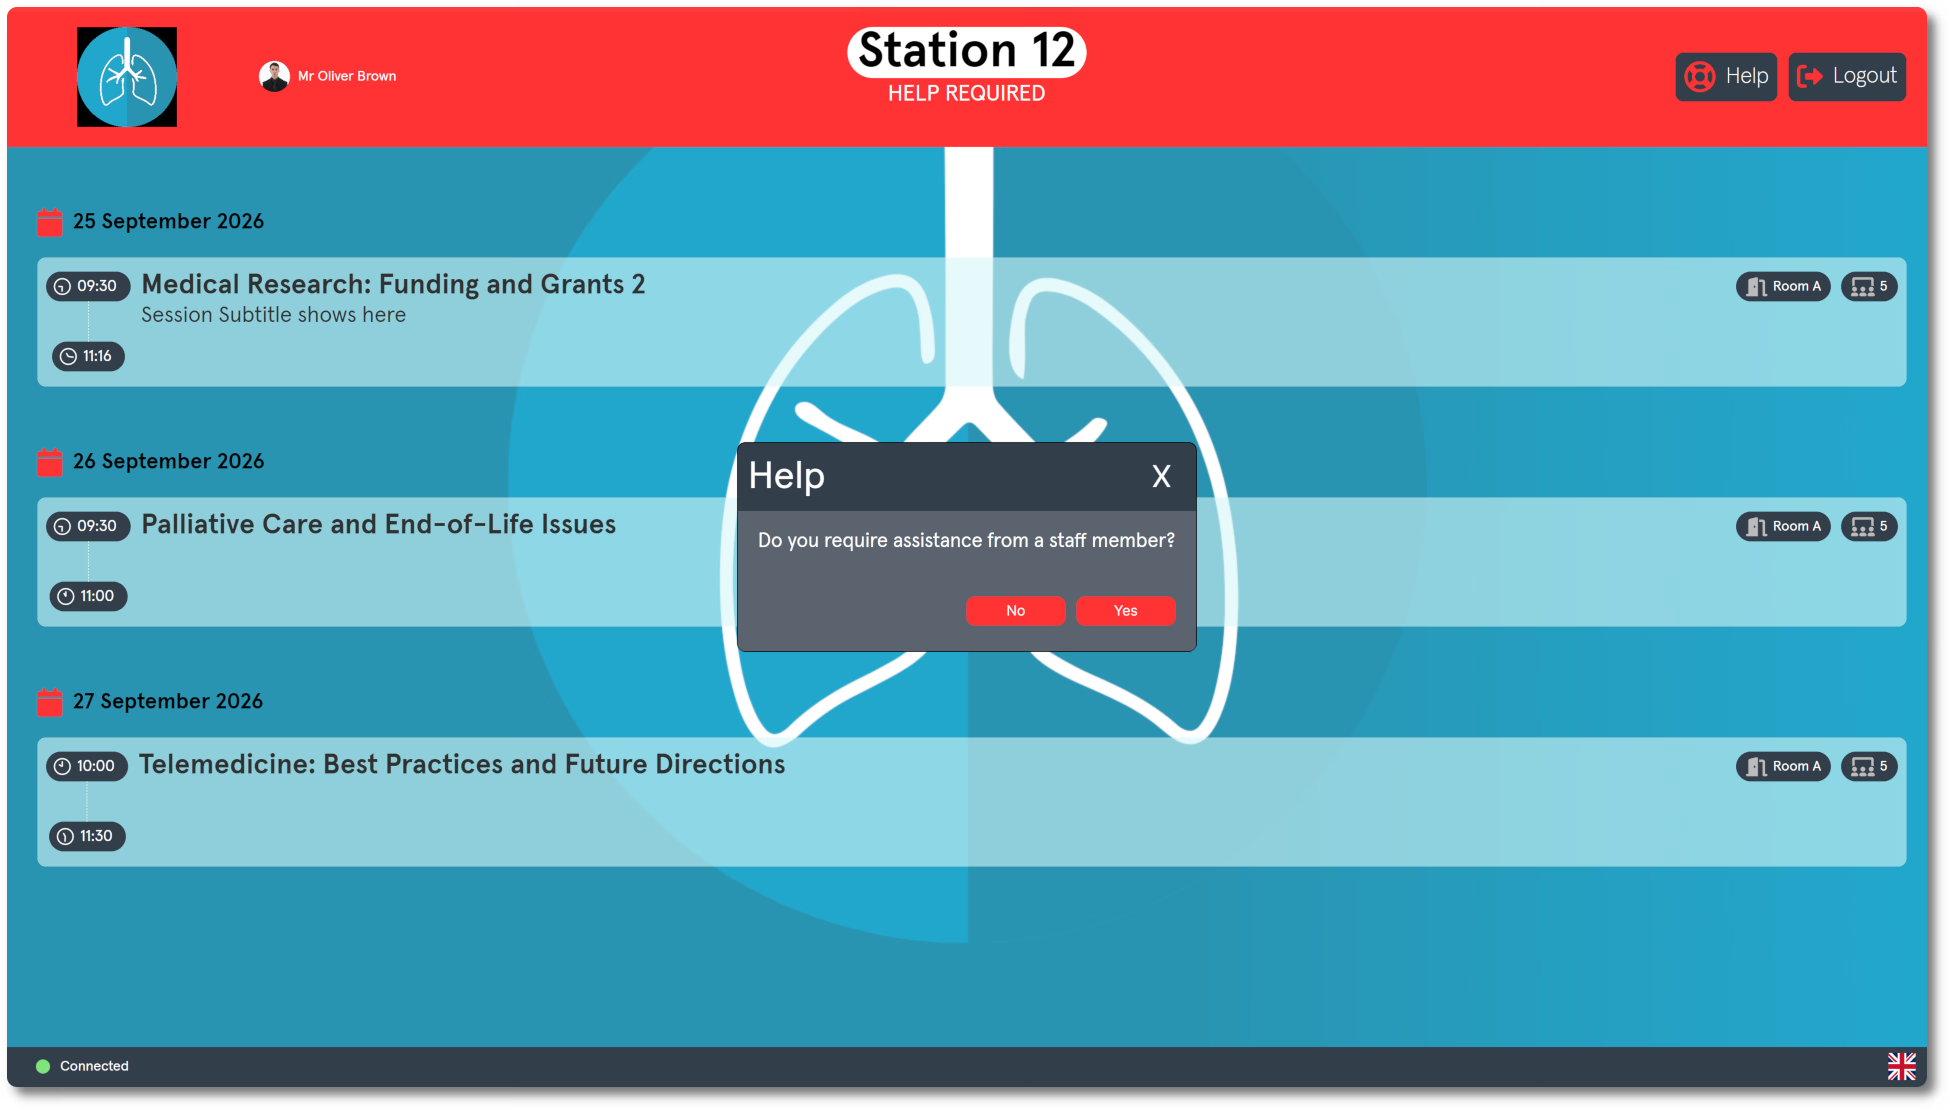
The station’s Help button opens a prompt asking whether the speaker needs staff assistance. If the speaker selects Yes, the station header turns red and shows HELP REQUIRED. The station also flashes red on the Queue screen.
Related guides
- How do I set up the Speaker Ready Room queue screen and manage the queue? → Set up and manage the Speaker Ready Room queue
- Speaker Ready Room check-in problems: what do I do? → Troubleshoot Speaker Ready Room check-in problems
- Organiser Manual → Read the full Organiser Manual