

Use the personal link in your email to upload a presentation file. The link opens your Speaker Upload Page, where you can complete any required forms, add or replace files, and choose whether each file may be published after the event.
Short answer: Open your personal link, complete any required forms for the presentation, then drag your file into its upload area or click the area to choose it. Check the file card after upload. If publishing is enabled, choose Yes or No for each file. You can return through the same link to change that choice.
Open your Speaker Upload Page
You receive your personal link by email. It works on any device and opens the Speaker Upload Page. You can return after the event if the page is still available. Use the language selector in the top right if you need to change the page language.
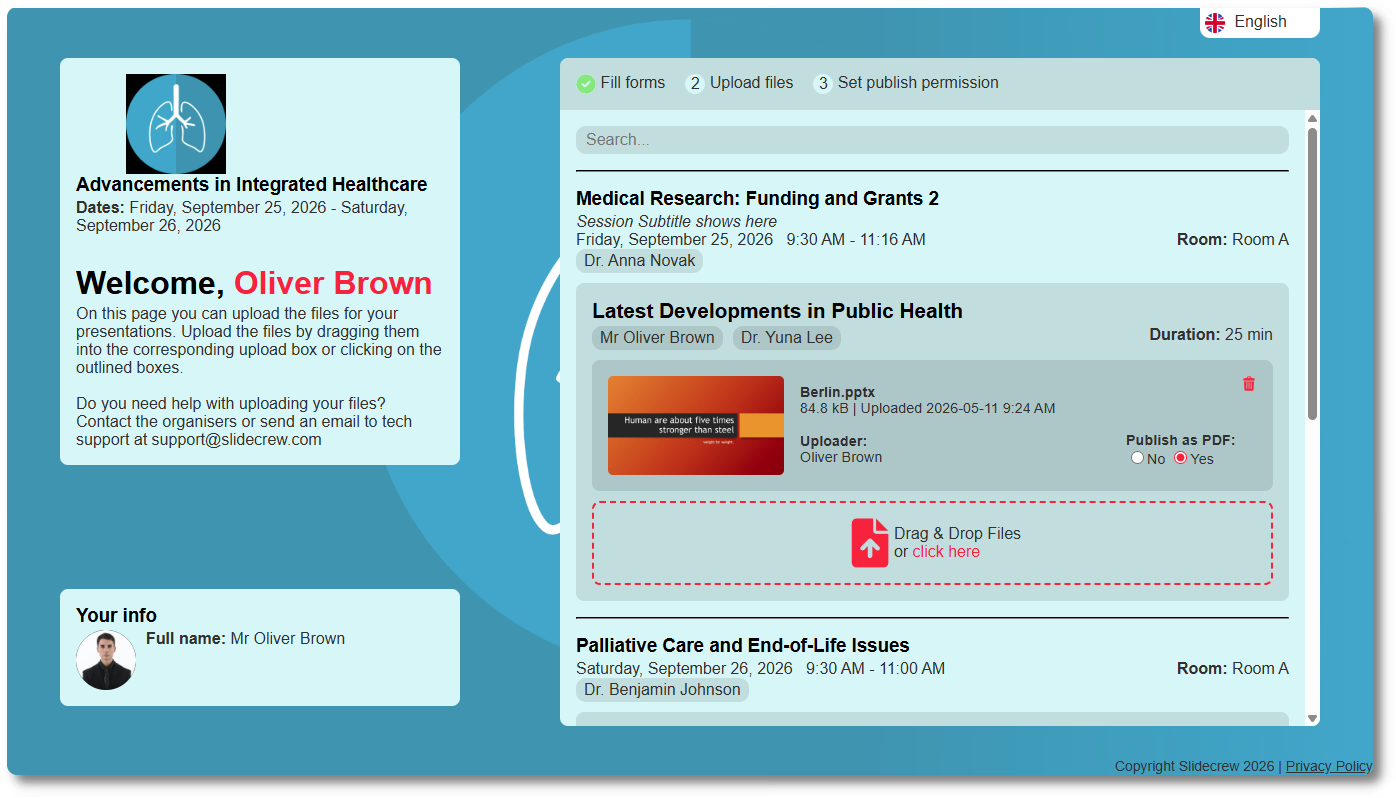
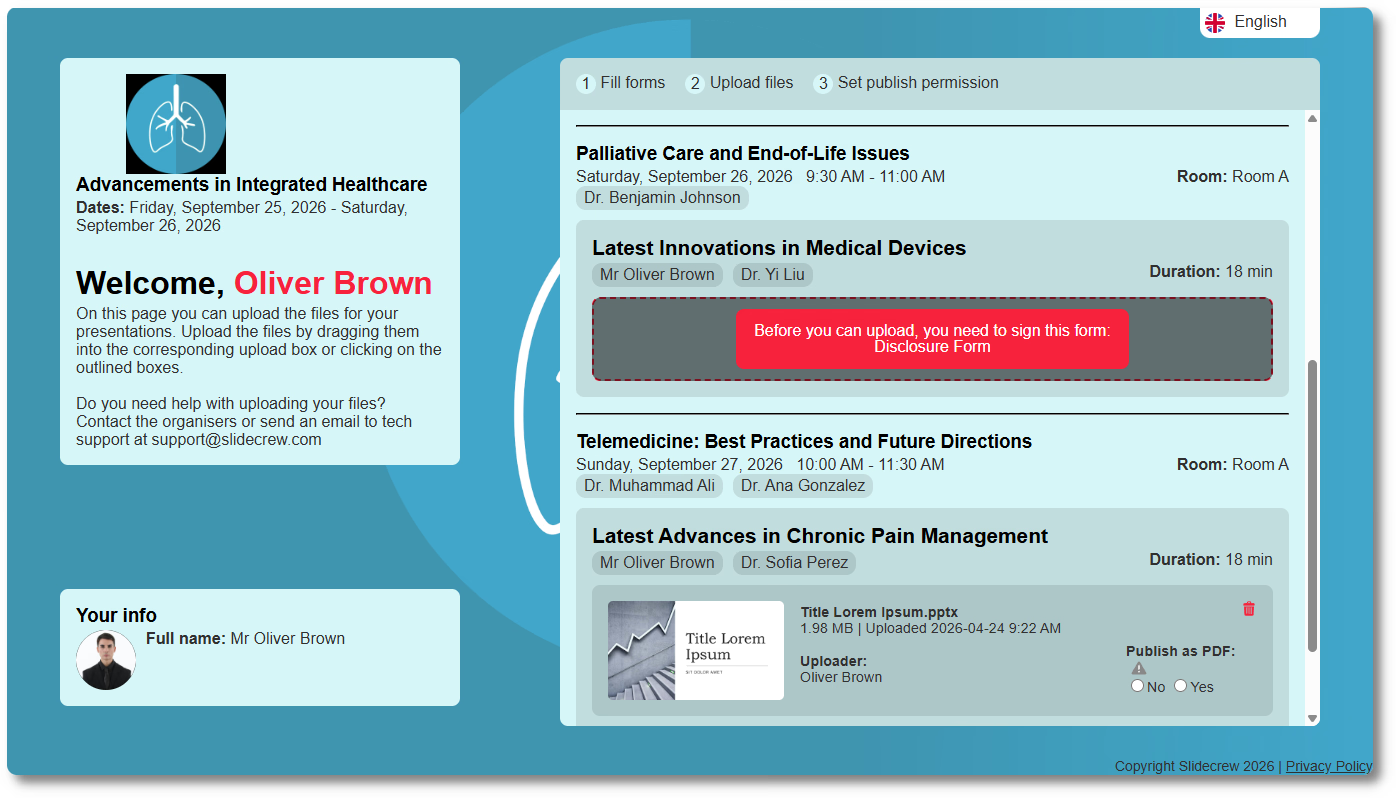
Three steps appear across the top: Fill forms, Upload files, and Set publish permission. These show what still needs to be completed. A form must be completed before the upload areas for the presentations it applies to can be used. A form that applies once per speaker may appear as a pop-up the first time you open the page.
Which file types can I upload?
Slidecrew supports the file types listed below.
| Type | Notes |
|---|---|
| PowerPoint | .ppt and .pptx. This is the most common format. |
| Fully supported | |
| Video | Supported as an embedded presentation element or as a standalone file |
| Images | Supported as standalone files or as an embedded presentation element |
| Apple Keynote | Disabled by default. Enable it in the Upload page settings if needed. |
For the full format list, see What file formats can I upload for presentations and ePosters?.
How do I upload my presentation file?
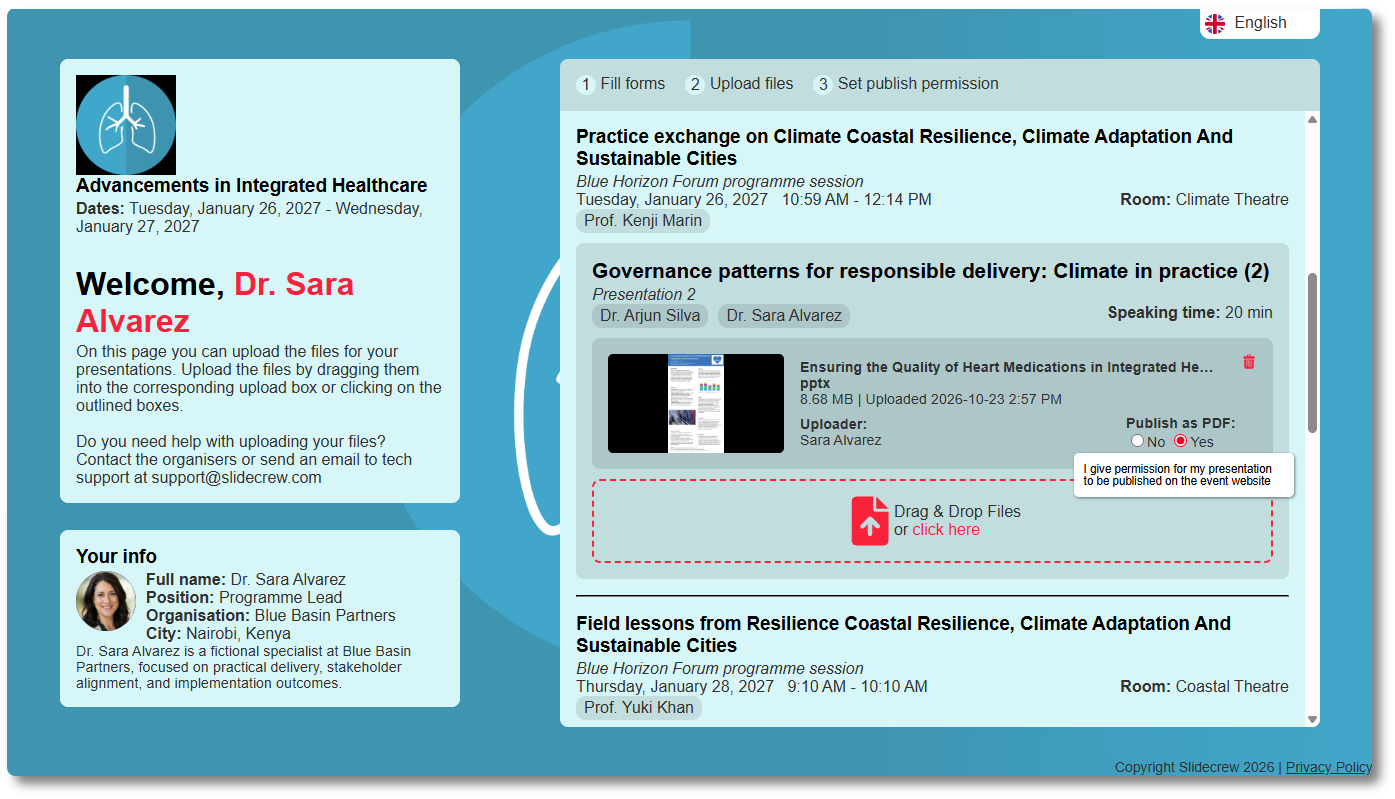
Find the presentation in the list, then drag your file into its upload area or click the area to choose a file. When the upload is complete, the file appears as a card with a thumbnail, file name, size, upload date and time, and uploader name. A confirmation message may also appear after a successful upload.
Add, replace, or delete a file
The upload area stays below an existing file card, so you can add another file. To replace a file, upload the new version with the same file name in the same presentation. Slidecrew keeps the earlier version as a revision and makes the new upload current. Your organiser can see earlier versions in the event portal.
To remove a file, click the red delete button on its card.
Choose publishing permission
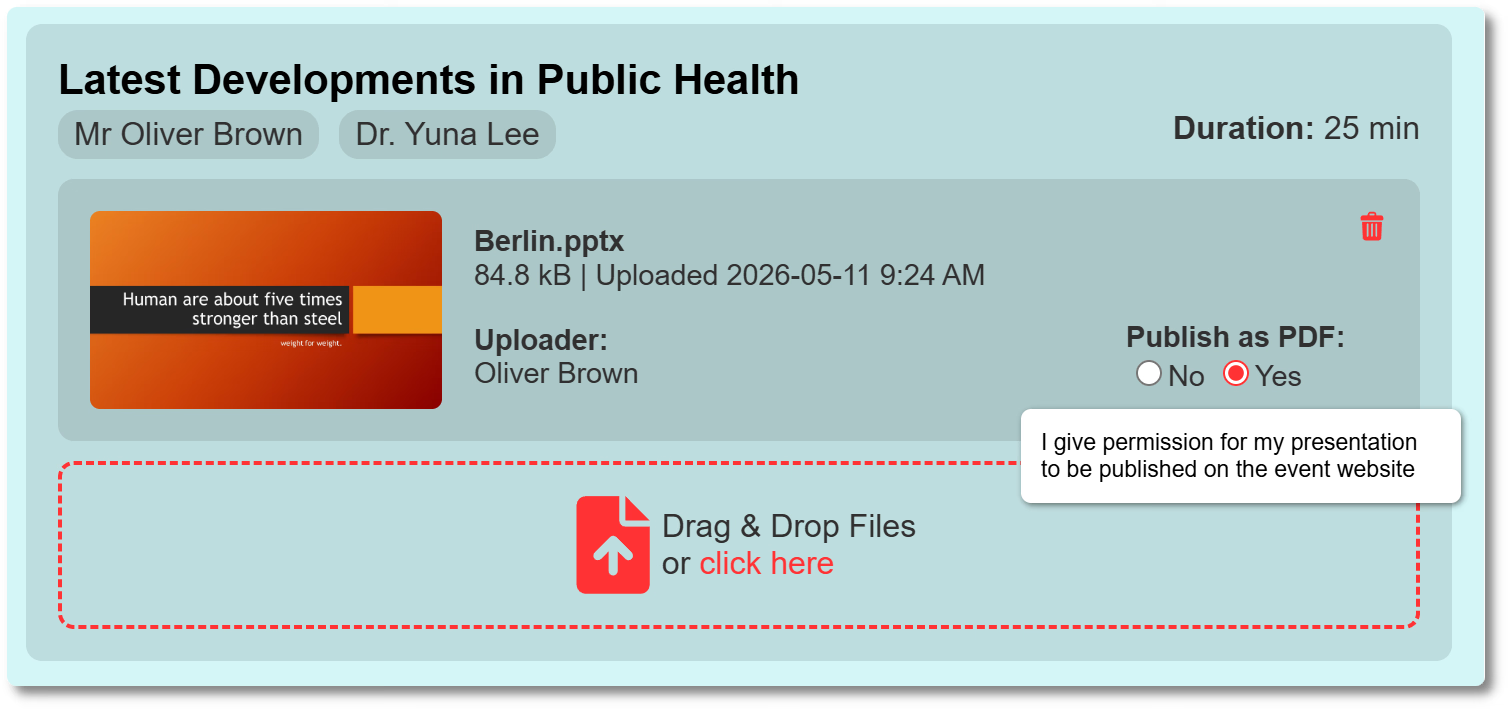
If the organiser has enabled publishing, each uploaded file has a Publish as PDF section with Yes and No options. Choose Yes to allow the file to appear on the event’s Publication Page once the session has ended, or No if it should not appear. A warning triangle means you have not chosen yet. Leaving the choice unset has the same result as No. You can change your choice later by returning to the page through the same link.
If you are a submitter
A Presentation Submitter is an attendee who uploads files for a presentation without being one of its speakers, such as an assistant. The page lists presentations assigned to you; after upload, the file card shows your name as uploader. An ePoster Submitter is an attendee role for people who submit ePosters. They use this page to upload ePosters, which are processed and converted after upload.
Related guides
- Speaker File Upload Quick Guide → step-by-step help for uploading and managing presentation or ePoster files
- Why is my speaker file upload not working? → help when an upload does not work
- How do I give permission to publish my presentation files? → more about publishing permission