

Manage paired devices in the event portal and change Slidecrew device settings in the App Launcher. Use Settings to reset a device or change device-level options, and the startup update prompt to install an update. Use the Screen Matrix to assign apps to connected displays.
Short answer: In the portal, Core → Devices shows paired devices and file-download progress. Select a device to edit it, or delete it to unpair the App Launcher and clean up the event’s downloaded files. In the launcher, Settings holds device controls; use the startup prompt for updates. Custom → Screen Matrix assigns apps to connected displays.
Check device status and file progress
Open Core → Devices to see the devices paired to the event. The File Status column shows how many expected files have downloaded compared with the total expected.
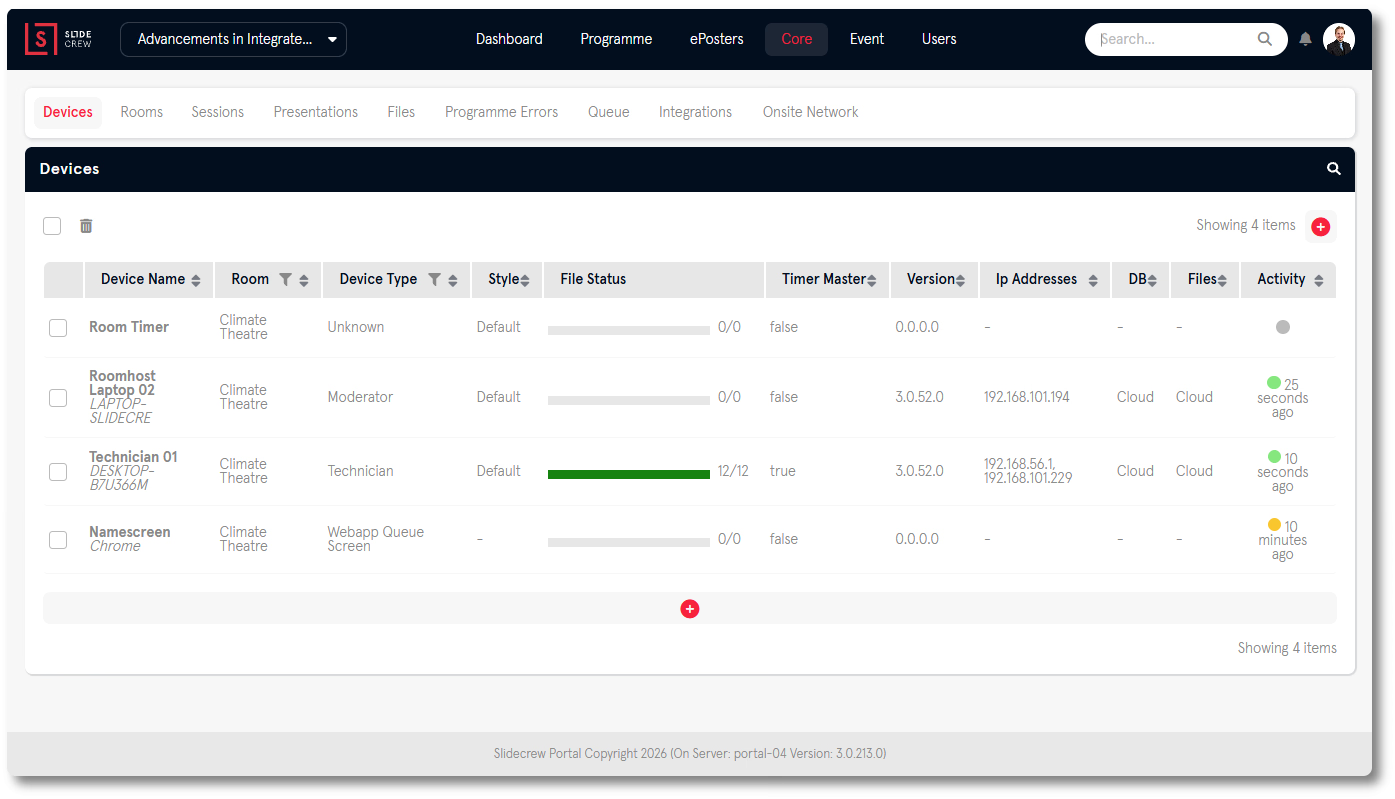
| Column | What it shows |
|---|---|
| Device Name | The name assigned during pairing |
| Computer Name | The device name used by the operating system |
| Room | The room this device is assigned to |
| Device Type | The app currently running on the device |
| Style | The assigned Device Style |
| File Status | A progress bar and fraction showing files downloaded versus total expected, for example 45/60 |
| Timer Master | True or false, sets whether a presentation opened from this devices triggers the Room Timer |
| Version | The installed App Launcher version |
| Activity | Time since the device was last active, with a green dot for connected or red dot for disconnected |
Edit or remove a paired device
To edit a device, click its row in Core → Devices, change the fields in the sidebar, then click away to save.
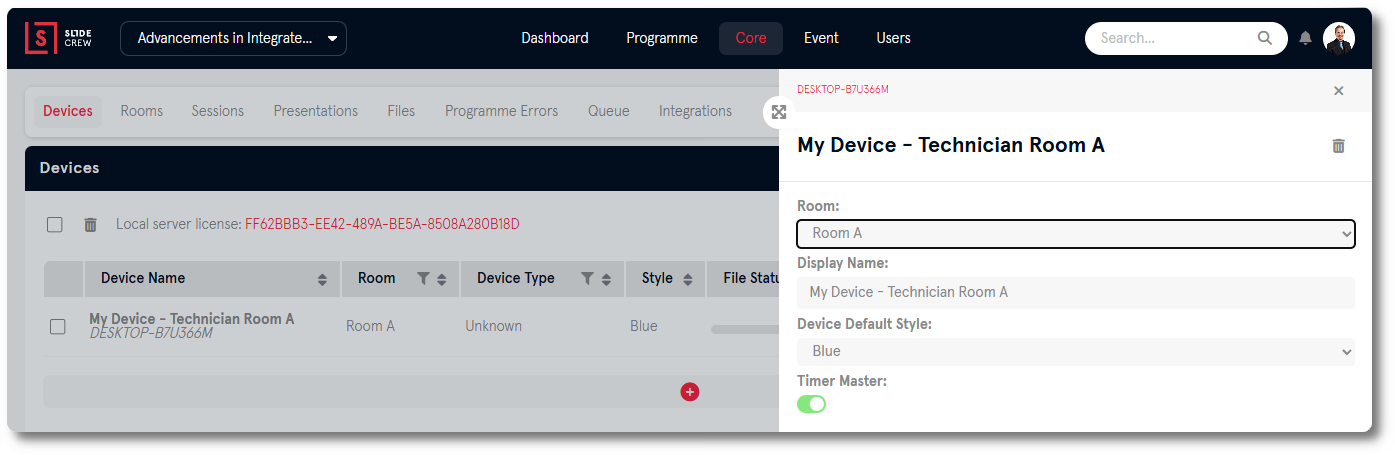
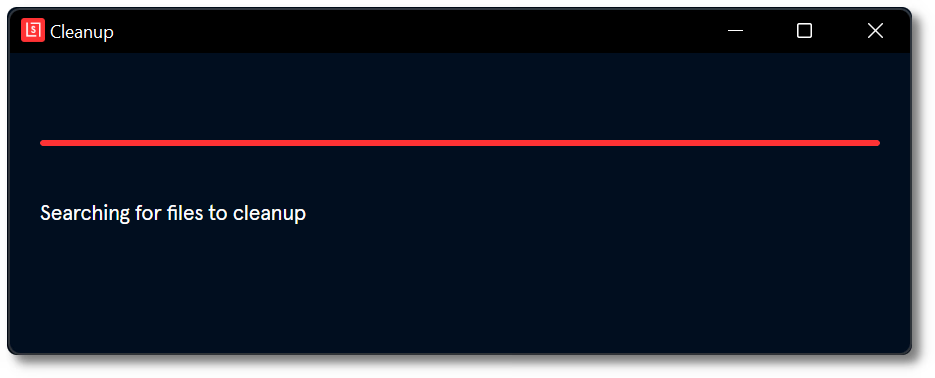
To unpair a device, select its row and click Delete Selected. The App Launcher returns to its pairing screen. It also cleans up the presentation files downloaded for that event before returning to the pairing screen.
If you unpair a device from within the App Launcher, its entry may remain in Core → Devices. The unpaired launcher can no longer tell the portal to remove that entry. You can select the leftover entry and click Delete Selected to remove it manually.
After deleting a device in the portal, you may need to refresh the browser page before adding the same device again.
Reset a device or change its settings
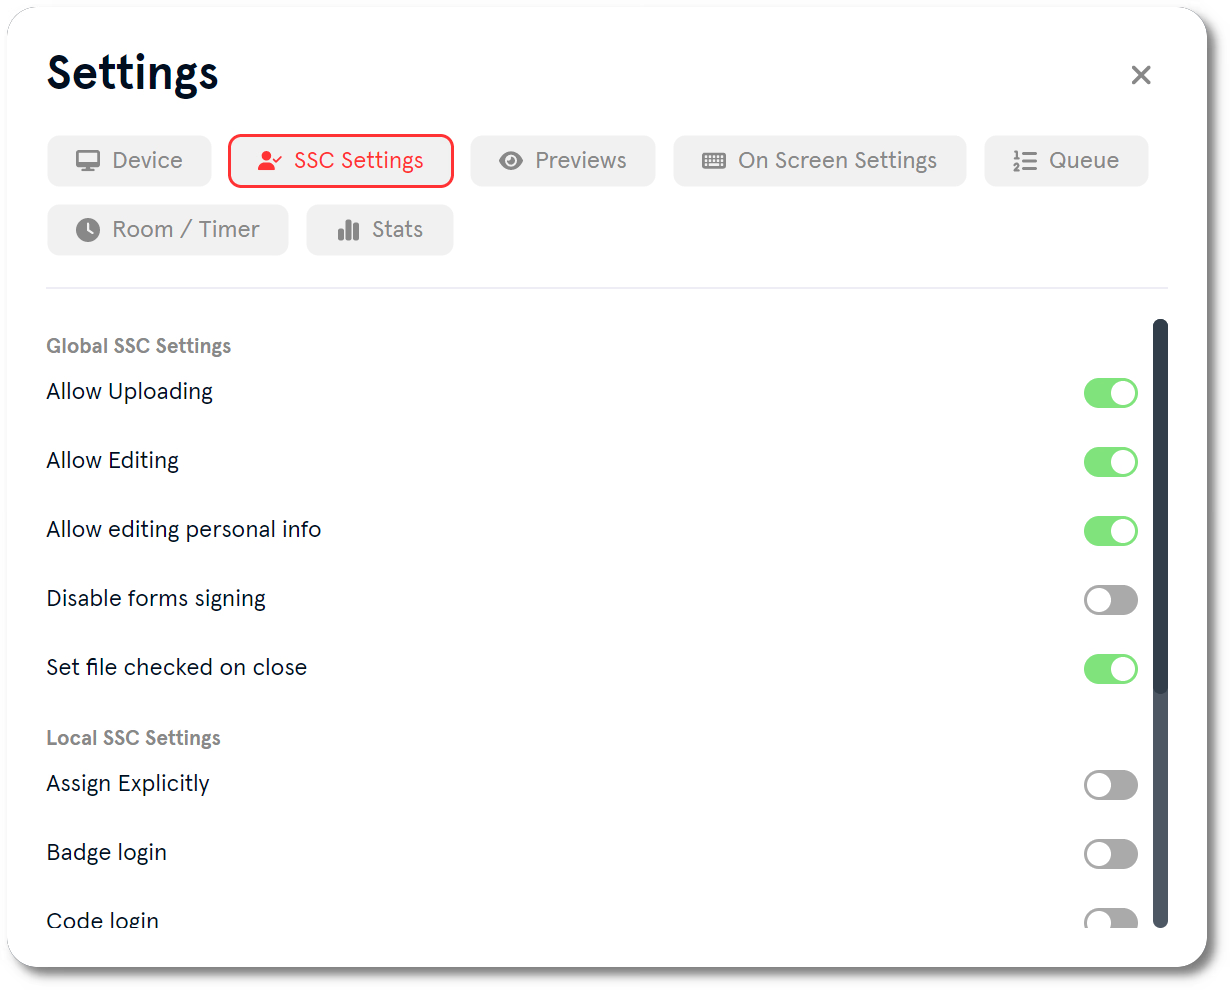
Click the gear icon at the top right of the App Launcher’s app selector to open Settings. The pop-up has seven tabs: Device, SSC, Preview, On-screen, Queue, Room and timer, and Stats. Device-level settings are in the Device tab.
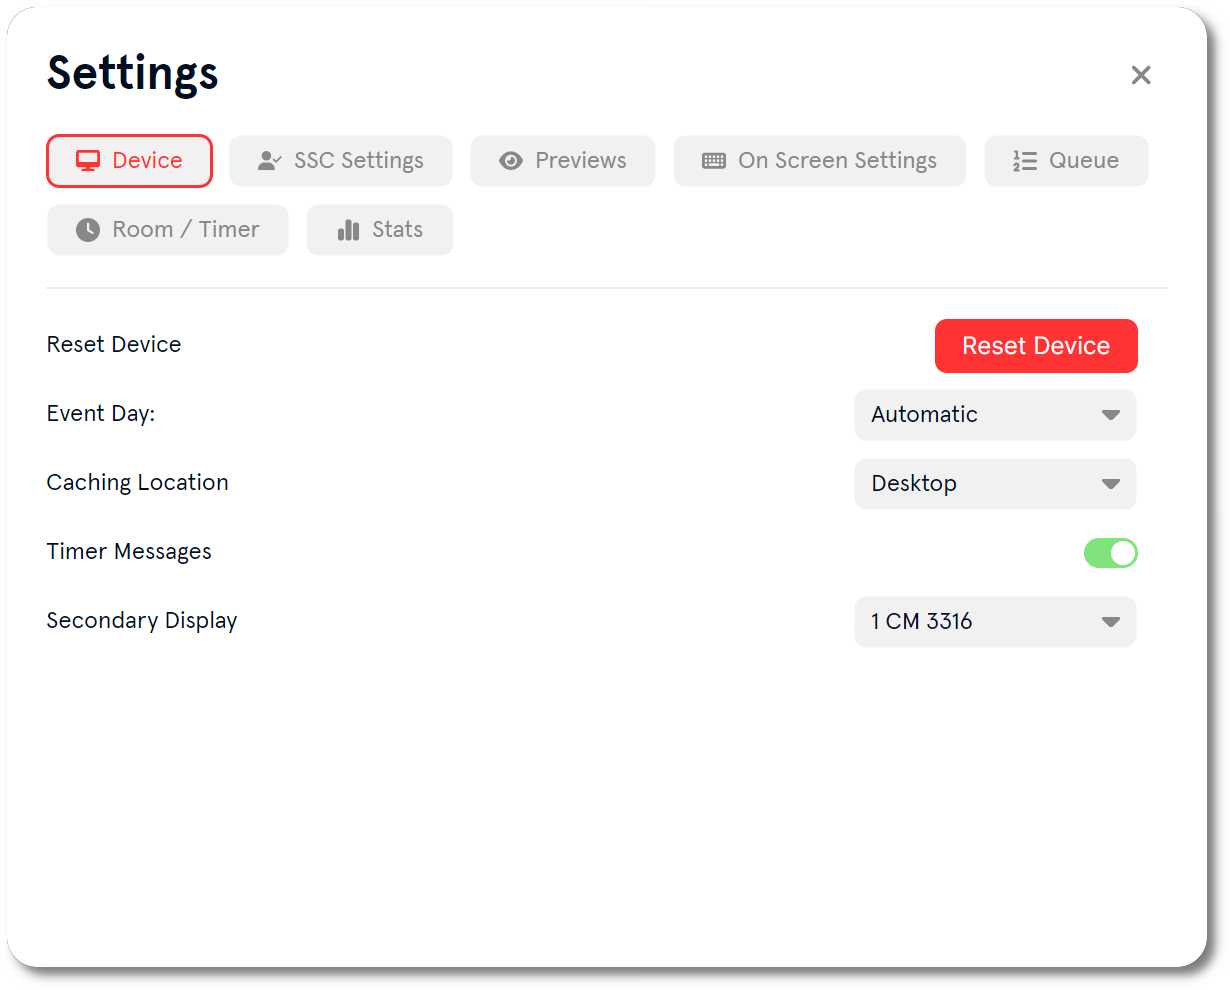
| Setting | Notes |
|---|---|
| Reset Device | Unpairs the App Launcher and returns it to the pairing screen |
| Event Day | Overrides the current event day, or uses the device date when set to Automatic |
| Caching Location | Selects where downloaded files are stored locally |
| Timer Messages | Controls whether messages sent from the Timer Controller appear on the device |
| Secondary Display | Selects the connected display to use as the device’s secondary display |
When a device is deleted in the portal or reset in the App Launcher, its downloaded presentation files for that event are cleaned up before it returns to the pairing screen.
The other tabs cover Speaker Service Center, preview, on-screen keyboard, Queue, room and timer, and device statistics settings.
SSC settings
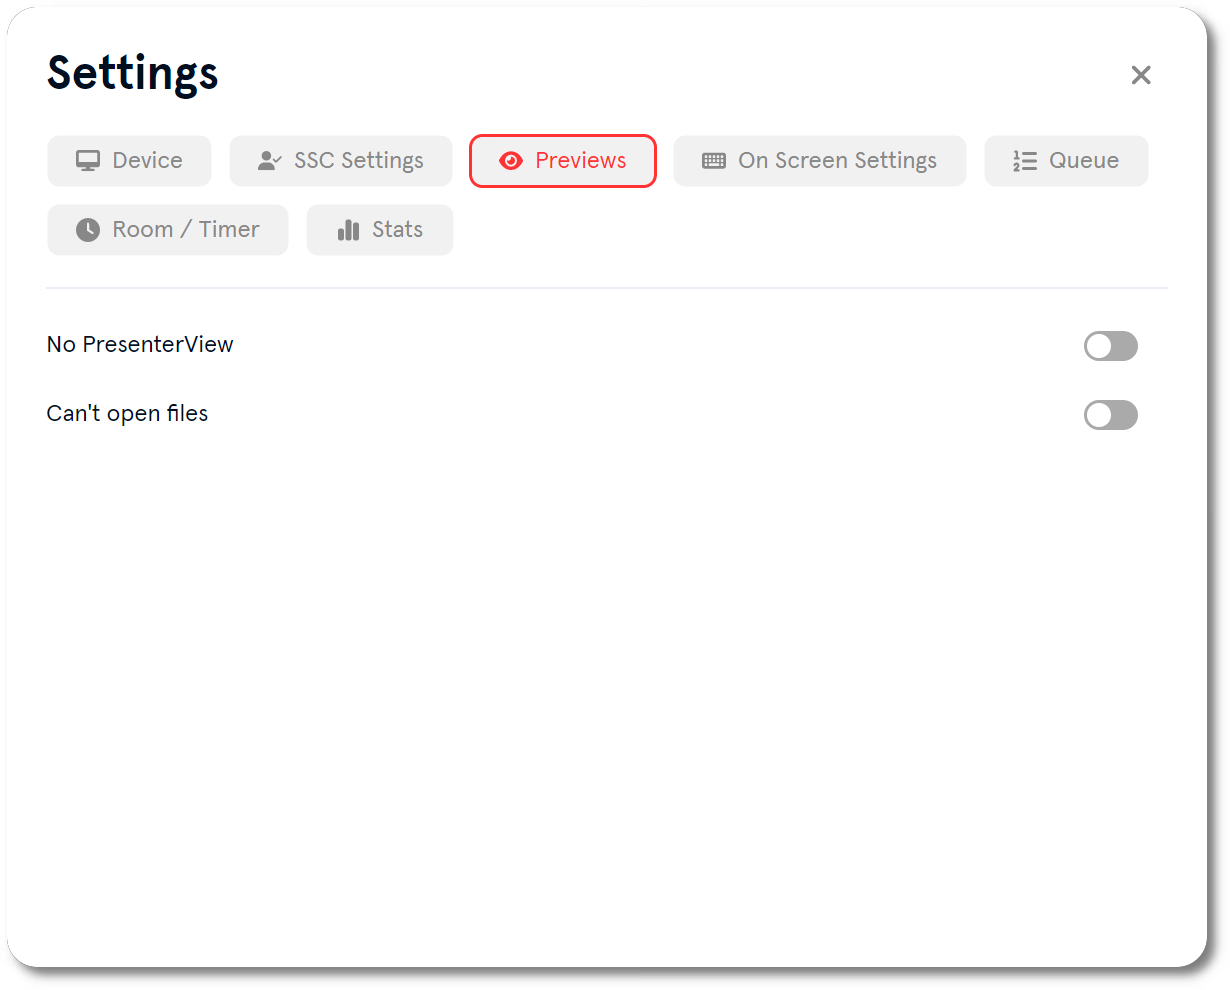
Preview settings
| Setting | Notes |
|---|---|
| No PresenterView | Opens files fullscreen without a separate presenter-notes view |
| Can’t open files | Prevents files from being opened from apps where file access can be restricted |
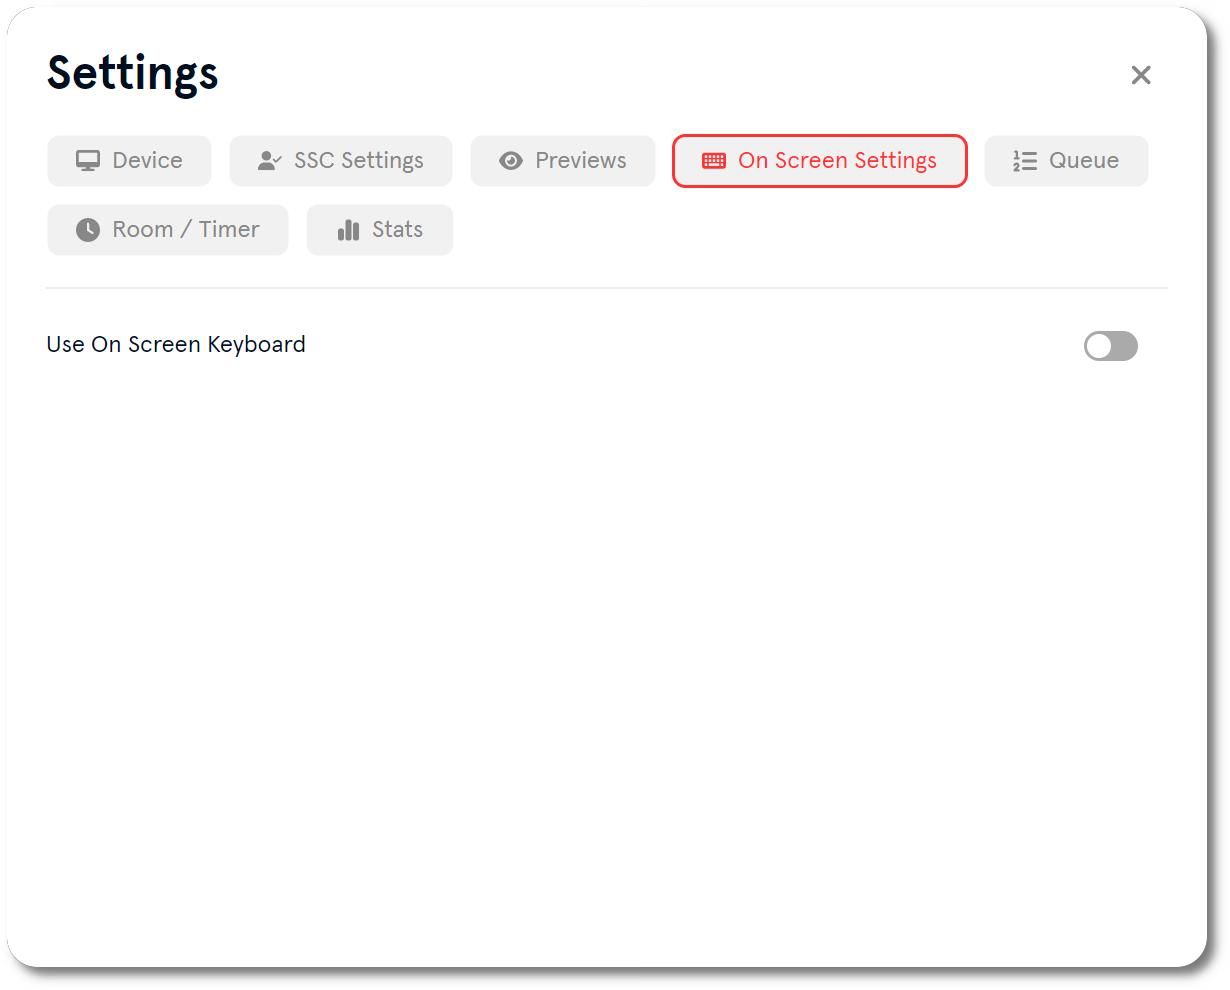
On-screen settings
Use On-Screen Keyboard to display a keyboard for text entry on touchscreen devices.
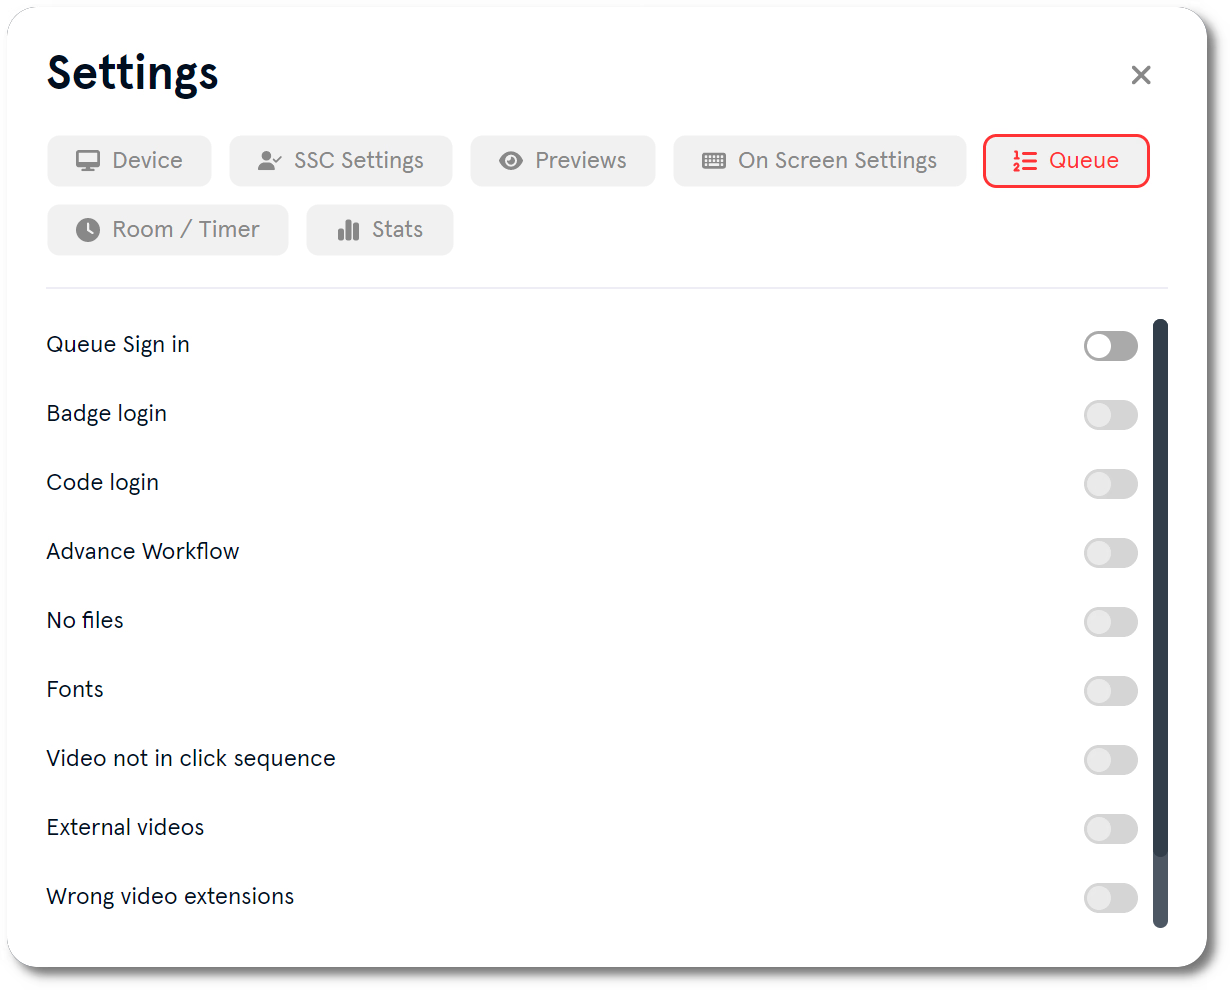
Queue settings
Use the related Speaker Ready Room guides for the detailed station and queue setup.
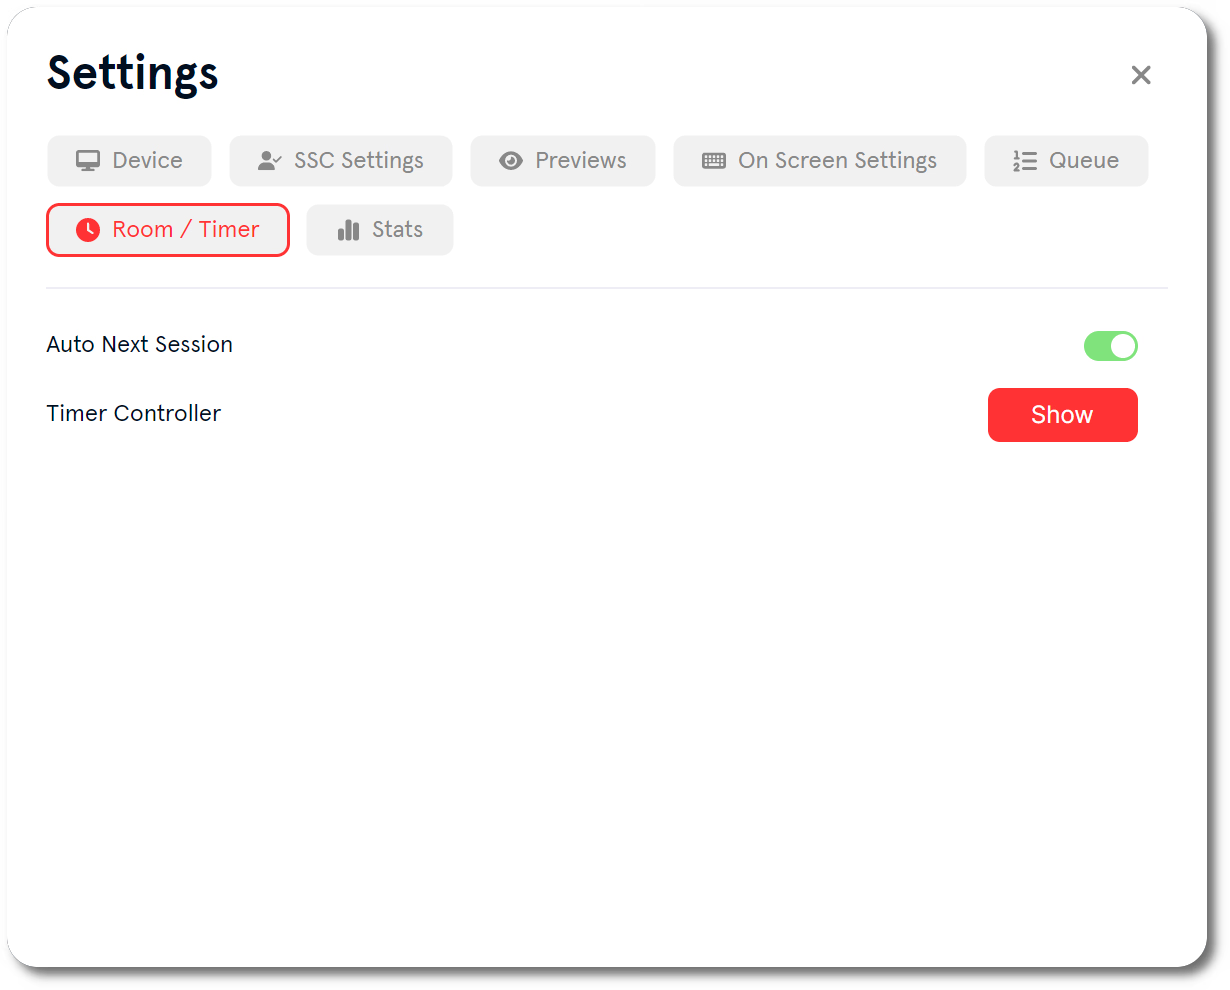
Room and timer settings
| Setting | Notes |
|---|---|
| Auto Next Session | Changes the active session automatically at its scheduled start time |
| Timer Controller | Click Show to open the Timer Controller |
Stats
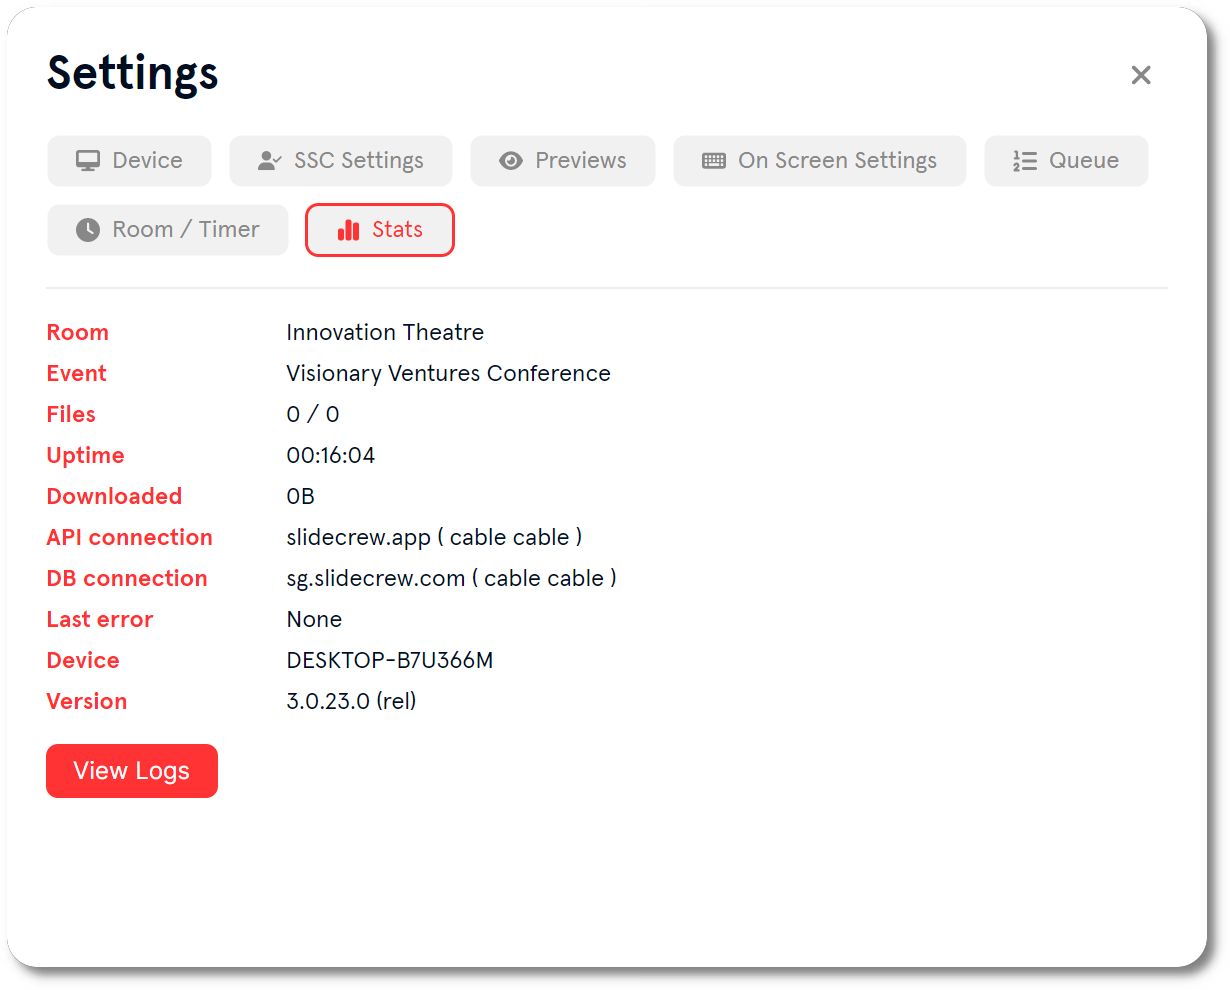
The Stats tab shows the assigned room and event, file counts, uptime, downloaded data, connection information, the last error, computer name and App Launcher version. Click View Logs to open the device logs.
Update the App Launcher
The App Launcher checks for updates when it starts. If an update is available, the startup prompt lets you:
- Choose the update option to open the installer and install the latest App Launcher version.
- Choose the option to continue with the current version to open the app selector without updating.
- Stop update prompts from appearing at startup, on newer launcher versions that include this option.
To install the update, choose the update option. This reruns the installer. The update prompt does not show a change log. If the device asks for permission for the App Launcher to make changes, allow it.
After the update, the App Launcher checks and syncs its data before returning to the app selector.
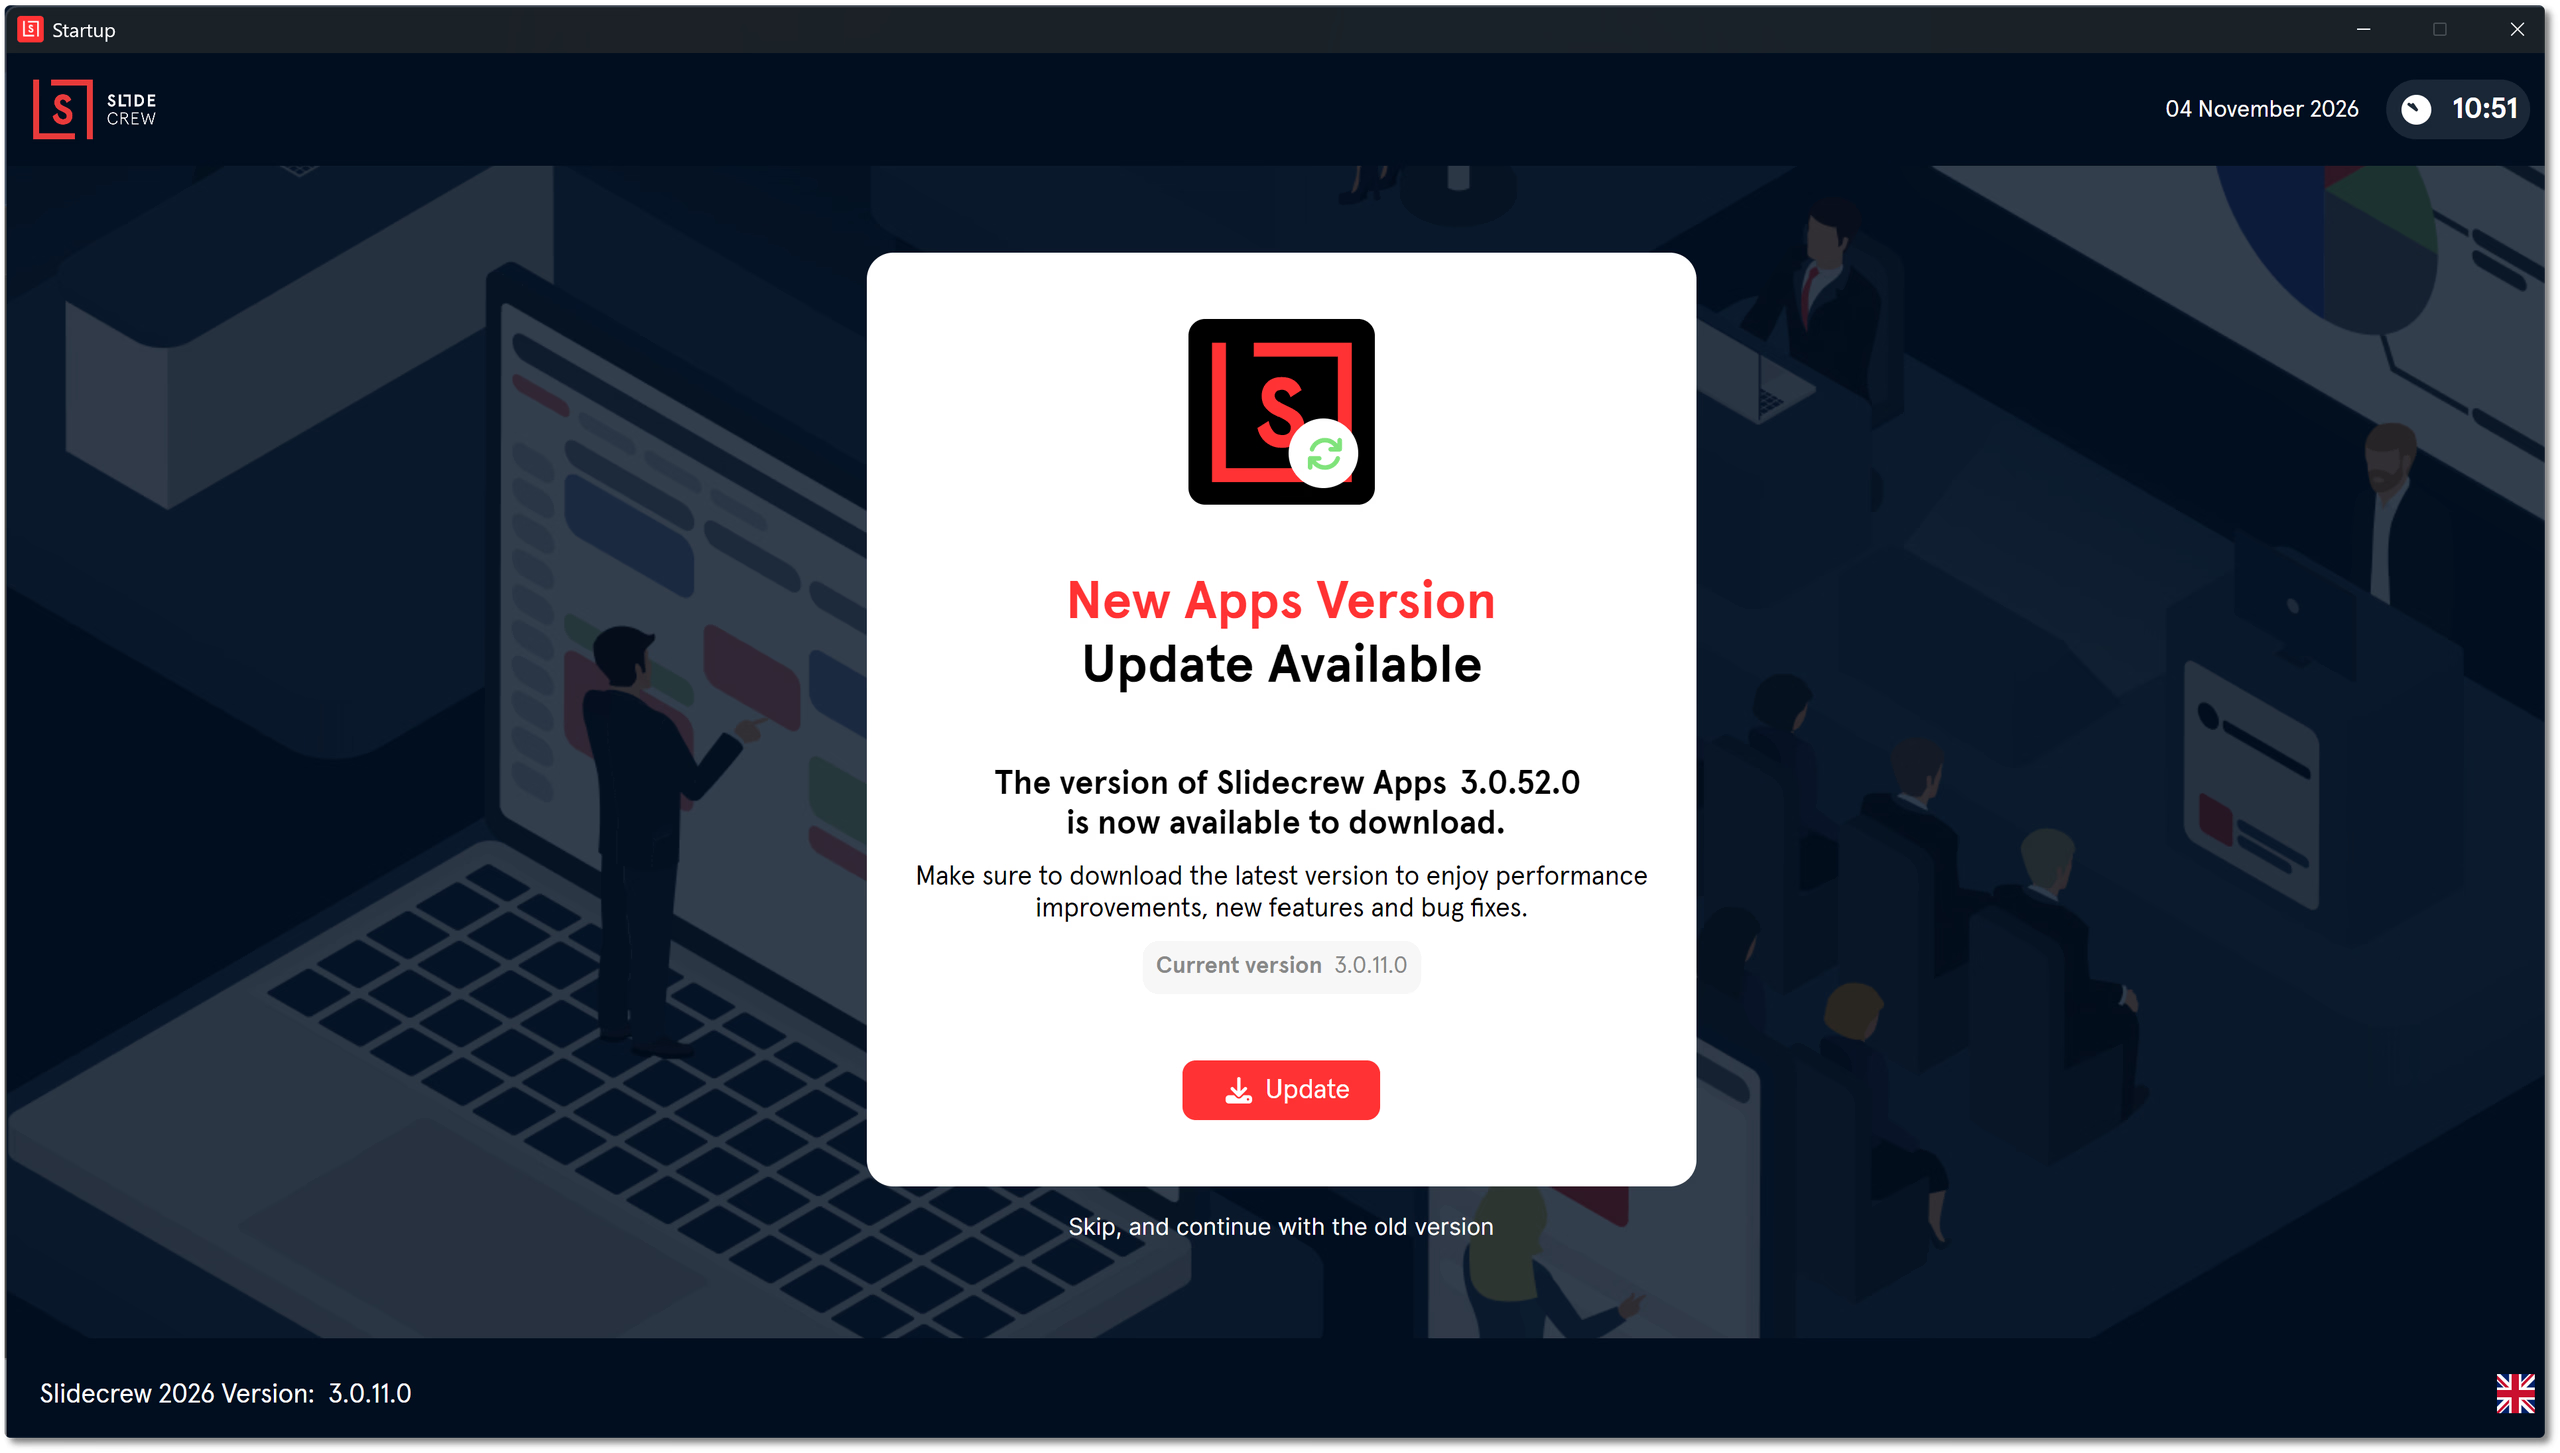
The screenshot shows an older launcher version, before the option to stop startup update prompts was added.
Change text size on a Windows device
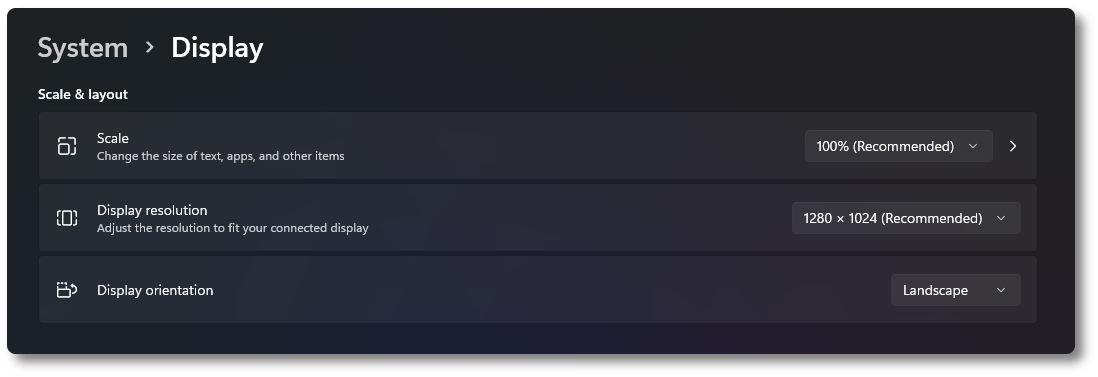
The App Launcher’s interface follows the Windows display scale, and changes take effect immediately.
- Open Settings.
- Select System → Display.
- Under Scale & layout, change Scale.
Increase the scale, such as to 150% or 200%, when text is too small to read from a distance. Reduce it if the screen is crowded and information such as speaker names is cut off.
Use Screen Matrix across connected displays
Open Custom → Screen Matrix to assign an app to each screen connected to one device and launch the apps together. The Matrix detects the screens and labels each panel with its index, type and resolution. For example, you can run a Speaker Ready Room station with a main and preview screen, or run Kiosk and Room Timer on one computer.
Choose apps for each display
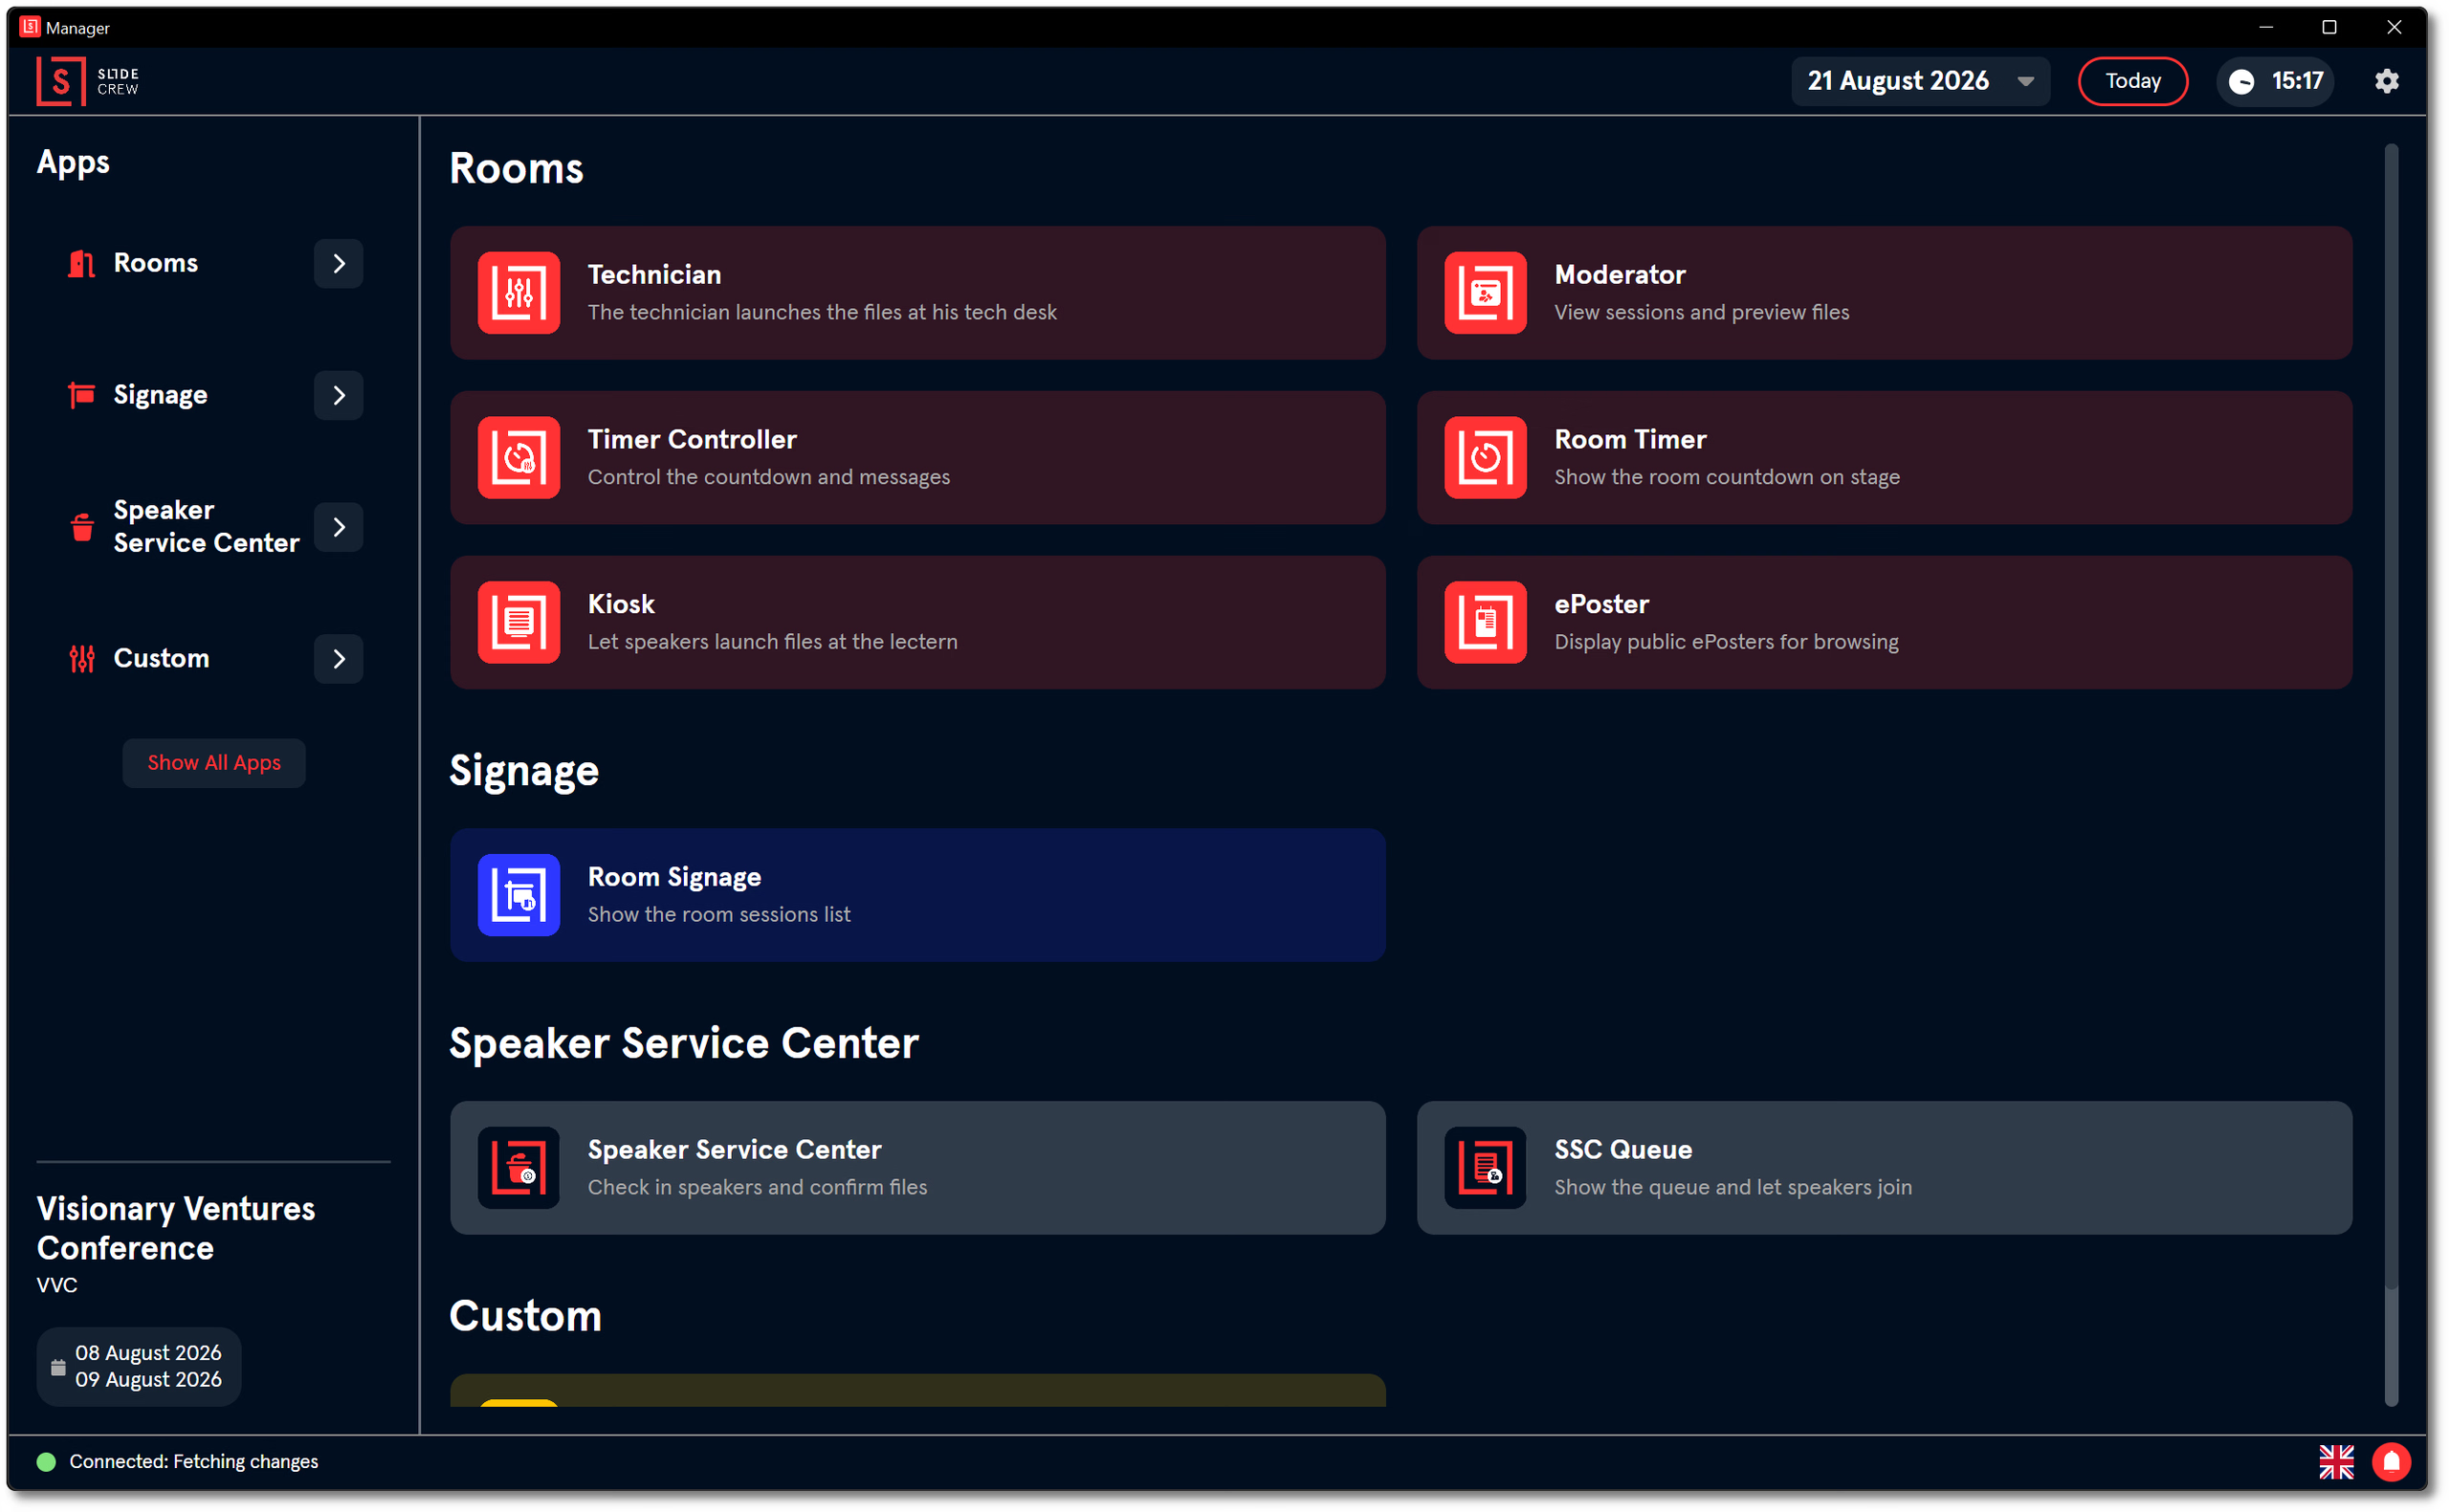
The App Launcher groups its apps into four categories. Screen Matrix is in Custom.
| Category | Apps available |
|---|---|
| Rooms | Technician, Kiosk, Moderator, Timer Controller, Room Timer, and ePoster App |
| Signage | Room Signage App |
| Speaker Service Center | Speaker Service Centre App and SSC Queue |
| Custom | Screen Matrix and any saved Screen Matrix presets |
Assign apps to screens
- In the App Launcher, select Custom, then click Screen Matrix.
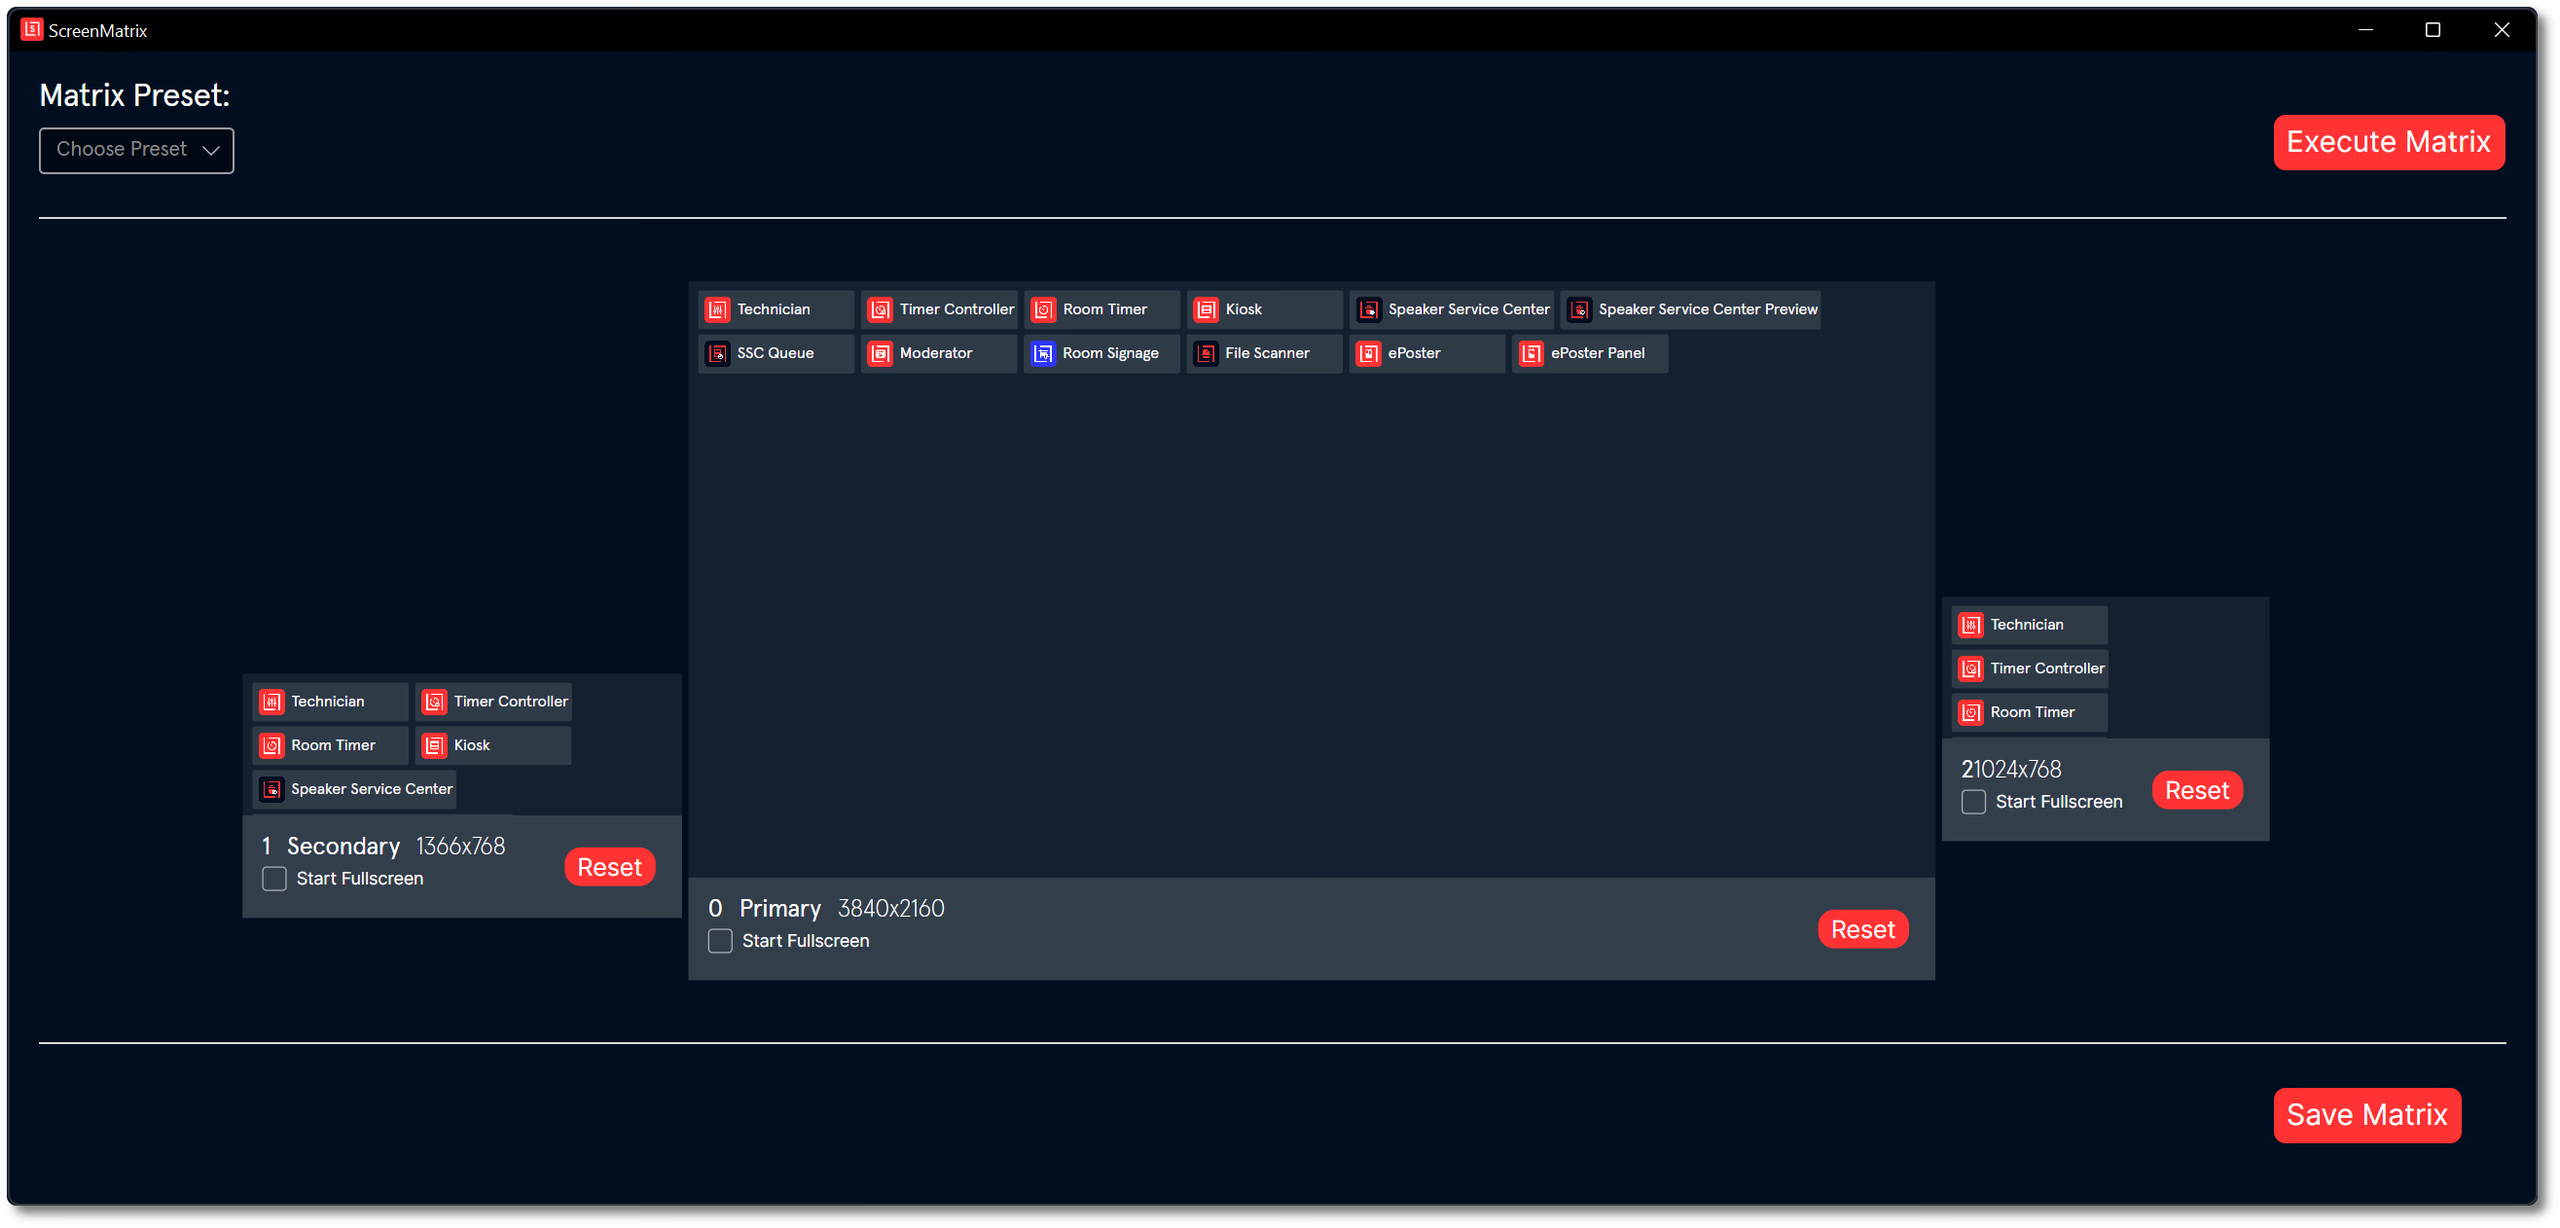
- Choose an app in each screen panel.
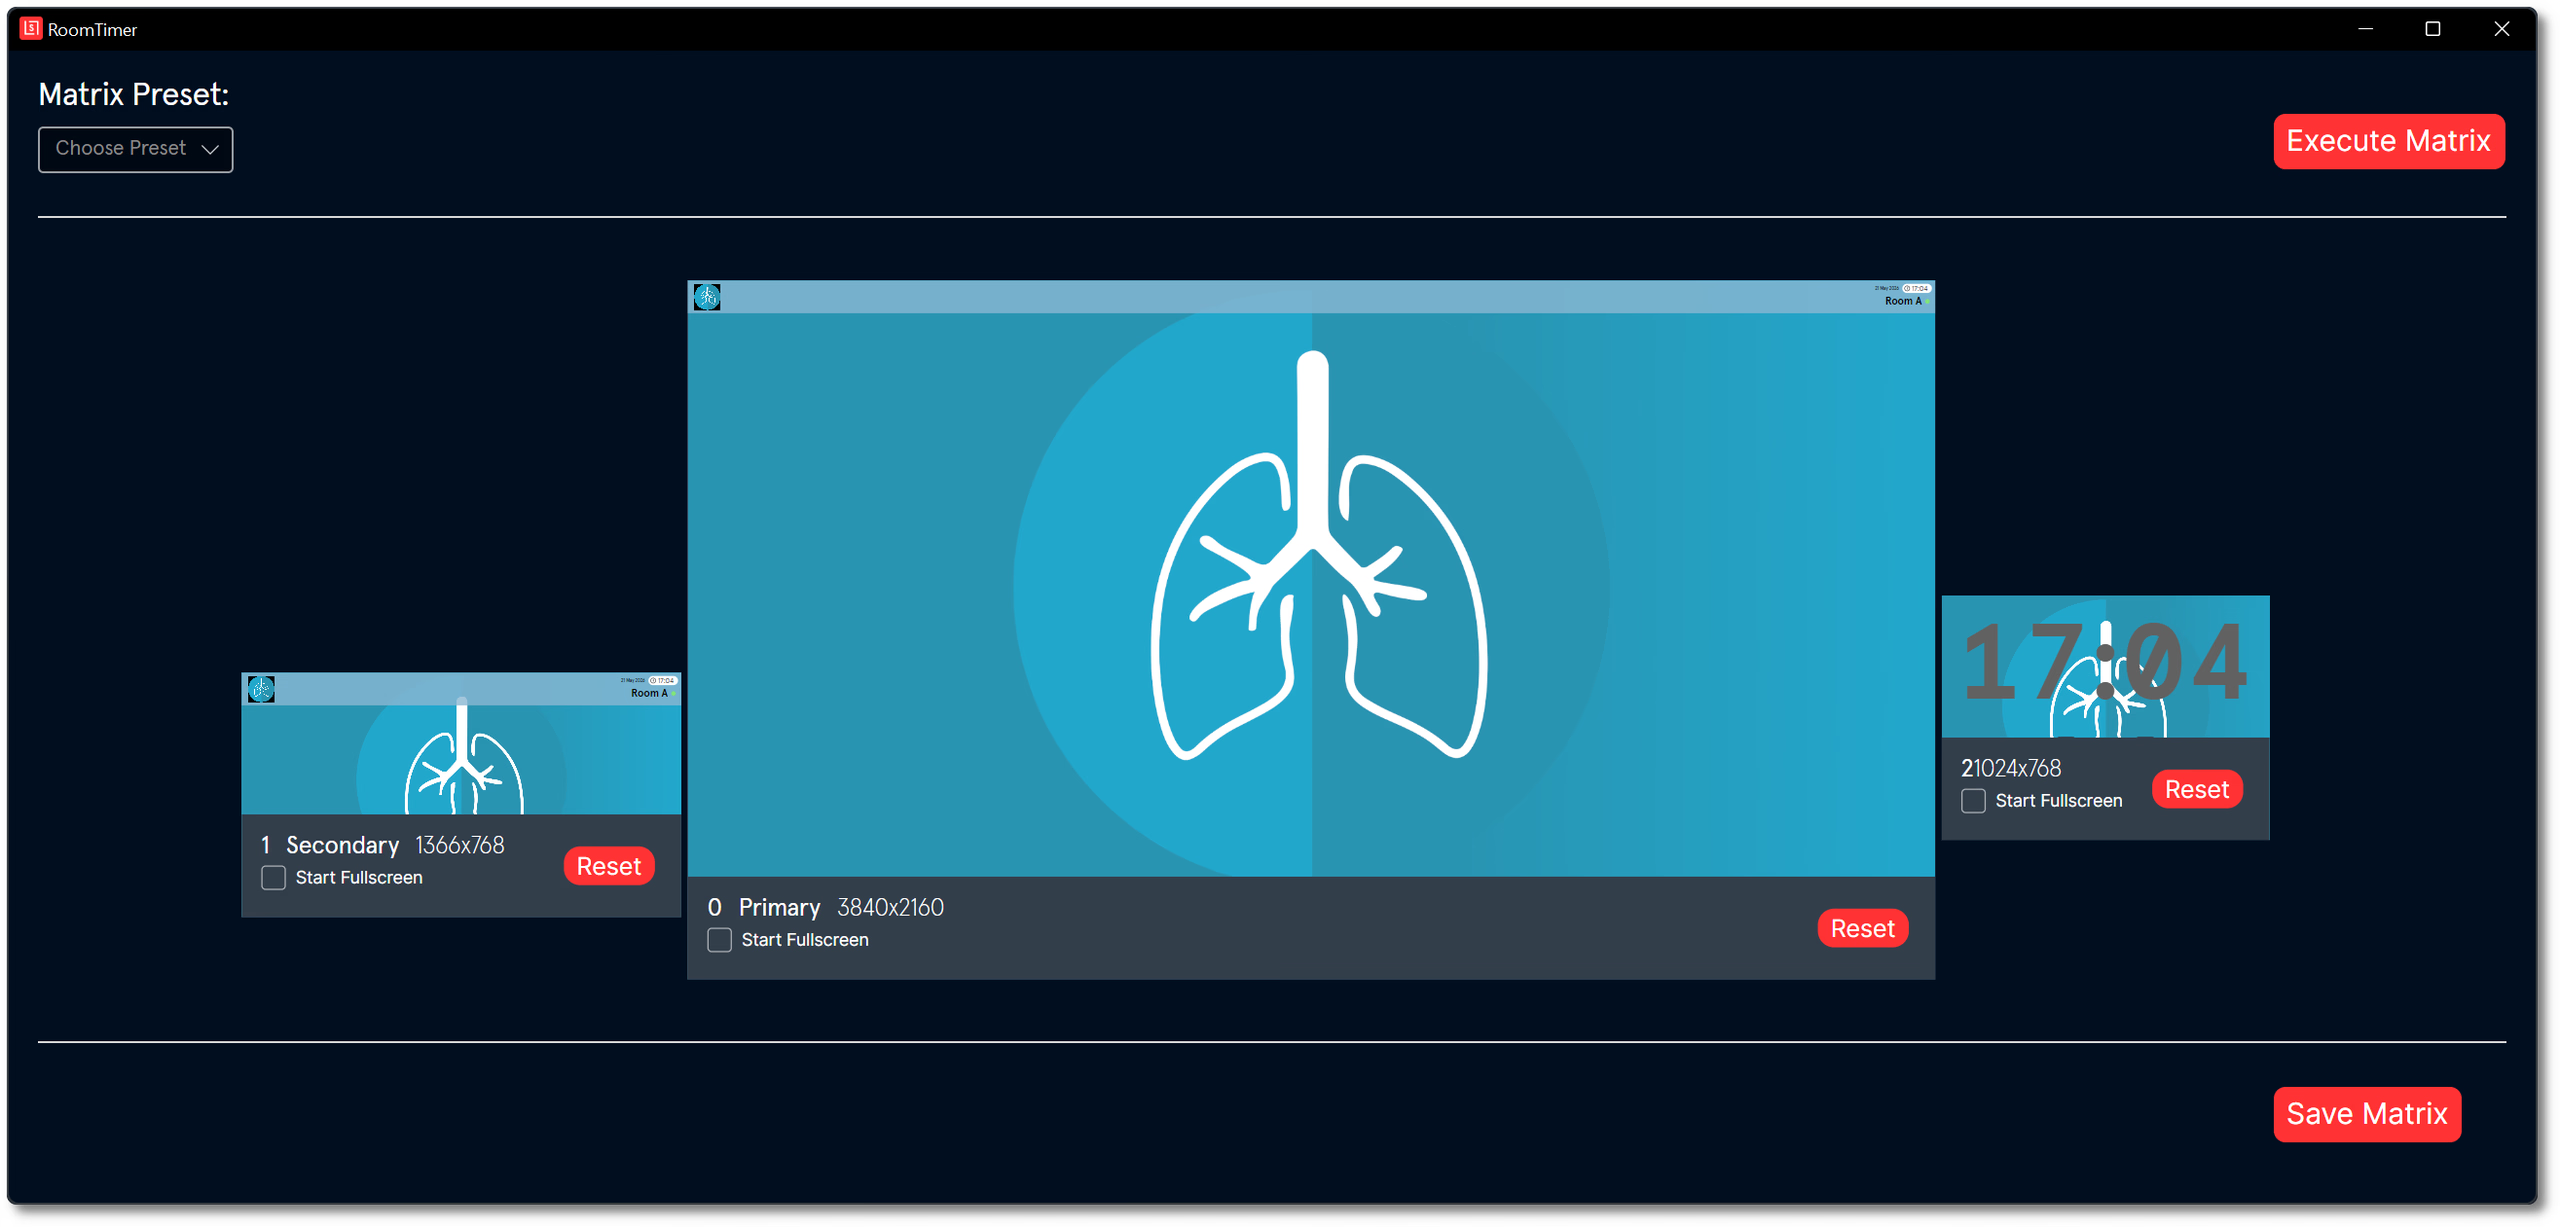
- Select Start Fullscreen for each app that should open full screen.
- Click Execute Matrix to launch the assigned apps.
Save a Screen Matrix preset
To save a layout, click Save Matrix, enter a name and click Save.
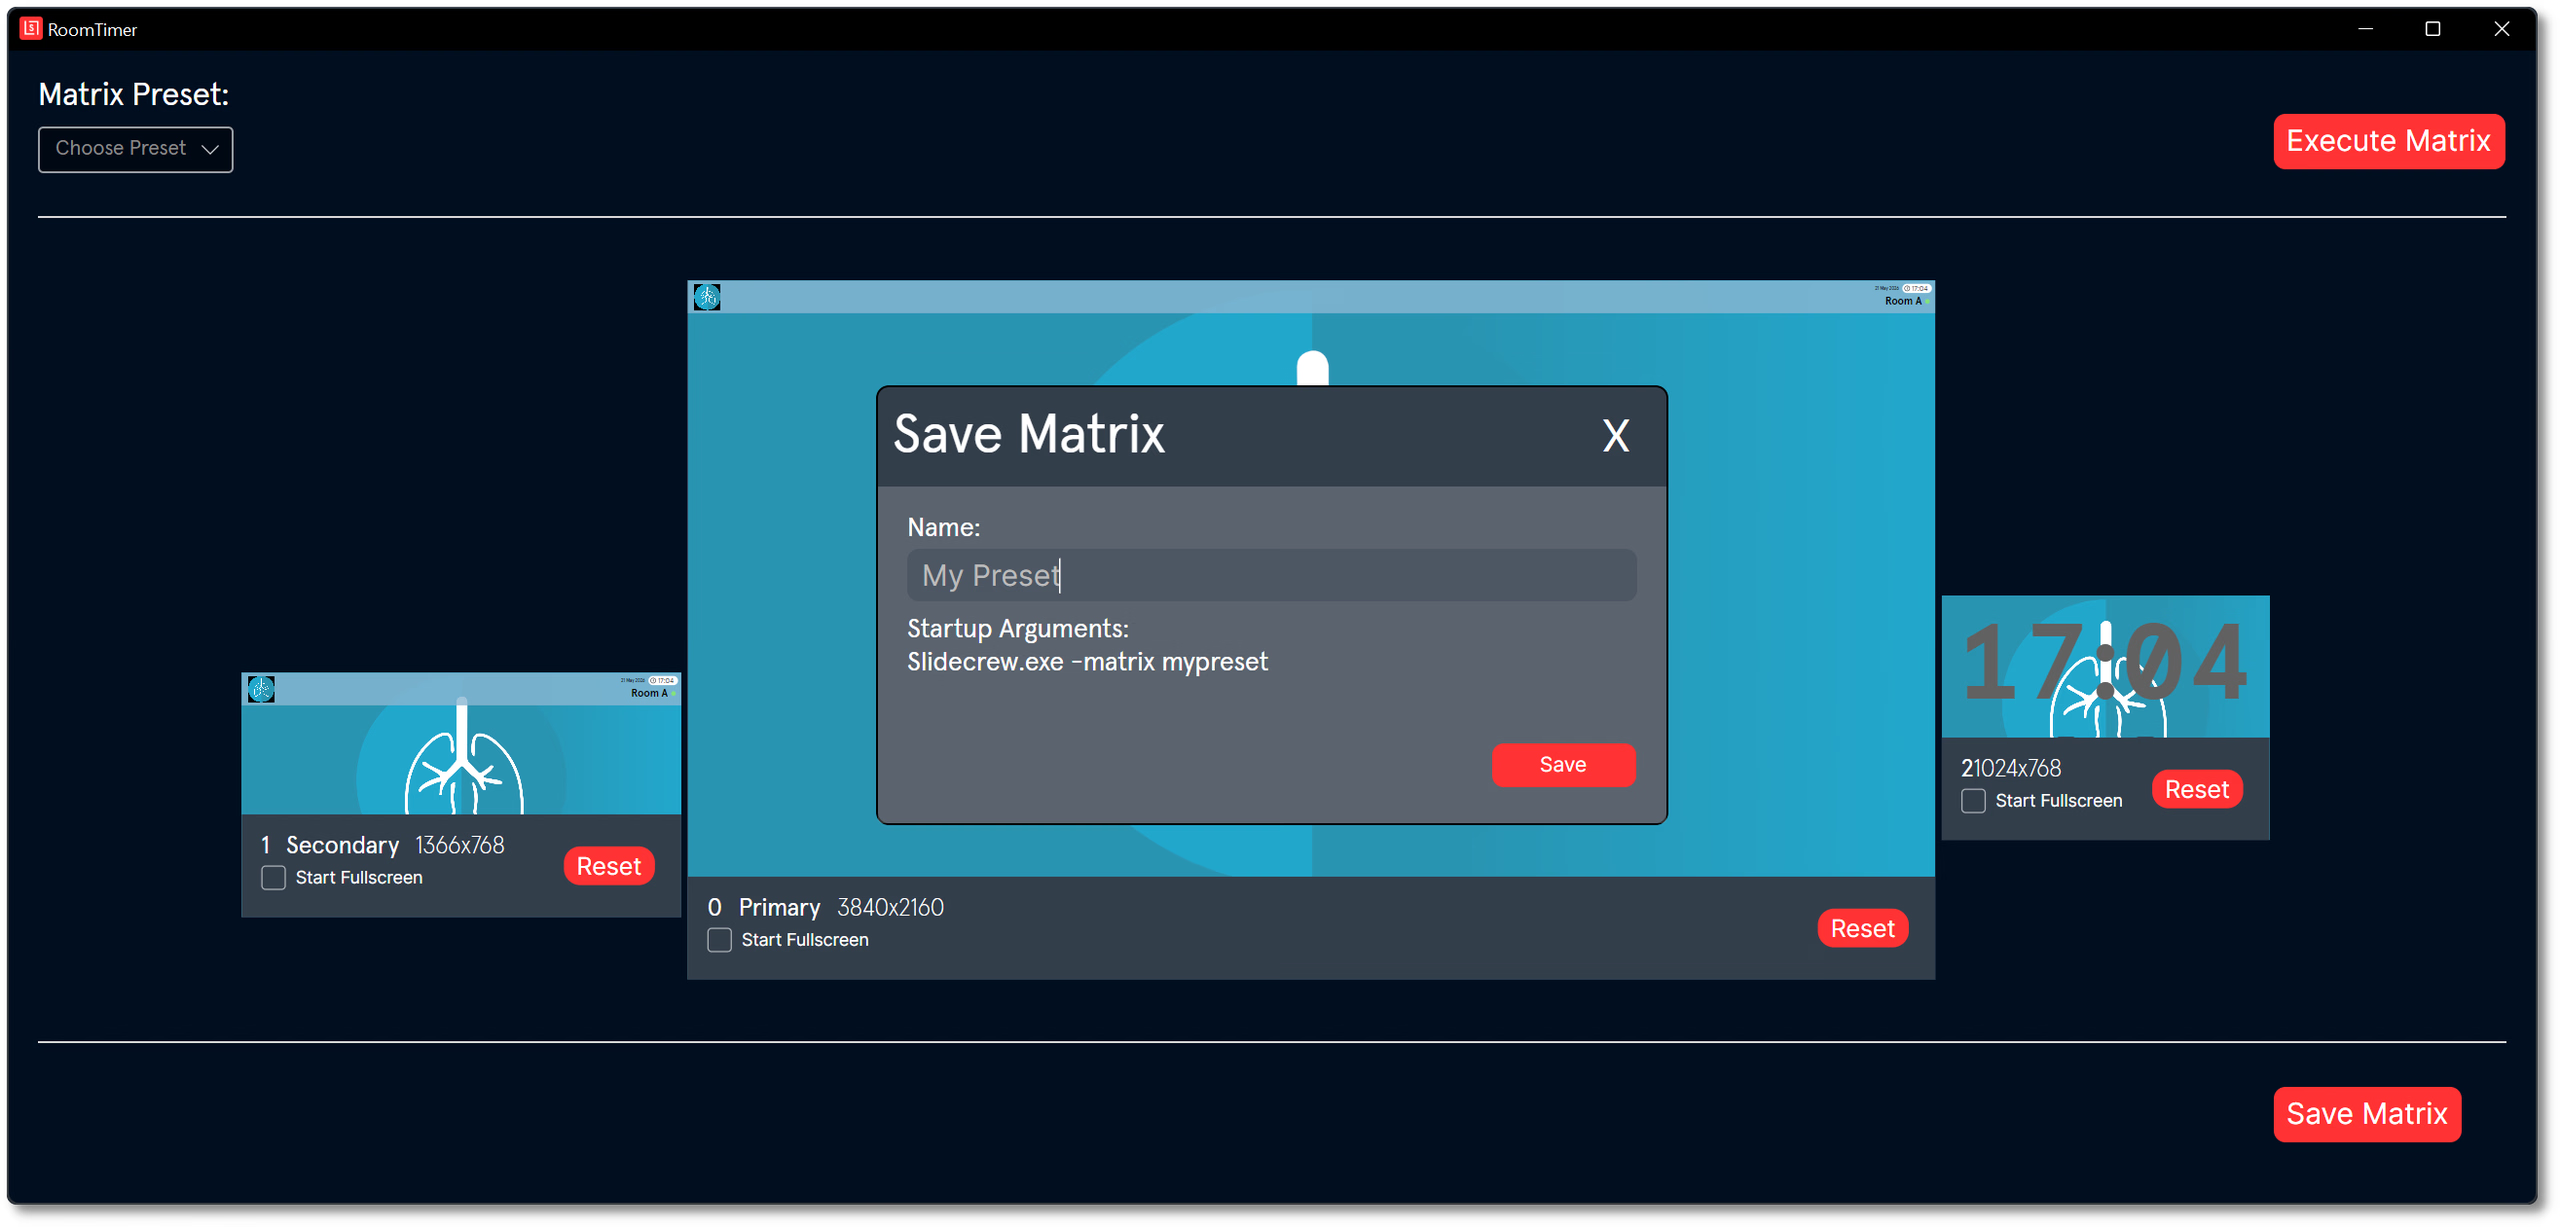
The preset appears as a button under Custom. Select it later to launch the saved layout, or click × on its button to delete it. Presets are saved on that device at C:\Users\[username]\AppData\Roaming\Slidecrew\settings.json; they do not sync to the portal or transfer to other devices.

The Startup Arguments field generates a command-line argument when you save a preset. It is for technicians who need to launch the App Launcher directly into a saved layout from a startup script.
Screen Matrix reference
| Item | Notes |
|---|---|
| Matrix Preset | A dropdown for loading a previously saved preset |
| Screen panels | One panel per connected screen, labelled by index, type, and resolution |
| Reset | Clears the app assignment for that screen |
| Execute Matrix | Launches all assigned apps across all screens |
| Save Matrix | Opens the save pop-up so you can name and save the current layout |
| Startup Arguments | A command line argument generated when saving a preset. This is for technicians who need to launch the App Launcher directly into a saved layout from a startup script. |
Related guides
- How do I install the Slidecrew App Launcher and pair a device? → Install the App Launcher and pair a device
- App Launcher says “System time not synchronized” or is stuck syncing → Troubleshoot App Launcher syncing problems
- How do I set up the Speaker Ready Room queue screen and manage the queue? → Set up the Speaker Ready Room queue
- How do I set up a Speaker Ready Room check-in station and speaker login? → Set up a Speaker Ready Room check-in station